• PORTFOLIO
  • ABOUT
  • PRESS
  • SALON APPOINTMENTS

Rachel Messick

manicurist

  • PORTFOLIO
  • ABOUT
  • PRESS
  • SALON APPOINTMENTS

Meet Me in Tulum: NailPro Magazine Feature

IMG_9096.jpg

When NailPro Magazine reached out to me to create looks inspired by Tulum, Mexico- my mind immediately went two places: vibrance and earthiness. If you’ve ever had the privilege to spend time in Mexico, these are two common threads seen throughout- be it in folk art, buildings, artists and just the general beauty of the culture, people and land.

Let’s start with my first look: Abstract Tropical.

NailPro---March-April-2021---page-20.jpg

Here’s a video of me creating the Abstract Tropical look:


IMG_9097.jpg

I love the contrast of earthy ceramics and rustic texture. There’s just a grounded beauty to ceramic inspired art, and some of my earliest exposure to ceramics was in Mexico. My parents loves to adorn their house and yard with pieces from local artisans whenever we visited.

NailPro---March-April-2021---page-DM3.jpg

Here’s a video of me creating the Gilded Ceramic look:

tags: press, pro tutorial, Nail Pro
categories: Press, Pro Tutorial
Wednesday 03.10.21
Posted by Rachel Messick
 

Nuance Tortoise Shell Tutorial

In my studio, we go gaga for tortoise shell designs of all kinds. You want a punchy traditional amber tortoise? say no more. You want a blonde tortoise? I got you. The one type of tortoise that was missing from my arsenal was a melty, caramel swishy tortoise. The kind of tortoise that would adorn a vintage compact or music box.

VIntage Tortoise Shell Box for Inspiration

VIntage Tortoise Shell Box for Inspiration

This technique utilizes wet layers, meaning we’re going to me smushing and swirling a a bit before the hand ever goes in to the lamp for a cure. The trick with wet layers, is that you want to give them a moment to settle in and disperse before you cure.

Let those wet layers swirl and twirl, don’t overwork them.

Let those wet layers swirl and twirl, don’t overwork them.


Products Used:

Kokoist Color Gel in E-223 Midnight Chocolate

Kokoist Color Gel in E-239S Giallo Yellow Glass

Vetro No. 19 Gel Pod in #261 Jewel Umber

Nail Labo Gold Foil

Vetro No. 19 Gel Pod in #260 Jewel Topaz

Kokoist Ultra Glossy Non Wipe Top Coat Gel

Kokoist Round Brush

Nail Thoughts x Kokoist Detailer 


tags: tortoise shell, watch me work, Tutorial, pro tutorial, gel, kokoist, vetro, japanese gel
categories: Pro Tutorial
Wednesday 02.10.21
Posted by Rachel Messick
 

Prep School: Press-On Prep 101

2020 has been the year of the pivot. It’s challenged all of us in the nail industry to diversify our businesses- leading to an awesome and unexpected press-on nail boom. All of a sudden, us manicurists were left with a surplus of time we were not expecting to have and rent/mortgages that still came due on the first of the month. Necessity truly put creativity in full-force.

Read more

tags: press-on, pro tutorial, Tutorial
categories: Pro Tutorial
Monday 12.28.20
Posted by Rachel Messick
 

Moody Marble Nail Tutorial

Remember the Eighties Paradise nail tutorial that reminded you of your cool bachelorette aunt? Consider this her more masculine counterpart. We’re doing a different kind of marble today as we head into spooky season. A funky, rich, deep, black and gold moody marble worthy of the 1980’s wall street skyscraper lobby of our dreams.

Products Used:

Nail Thoughts x Kokoist Brush Set (Application, Detailer, Smoosh)

Kokoist Color Gel: E-188 Japanese Charcoal, E-206S Black Martini, E-1 Maxi White

Kokoist Art Clear

Kokoist Ultra Glossy Non-Wipe Top Coat Gel

Nail Labo Gold Foil

Joy Nail Gold Line Stickers

tags: pro tutorial, marble
categories: Pro Tutorial
Sunday 09.13.20
Posted by Rachel Messick
 

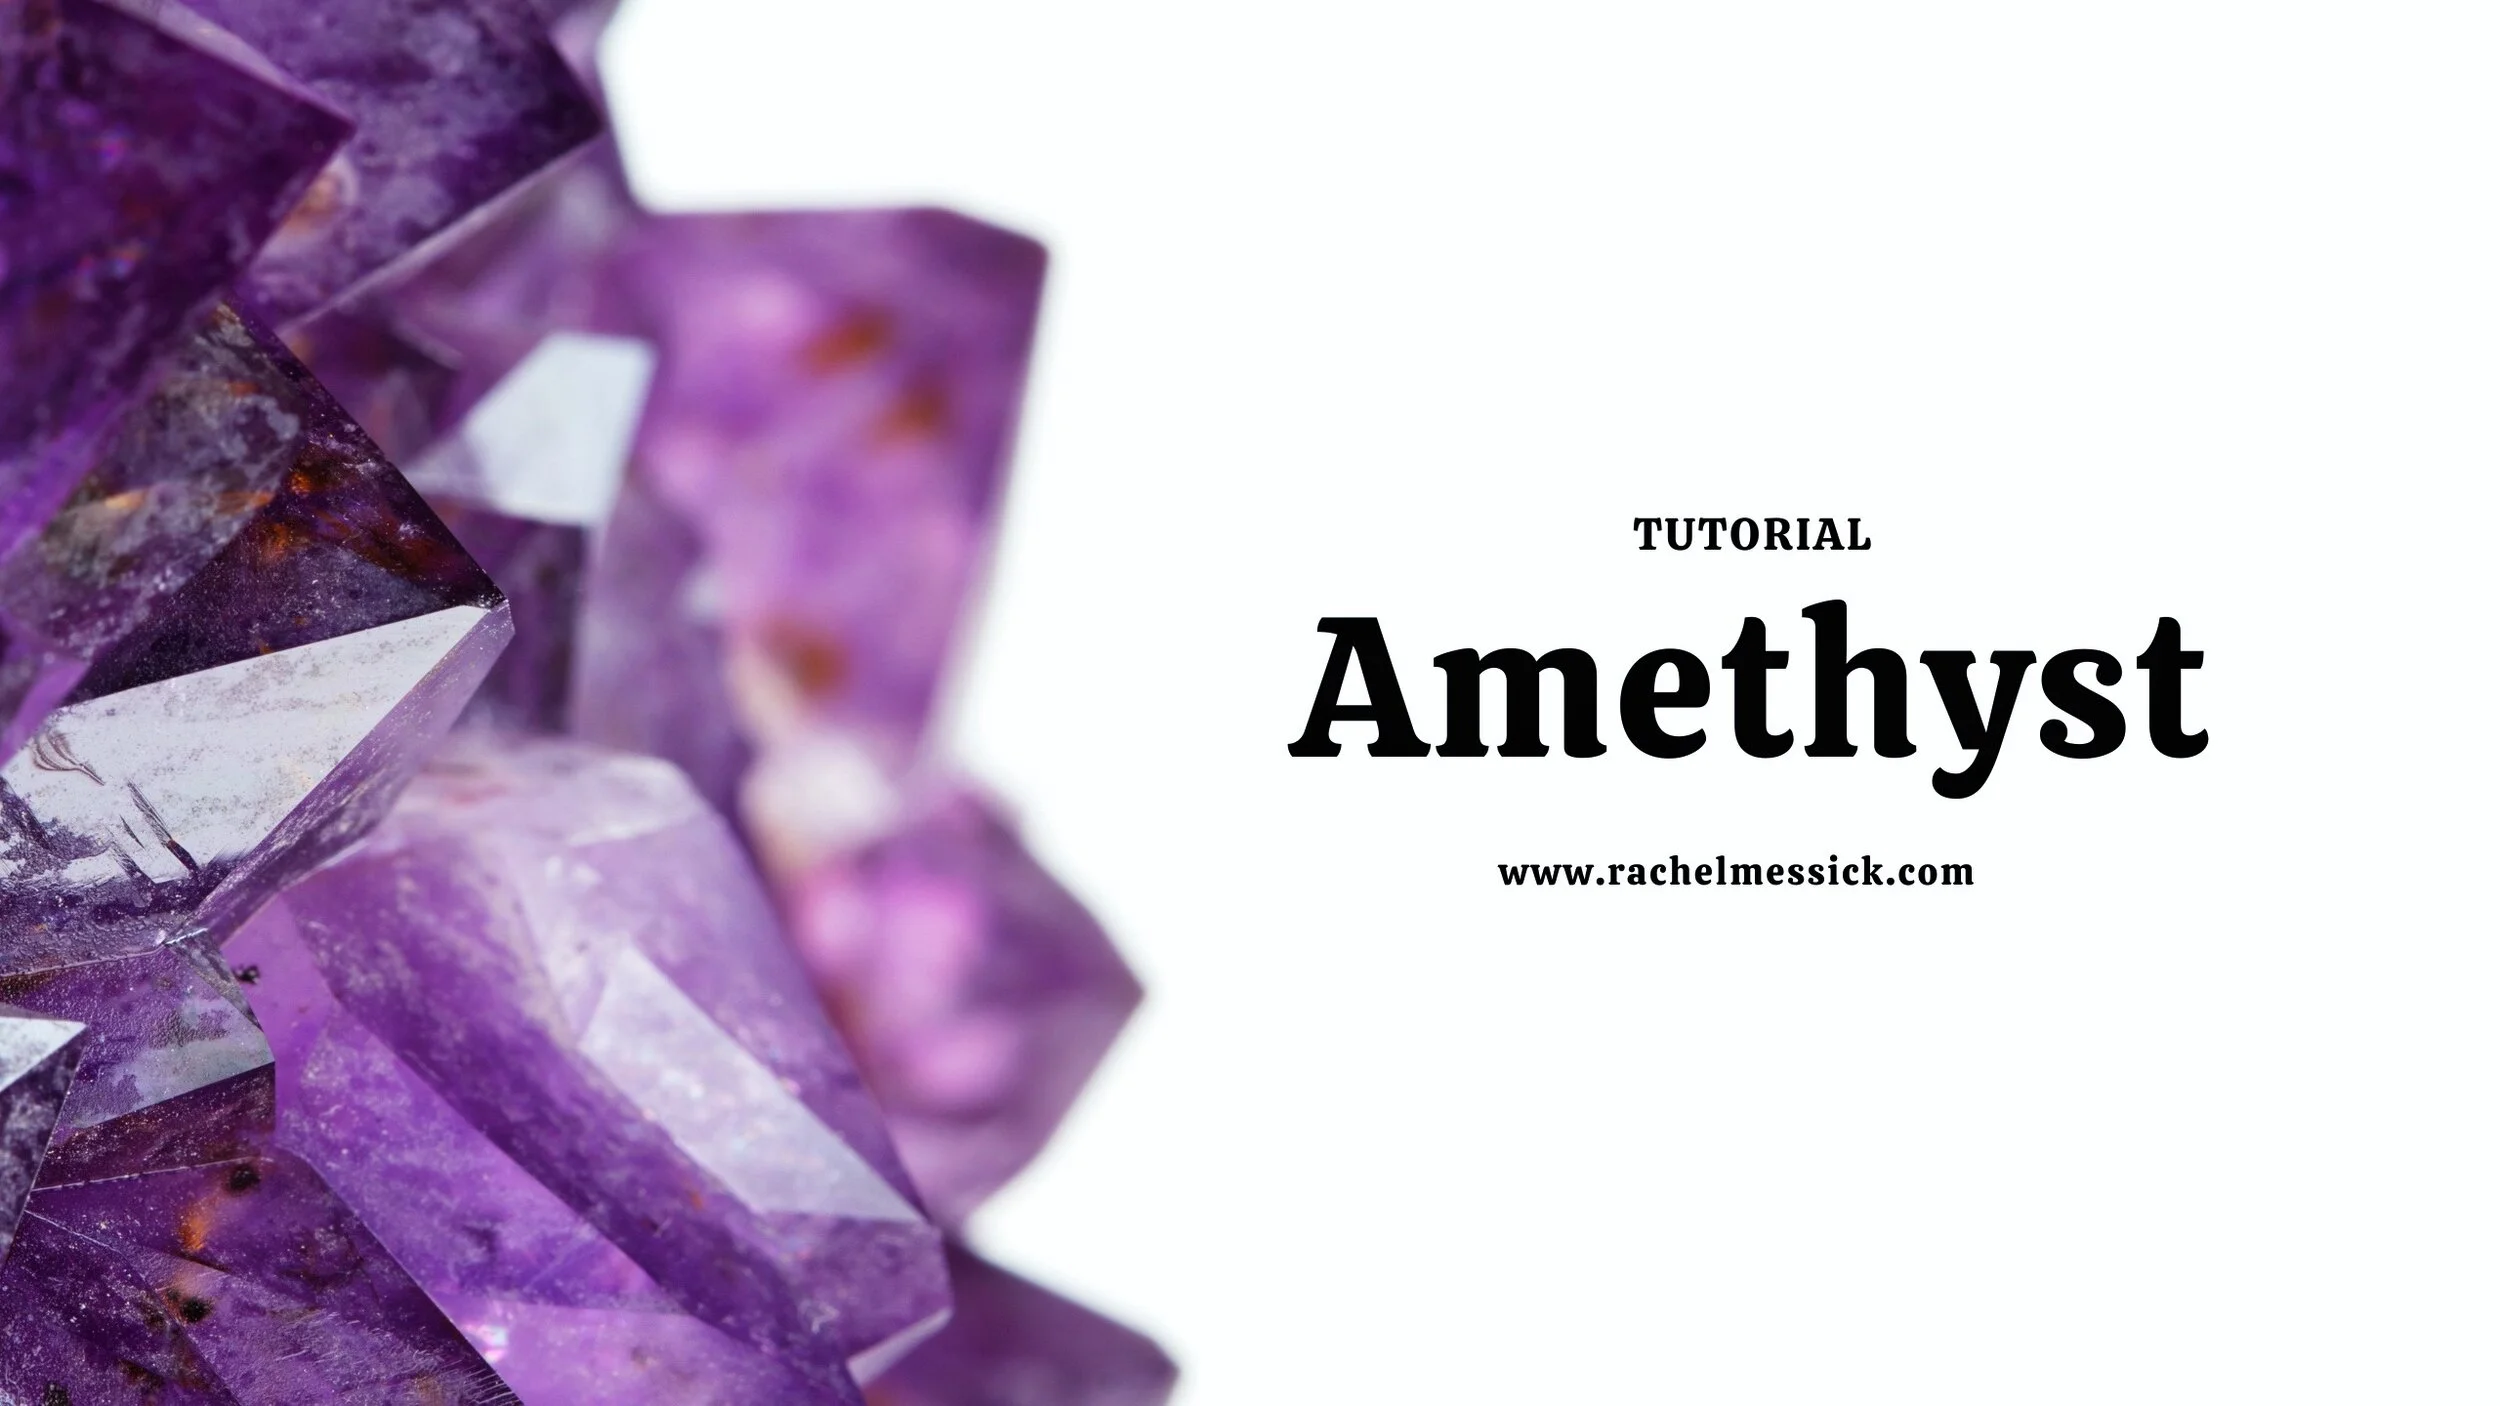
Always Amethyst Nail Art Tutorial

Stone and gem inspired nail art are MAJOR. It’s a trend that seems to continuously reinvent itself month after month. During the Spring and summer, clients want Rose Quartz and Amethyst, Tigers Eye and Black Opals for Halloween and the winter holidays mean opals, jade and marble. The good news is, once you figure out a few different variations in this technique, you can pretty much do anything.

Stone inspired nails are a great entry point into the world of nail art for clients and manicurists alike. Creating stone art (like most of the art I do) is an exercise in thinking through your layers before you start. For this look we’re using a milky semi-sheer lavender base with a shock of a custom purple jelly blend throughout. We add dimension with mica flakes and create stylized veins with a super pigmented white art gel and bring it all together with top layer of sheered out white lavender.

Some notes on the white veins, wipe your brush frequently on your palettes that it doesn’t drag too heavily throughout. Be sure to flash cure or fully cure between completed veins, especially if they are touching or overlapping.

Here are some links to the products I used to create this look:

Presto Color Gel #178

Presto Color Gel #180

Ageha Sharp Liner White

Kokoist E-204S Violet Fizz

Kokoist E-227S Licorice Jelly Beans

Kokoist Rainbow Mica Flakes R-2 Golden Purple

Kokoist Art Clear

Presto #6 Square Brush

Presto #11 Fine Point Brush

Kokoist Ultra Glossy Non Wipe Top Coat Gel

tags: pro tutorial, stone nail art
categories: Pro Tutorial
Monday 06.22.20
Posted by Rachel Messick
 

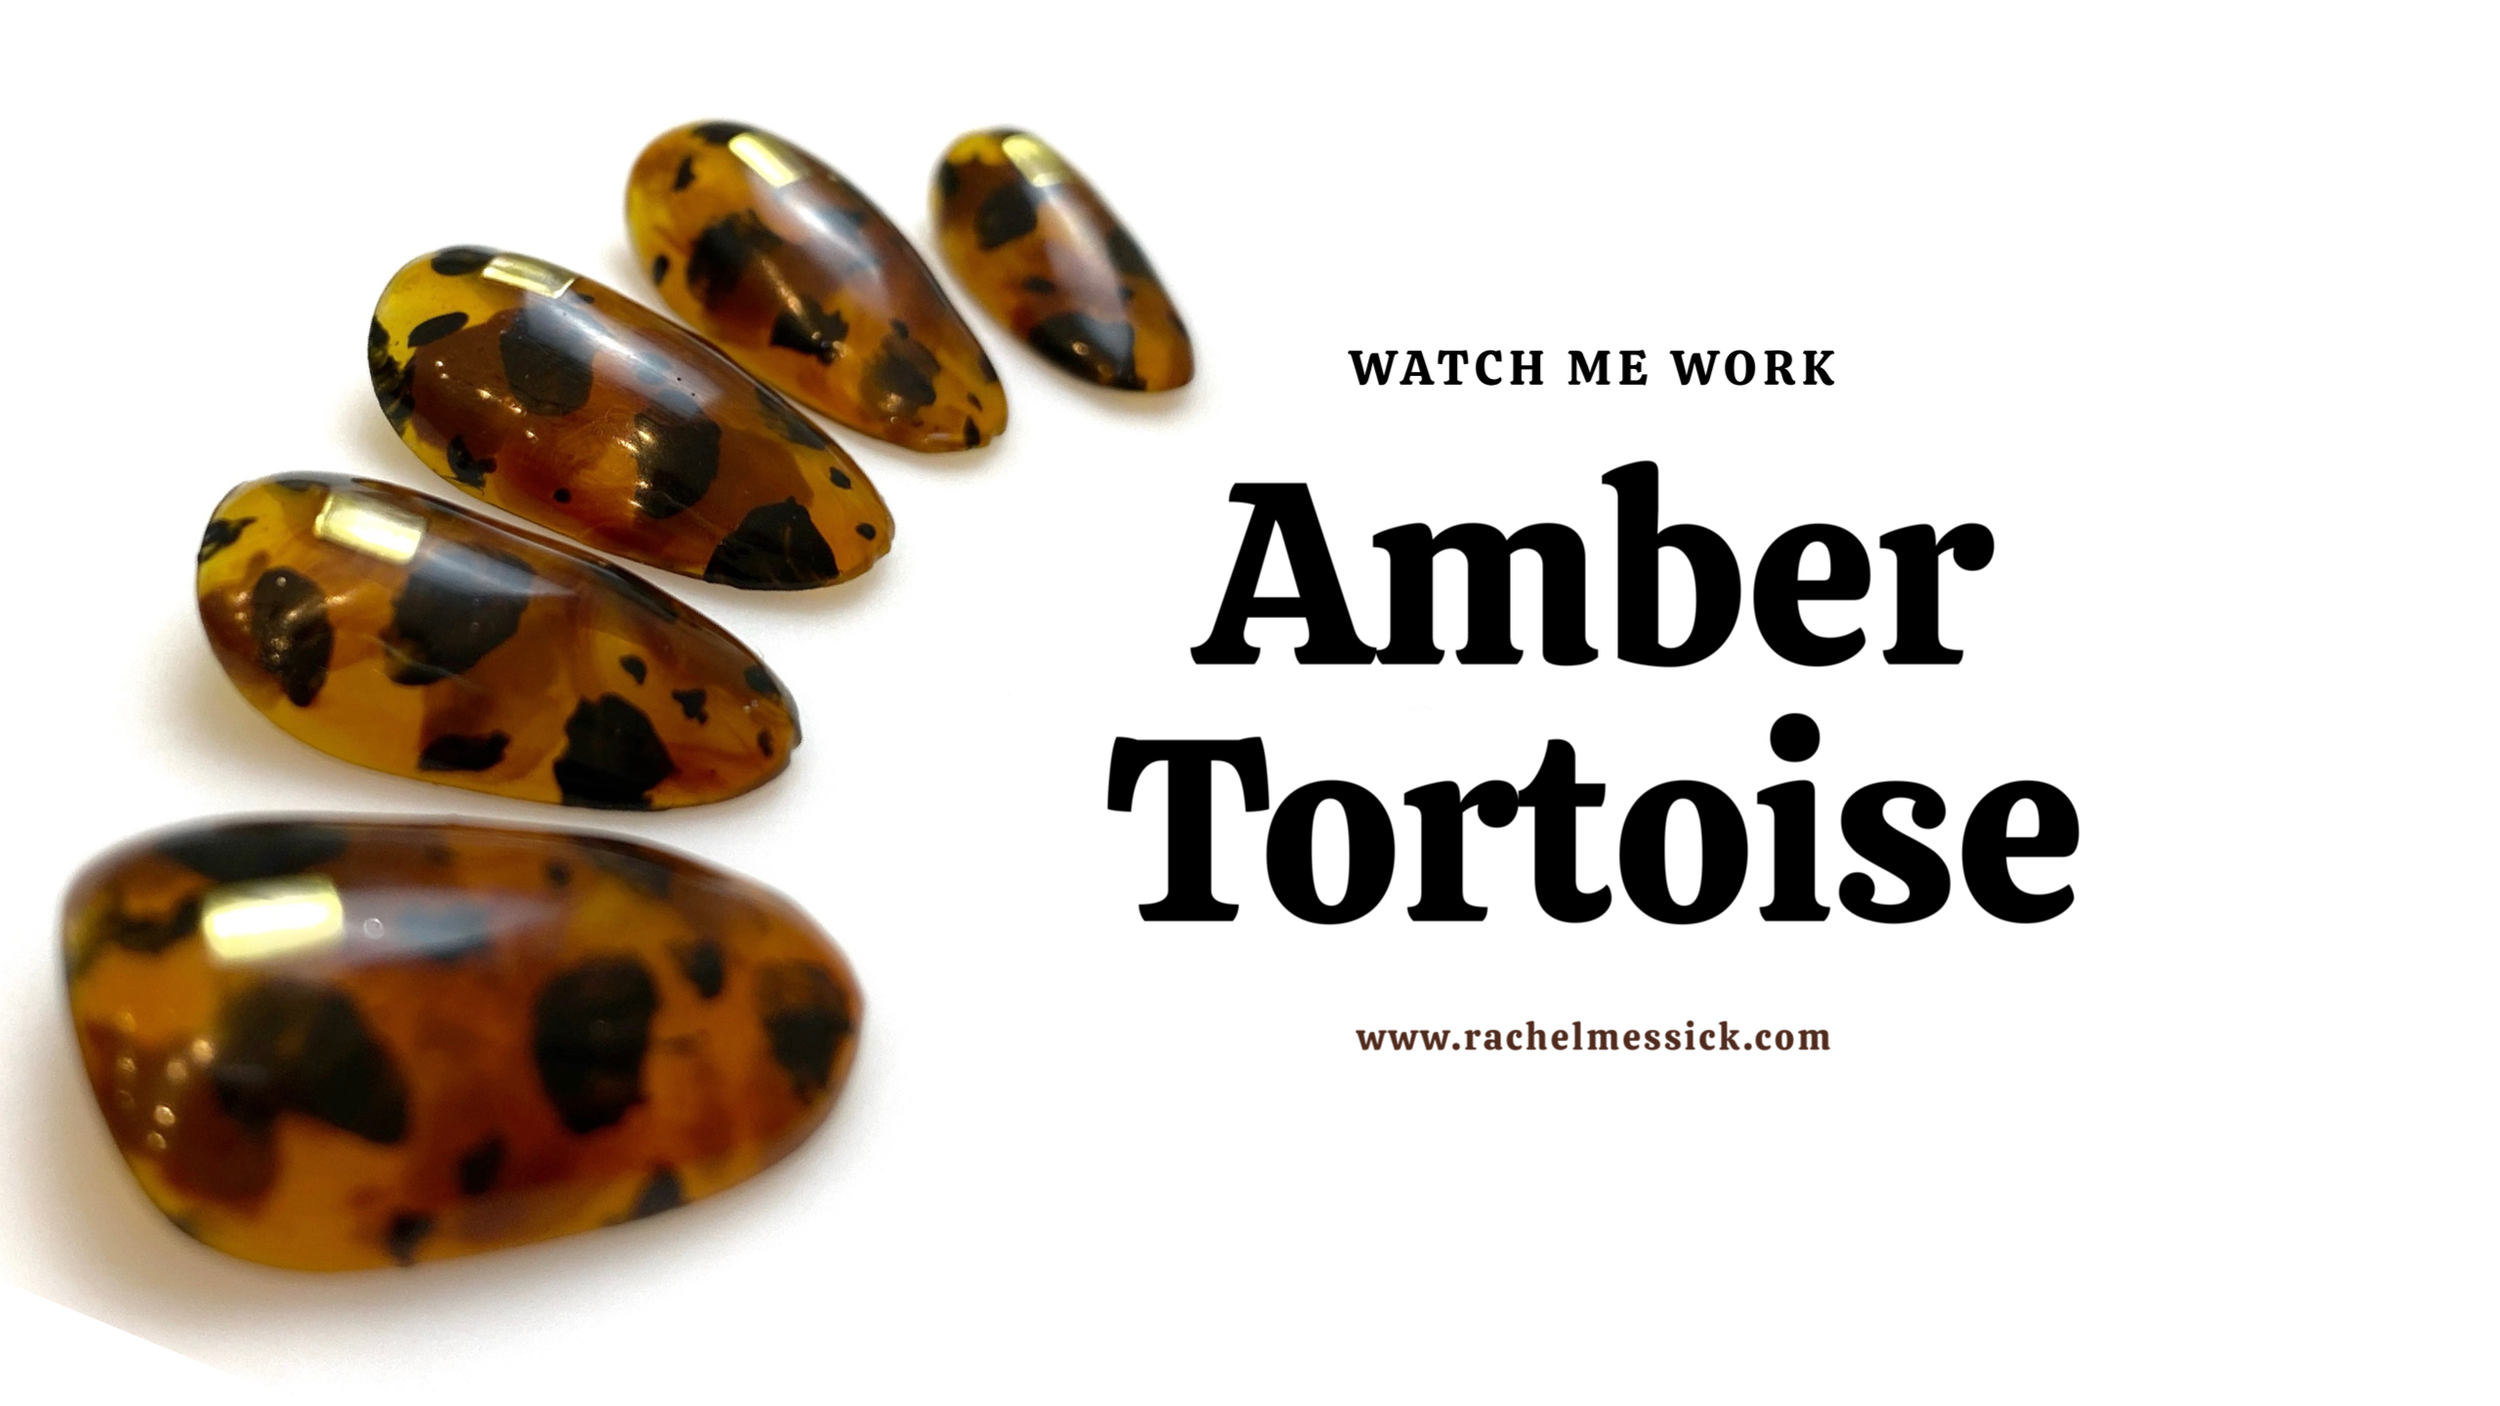
Watch Me Work: Amber Tortoise

Did you ever wonder how these gorge mutli-dimensional tortoise shell nails came to be? Watch me work and see how it all comes together.

View fullsize  Start with a sheer butterscotch shade, do not cure.
View fullsize  While the layer is still wet, add a sheer brown gel and let it settle into a nice amber pattern and then cure.
View fullsize  Add splotches of chocolate brown
View fullsize  Add offset black splotches and black dots, cure.
View fullsize  Add another layer of sheer butterscotch gel, cure.
View fullsize IMG_0437.jpg
tags: tortoise shell, pro tutorial, watch me work
categories: Pro Tutorial
Thursday 06.11.20
Posted by Rachel Messick
 

Things I Wish I Knew: Advice for New and Aspiring Manicurists

IMG_2521.JPG

1. Nail School Is Not the Real World: 

 The goal of nail school is for you to finish nail school. Period, end of story. 

 It’s to teach you the basics of the Milady text and to help you pass the state board. Some schools offer upgraded programs (my school had the basic 400 hours and then an advanced 600 hours)- don’t waste your time, just take the basics. Connect with your instructors;  ask questions and pay attention,  usually if they see you are serious and interested they will invest more in you. One of my instructors, Jackie, was absolutely instrumental and crucial to me passing the State Board exam and I still consider her a friend. 

 Another thing to consider,  it’s not uncommon for cosmetology instructors to be scouted as students and put straight through an instructor program as soon as they graduate. It stands to reason, you could have an instructor with very limited real-world salon or business experience. 

 You’re better off investing the money you didn’t spend upgrading your program on great, focused and refined education taught by professional artists and educators (more on that below). In additional to the amazing (and FREE) resources available on the internet there are also many reputable in person one-on-one educators and brand/technique certifications.

That being said, nail school is GREAT for learning how to interact with clients. Do yourself a favor and let it be known to your instructors that you WANT to work with clients. 

A standard mock State Board Practical Exam set up.

A standard mock State Board Practical Exam set up.


2. The Learning (And Practicing) Never Stops: 

Don’t get it twisted, in the beauty biz we are lifelong students. There will always be new products and techniques to master and ways to be better. However, it is SO important to do your research, ask your peers about the classes they’ve taken and their opinions on them. It’s surprisingly easy to weed out the duds if you just take the time to chat with your peers. I can personally vouch for several programs and educators, if you’d like to see that in a future post let me know in the comments! 

IMG_9522 2.JPG


3. Build A Community:  

There is room for everybody at the top. While it’s natural to feel competitive, comparison is the thief of joy. You won’t be everybody’s cup of tea and everybody won’t be your cup of tea- don’t force it. it’s important to be a part of a like-minded community. I love that I have an amazing world-wide network of fellow manicurists that I can bounce ideas off, give advice to or ask for advice from. Nail friends just make everything better. 

Taking classes are a great way to meet fellow manicurists AND to learn new skills- WIN WIN! This picture was taken at Katie’s Masterclass and I now count all of these ladies as friends! Left to Right: Sandy (@beachgirlmani), Katie (@nailthoughts), B…

Taking classes are a great way to meet fellow manicurists AND to learn new skills- WIN WIN! This picture was taken at Katie’s Masterclass and I now count all of these ladies as friends! Left to Right: Sandy (@beachgirlmani), Katie (@nailthoughts), Brittany (@nailsnybrittany), Gwen (@hausofglewis_nails) and me (@rachel.messick) featuring some very dusty pants.

4. Buy It Nice or Buy It Twice:

Not to be like, a super snob but please don’t buy weird gel off amazon- if a gel is $1, that’s exactly what it’s worth. It doesn’t matter if you can get 100 colors for $50, most of that product is of questionable origin and can cause some serious allergic reactions. Product allergies are VERY real and can end your career QUICK. Buy from reputable brands that can provide you with SDS/MSDS sheets that can vouch for their product.

5. Products Are Not a Substitute for Skill:

If they were, we would all be out of a job. Remember the first time you did a gel manicure- yeah, it’s a LOT harder than it looks, it probably took you two hours and fell off the next day in the shower. There is no product in the world that will make you a good nail artist. There are products that can simplify certain tasks. There are products and tools that can elevate the work of a good artist. There is no substitute for skill. 

I traveled a state over to take this class- when the educators are amazing it’s WORTH it. This was a joint Erica’s ATA & Luminary Certification with Candice Green and Hillary Hererra.

I traveled a state over to take this class- when the educators are amazing it’s WORTH it. This was a joint Erica’s ATA & Luminary Certification with Candice Green and Hilary Hererra.


6. People Skills Matter:

People are the heartbeat of our profession- it’s imperative to learn how to read the room, when to speak, when to listen and how to navigate a conversation. Chances are, if you choose this profession, you probably like people- so you’re already halfway there.  


7. How You Represent Yourself Matters:

We live in a different world today; your image consists of much more than your outfit. It’s about an experience. Keep things consistent every space that you represent yourself. We have more access to each other than ever- be yourself and have fun but keep it intentional and professional. You never know who’s watching. I highly recommend keeping separate personal social media pages and choosing very wisely who you allow into that space. 


Very engaging Young Nails One Week Course

Very engaging Young Nails One Week Course

 8. Know your Cost Per Service:

Don’t base your prices on what the salon down the street is charging. Know how much it actually costs you to perform a service, what you’d like to make an hour and your overhead. You can definitely look at what other artists are doing and how they structure their services, but at the end of the day you need to do what makes the most sense for YOU.

9. Create Boundaries:

Clients are not bad or naughty, however, it’s important for your well-being that boundaries are set and respected. People treat you how you allow them to. Do not, I repeat, do NOT wait to set personal and professional boundaries. Scheduling, safety guidelines, contact guidelines and preferences, late fees, no show fees, etc.…  You’d be surprised how much mutual respect is achieved when you set boundaries.

ACS_0002.JPG

 10. The Beauty Business Is Still a Business:

It does not matter if you are an employee or a business owner, the only person who is responsible for YOUR business is YOU. That means making sure you know the ins-and-outs of the state and local guidelines/laws. That you are saving money for taxes and managing your business expenses. Get an EIN and a business checking, savings and credit card. Make sure you have appropriate liability insurance. Read all the fine print. Know your rights. Don’t get taken advantage of by shady salon owners.This business is the BEST, but it is a BUSINESS- don’t EVER forget that. 


11. Don’t Be Afraid to Blaze Your Own Trail:

There are a lot of veteran manicurists with very strong opinions, some antiquated, some not. That’s ok. There are vets that won’t touch a product, no matter how good it is, if the product is retailed to the general public. There are vets that believe you should only use one and only one product line. There are vets that believe that hand-filing is the only way to file. This is an ever-changing industry and there is much to be learned from industry veterans, but there also plenty of trail to blaze. 


12. You Don’t Have to Do Everything:

It’s good to know how to do things, but if you find yourself dreading a certain type of service- take it off the menu. While this may not be a reality if you work in a salon that offers many services, one of the benefits of working on my own is that I can set my own menu and attract the type of client that values those services. I specialize in gel nail art on natural nails, that’s all I do in my studio and I book out, every single month. I don’t do acrylic or pedicures; they just aren’t my bag.  

What can I say? Natural nails are my numero uno

What can I say? Natural nails are my numero uno

13. Advocate:

We are part of a much bigger picture, stay engaged in local and state politics- don’t get bamboozled. Don’t let a bunch of people (most of whom are old men have never worked in the beauty industry) choose your fate. Connect with your representatives don’t just sign a moveon.org petition or write a snarky post in your Facebook Nail Tech Group. 


tags: advice, pro tutorial, nail school
categories: Musings, Business Stuff
Thursday 05.28.20
Posted by Rachel Messick
Comments: 5
 

Blonde Torties Have More Fun

1 2.PNG

All it took was a global pandemic to get me focused on blogging, creating tutorials and editing videos. But the important thing is, I finally got here. It’s still a learning curve FOR SURE, but it’s starting to get a little easier. JUST A LITTLE.

As an artist and a woman, I can be pretty hard on myself. Especially in the world of ultra-glossy, warm-filtered world of social media. For better or worse, that gloss is part of the game and is an expectation. It’s just SO easy to get caught in the cogs of the machine. All of these are just general base feelings and not even factoring a busy schedule in the mix. While I definitely do not view almost three months of mandatory unemployment (California salons shut rapidly during the COVID-19 crisis) as an artistic retreat, it definitely allowed me to explore my art in a way I’ve not had time to do in a while and I gave myself permission to try new things, to fail and to learn.

I’ve been trying to master the blonde tortoise shell technique for about a year. Like, not a full year locked away in a tower like Howard Hughes. But like here and there. on and off, for a solid year. It took several tries to get this combo just right. Turns out the secret sauce was a swish of pale yellow at the base. It added just enough warmth to keep the design blended and nuanced.

It’s also super important to get the right shade of sheer brown, I use #261 (Jewel Umber) by Vetro and it’s pretty much my go-to hero sheer brown shade. It’s got this perfect mix of warm and cool, giving it a chameleon quality that seems to work with everything.


Here’s a breakdown of the products I used in the tutorial:

RiccaGel 186M

Vetro No.19 #261 Jewel Umber

Kokoist E-2 Maxi Black

Kokoist E-2 Maxi BlackKokoist & E-206S Black Martini

Presto Gel #3

Presto Non-Wipe Top Gel

Young Nails Master Gel Brush

Mana Nails x Nail Partner Liner Brush

PREGEL OB-5 Brush

As always, if you have any questions- feel free to leave them in the comments below! If you want to stay in-the-know connect with me on social media (links at the bottom of the page).

tags: tortoise shell, nail art, pro tutorial
categories: Pro Tutorial
Wednesday 05.27.20
Posted by Rachel Messick
 

I'M NOT A REGULAR AUNT, I'M A COOL AUNT

1.PNG

Eighties Paradise is one of the most popular styles in my shop. Originally based off a freestyle design I created for a client. It was inspired by that bygone gauche era of status, indulgence, excess and prosperity. Everybody had a cool aunt. You know the one, the cool condo, the car phone the mauve leather sofa and wicker coffee table. The aunt who totally let you watch Dirty Dancing even though your parents wouldn’t allow it, maybe she took you to get your ears pierced and taught you the most important rule of growing up: it’s better to apologize than ask permission.

While I definitely have cool aunts, I kept envisioning our next-door neighbor, my mom’s friend Rosalind Tallerico when I was creating this set. I was a pretty sheltered kid, so it was always fun to escape to her house and watch cool movies and pretend I was a teenager. She was stylish , tan and had big hair. Her house was ALWAYS perfection because her husband was always on the road for work. I remember getting a perm in her garage, yes I already had curly hair, but I wanted that perm SO BAD. Oh man, the 80’s/Early 90’s WHAT A TIME TO BE ALIVE.

Anyhow, back to the nails…

This look is unique, visually dynamic and also TOTALLY wearable. Even for clients that are a bit gun-shy about nail art will love it.

I filmed myself creating a full set of press-ons so that you'll get to see how I create a balanced and cohesive look on all ten nails. It will also give you insight on my process when it comes to selecting products, purposeful placement and balancing random elements.


I can't wait to see you recreate this look and put your own spin on it.


Feel free to leave any questions in the comments below.

Products used:

Presto Gel JC-3

Kokoist E-127 Strawberry Latte & E-196S Tulip Petals

Orly GelFX Builder-in-a-Bottle

Aprés Non-Wipe Topcoat

Princess Nails Rainbow Mylar

Young Nails Gold Foil

Riccagel Color Gel Brush

Young Nails Gel Sculptor Brush

tags: Tutorial, pro tutorial, mixed media design
categories: Pro Tutorial
Monday 05.11.20
Posted by Rachel Messick
 

Powered by Squarespace.