Press-On Prep | Studio Skills
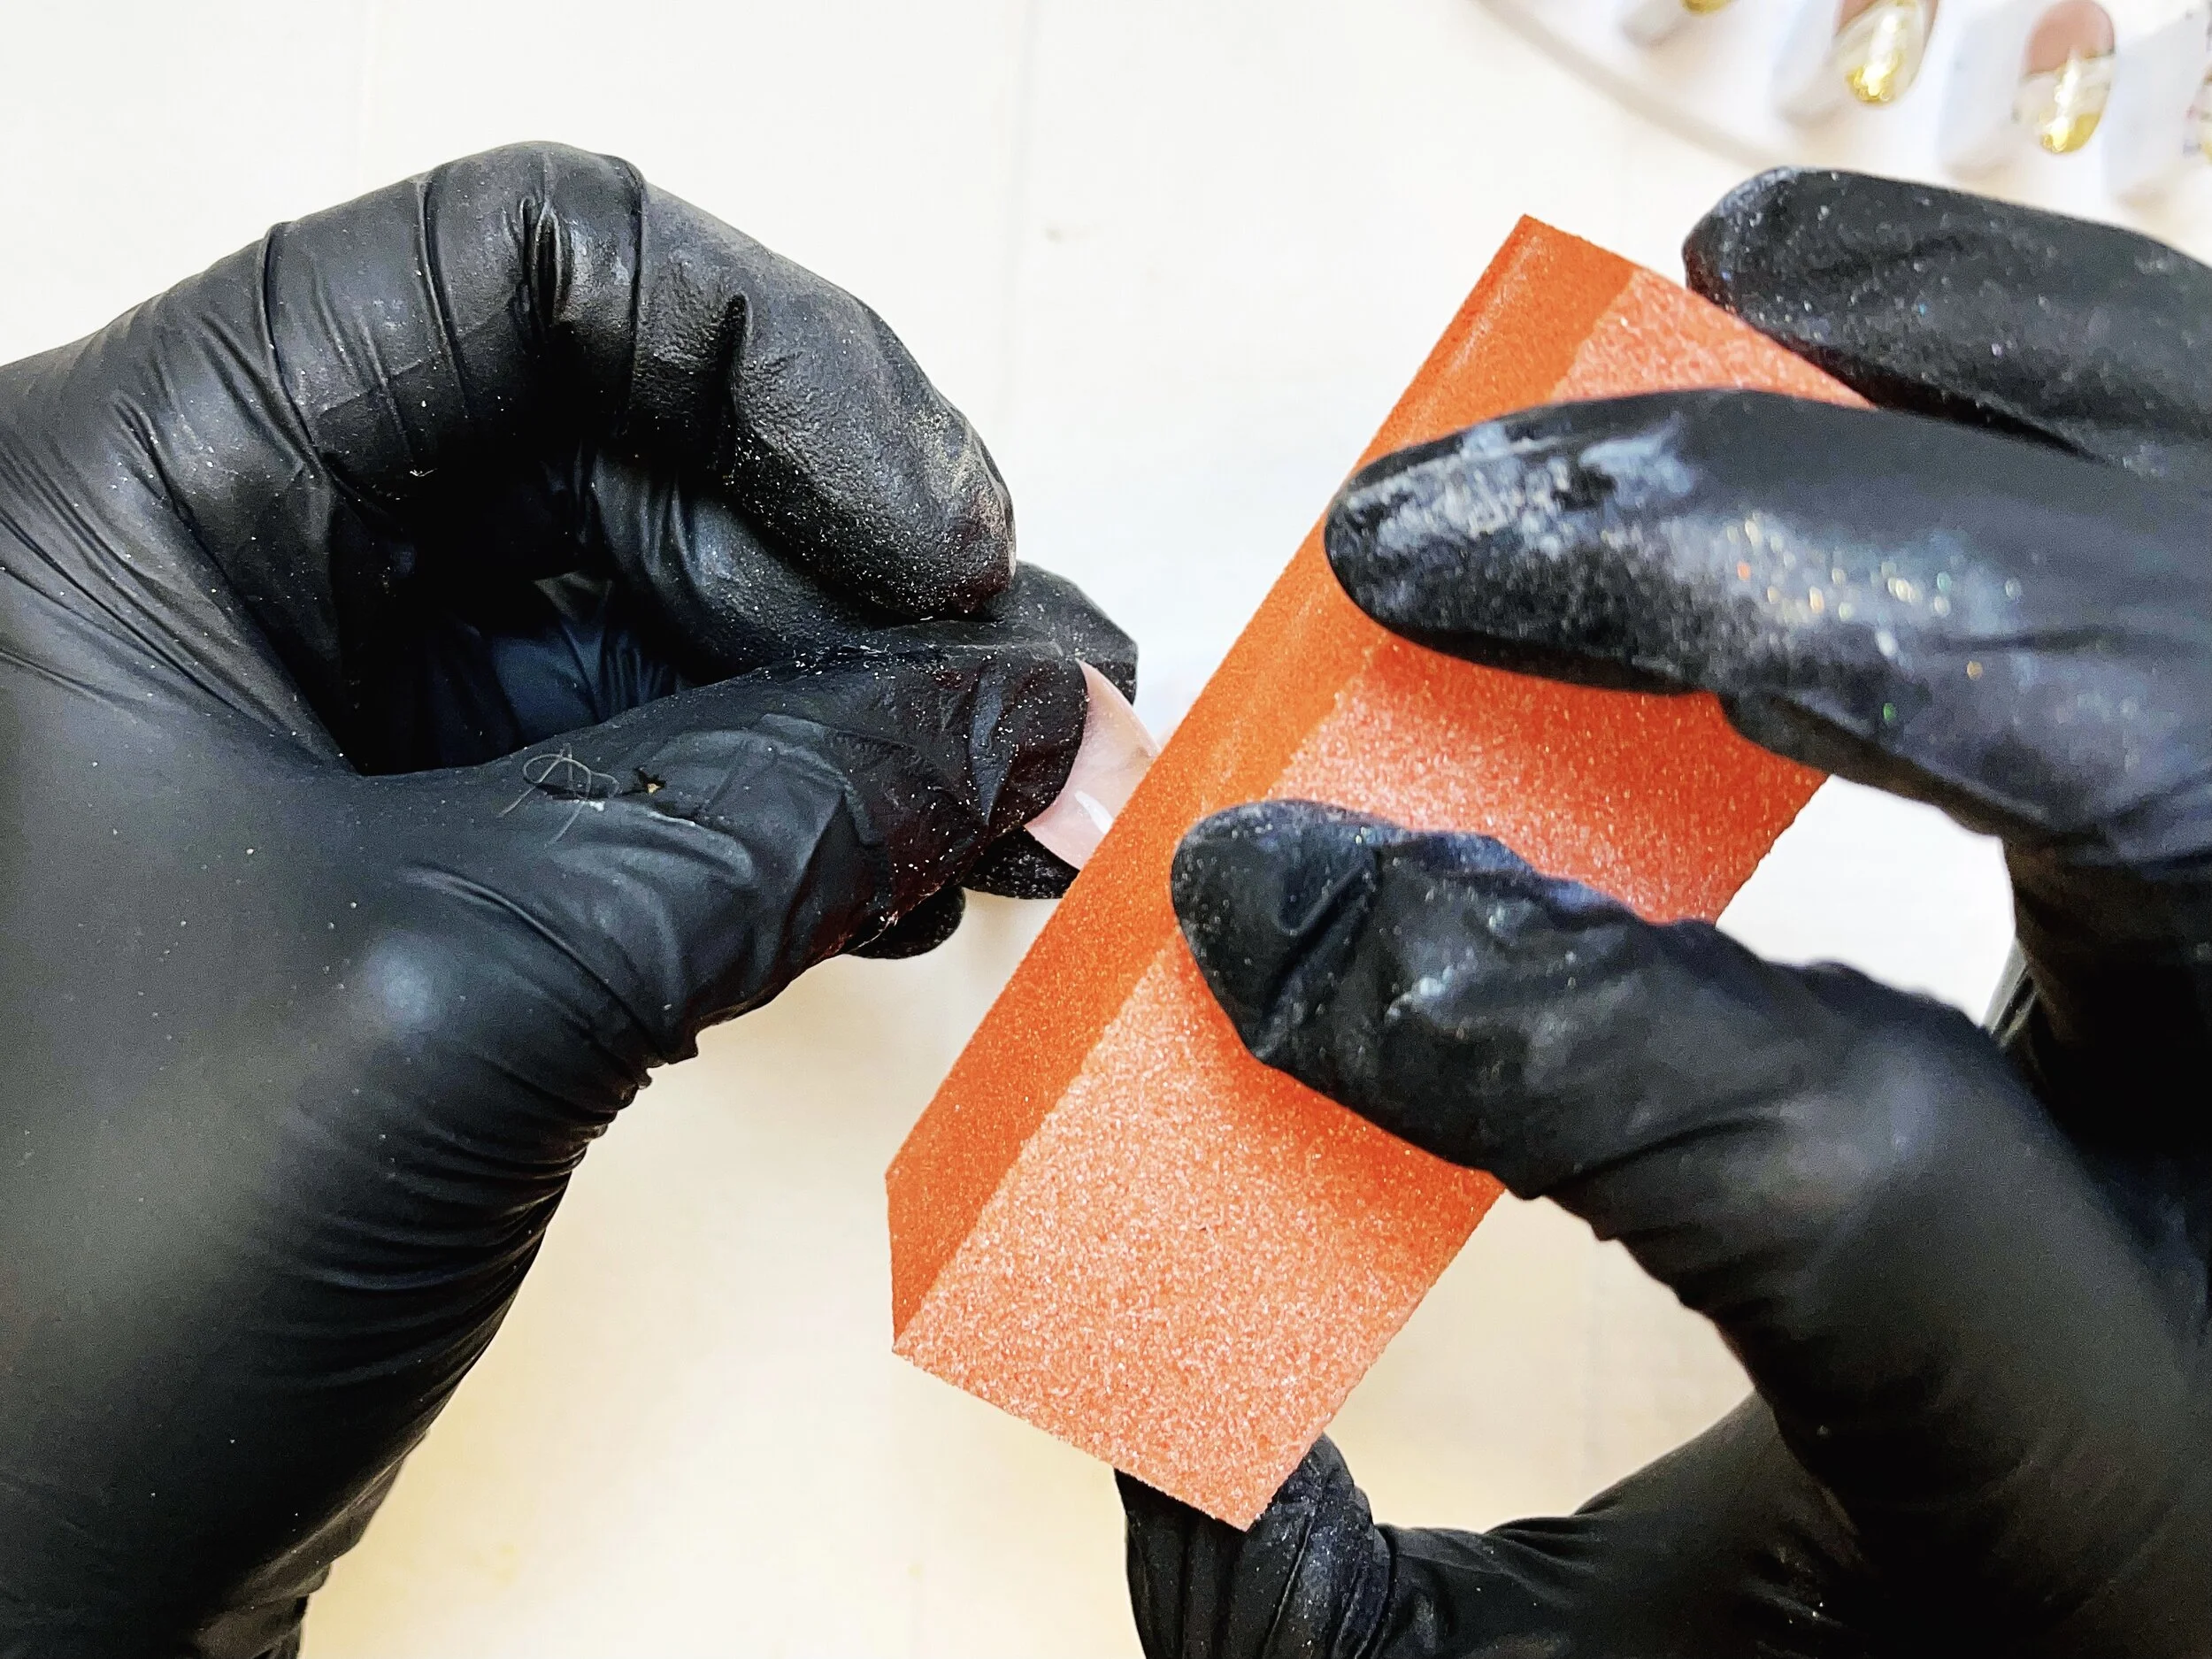
2020 was the year of the pivot, and for many nail professionals that meant diving headfirst into the world of press-ons. In this Studio Skills post, I'm sharing the prep process, products, and techniques I used to create salon-quality custom press-on nails.