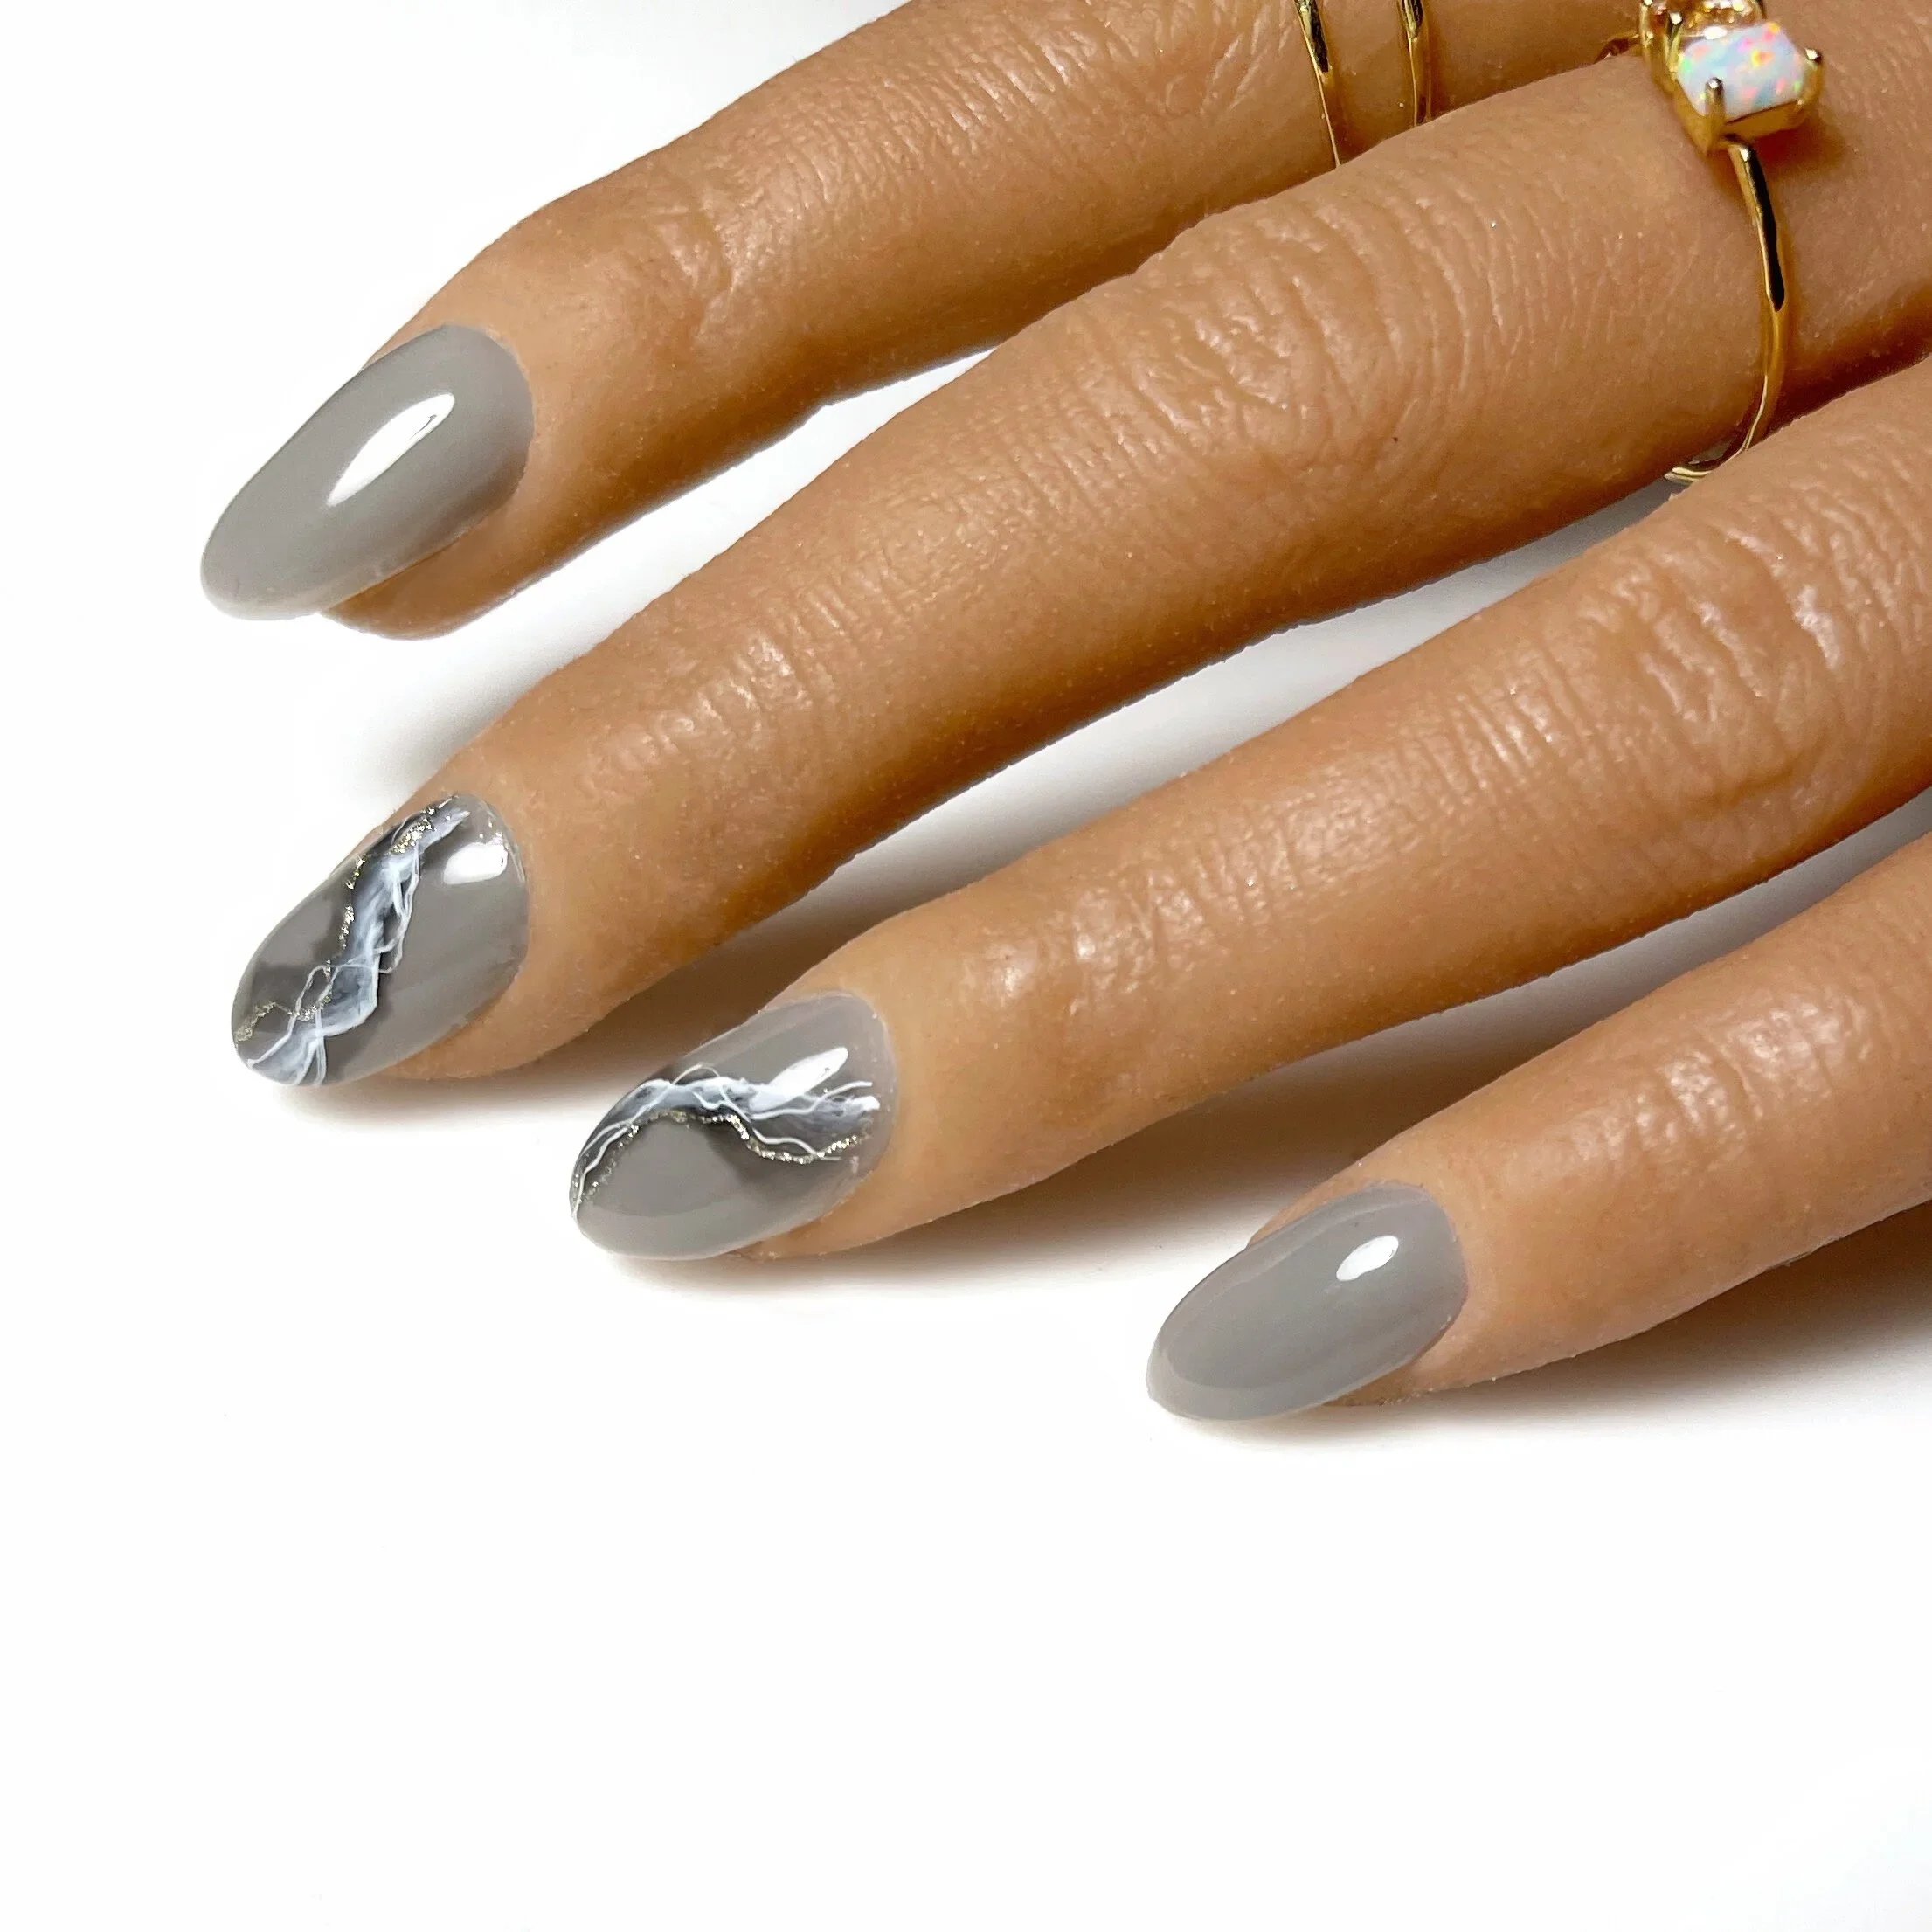
• PORTFOLIO
  • ABOUT
  • PRESS
  • SALON APPOINTMENTS

Rachel Messick

manicurist

  • PORTFOLIO
  • ABOUT
  • PRESS
  • SALON APPOINTMENTS

Nuance Tortoise Shell Tutorial

In my studio, we go gaga for tortoise shell designs of all kinds. You want a punchy traditional amber tortoise? say no more. You want a blonde tortoise? I got you. The one type of tortoise that was missing from my arsenal was a melty, caramel swishy tortoise. The kind of tortoise that would adorn a vintage compact or music box.

VIntage Tortoise Shell Box for Inspiration

VIntage Tortoise Shell Box for Inspiration

This technique utilizes wet layers, meaning we’re going to me smushing and swirling a a bit before the hand ever goes in to the lamp for a cure. The trick with wet layers, is that you want to give them a moment to settle in and disperse before you cure.

Let those wet layers swirl and twirl, don’t overwork them.

Let those wet layers swirl and twirl, don’t overwork them.


Products Used:

Kokoist Color Gel in E-223 Midnight Chocolate

Kokoist Color Gel in E-239S Giallo Yellow Glass

Vetro No. 19 Gel Pod in #261 Jewel Umber

Nail Labo Gold Foil

Vetro No. 19 Gel Pod in #260 Jewel Topaz

Kokoist Ultra Glossy Non Wipe Top Coat Gel

Kokoist Round Brush

Nail Thoughts x Kokoist Detailer 


tags: tortoise shell, watch me work, Tutorial, pro tutorial, gel, kokoist, vetro, japanese gel
categories: Pro Tutorial
Wednesday 02.10.21
Posted by Rachel Messick
 

Streamline Series: Swatch It Like It's Hot

This post contains affiliate links, see my disclosure statement here.

IMG_8360.JPG

My studio was a swatch-free zone for a long time- I always hated the impersonal experience of going to the salon and pilfering through the basket of swatches or staring at a wall of polishes like the Sherwin Williams display at Home Depot. Without fail, I would just end up stressed out and say “uhhhh do you have Big Apple Red? From OPI?” and cross my fingers that the manicurist or front desk person knew what I was talking about. Suffice it to say, it was not the kind of high-end guided artistic collaboration I wanted to have with my clients.  

I always had an immense amount of pride in “knowing my collection” so if a client wanted a red, I wouldn’t show them EVERY red- I’d show them a few and then pare down from there or figure out what direction we wanted to go in without being overwhelmed by choice.

During the first round of closures out here in California, I had the epiphany- I didn’t have to choose one or the other, I can do both in a way that works for me and my artistic process.

Most importantly, it gave me something to do while my studio was closed. Swatching my gels gave me new perspective on my collection- it helped me realize what colors I was buying too often and what colors/finishes were lacking. I also found these amazing swatch palettes at my local nail supply (so if you’re in Orange County, you can grab them at Skylark- if you’re not, here’s an Amazon link) that were wayyyyy less cumbersome than traditional swatch sticks.  

With the new COVID safety guidelines (although, not all that different from how I already ran my studio) came out- streamlining my appointment timing became paramount. Then the epiphany happened:  I should put these online. By putting my swatches online, my clients won’t feel the swatch stress in my studio, and neither of us will have to pour over which pink is the “right pink” for twenty minutes of an hour appointment. Which, TBH, will still happen from time to time (you know who you are).

So it’s a new year, a new opportunity to streamline and work smarter. What steps are you taking in the new year to streamline your service experience?

Here are some links to products that have helped me streamline my swatch process:

36 Color Swatch Palette

Dymo LabelManager Label Maker

1/4 Inch Black on Clear Label Tape

Ball-Chain Connector Clasp

Ageha Non-Wipe Top Gel for Sample Tip

BioSeaweed No Tipe Top Coat

IBD Powerbond Gel Bonder

tags: swatches, gel, client service
categories: Pro Tutorial, Musings, Salon
Monday 01.18.21
Posted by Rachel Messick
 

Marble Lightning Art Tutorial Featuring Essence by Luminary

This post contains affiliate links, see my disclosure statement here.

Manicure by Rachel Messick

Manicure by Rachel Messick

Luminary is my number one desert island product in my studio. Often immitated, never duplicated. I was beyond stoked when Kelly Van Dahl, the owner and creator of Luminary, reached out to me to try the newest addition to the Colors by Van Dahl collection: a gorgeous warm dove gray called “Essence”.I’m not going tp lie it was also a bit of a Sally Field “you like me, you really like me” moment, because, well, I’m an artist and a woman and imposter syndrome is REAL. The TL;DR of the matter is, it’s nice when a brand you love, loves you back.

Truthfully, don’t often reach for the non nude/pink members of the Luminary family, but, Essence might change my mind, she’s really cute. As far as technique, texture and viscosity- Essence hits all the marks of her brand-mates: strong but with flex, hard but not rigid or brittle. In my video below you can watch me do a basic Luminary overlay, however if you want proper education you’ll want to check out Luminary Educator Candice Green’s certification courses (she certified me and is also a personal friend, so I can vouch for her) if you’re wanting to give it a go on your own, check out the Luminary Nail Systems Youtube channel for tips and tricks.

Let’s get into some ART. For this look I’ll be using Luminary Essence (duh), Kokoist Color Gel in E-206S Black Martini, Ageha Sharp Liner in White and Akzentz Gel Play in Cosmic Silver. You’ll also want to grab your Luminary Commit Primer and Empower Top Coat. For tools, this look keeps it super simple- the only brushes you’ll need are the Kokoist Round Brush and the Nail Thoughts x Kokoist Detailer.

If you’re looking to grab some Luminary for your salon or studio, you can shop my distributor My Nail Stuff by clicking this link and using code RACHEL at checkout. You’ll save 10% of the Luminary color of the month, Erica’s ATA and Dulce Nail Sprinkles.


tags: luminary, gel
categories: Product Review, Pro Tutorial
Friday 01.01.21
Posted by Rachel Messick
 

Celestial Opal Nail Tutorial


It’s no secret I like my nail art simple, unique with some serious depth. Enter stage right, Celestial Opal, checking allllll the boxes. This look is beautiful as a full set on all ten nails or as an accent on a few. She’s versatile and universally flattering on EVERYBODY.

IMG_8355.jpg

This is another look that builds it’s depth with layers, starting with a milky base and layering in duo chrome flakes and gold filter foil like a sassy Opal inspired seven-layer dip of awesome.

I originally create this look for my client Missy, late last year and was super excited to add it to my press-on shop and now a step-by-step for you to recreate.

IMG_3174.jpg

Step 1: Prep and Base Coat, cure.

Step 2: Apply single layer of Presto Color Gel #3 and cure

Step 3: Leaving sticky layer in tact, add Kokoist Rainbow Mica and Nail Labo Foil Flakes, then tap and burnish Clou Good Fiber along the perimeter of the nail.

Step 4: Apply a coat of Kokoist Art Clear, give it a moment to self level and then cure.

Step 5: Add single coat of Presto Color Gel #180 and cure

Step 6: Leaving sticky layer in tact, burnish additional gold fiber to create depth

Step 7: Apply a thin coat of Kokoist Art Clear, give it a moment to self-level and then cure.

Step 8: Add a cuff around the top of the nail using Kimagure Cat Liquid Metal Gold gel and then cure for full 60 seconds.

Step 9: Apply Kokoist Ultra Glossy Non Wipe Top Gel and cure

IMG_1240.jpg


Products Used

Kokoist Bonding DUO in Bottle

Kokoist Ultra Glossy Non Wipe Top Gel

Kokoist Art Clear

Presto Color Gel #3 & #180

Kimagure Cat Liquid Metal Gold Gel

Kokoist Rainbow Mica R-2 Golden Purple

Nail Labo Foil Flakes Pink Aurora

Clou Gold Fiber


tags: Tutorial, stone nail art, gel
categories: Pro Tutorial
Monday 07.20.20
Posted by Rachel Messick
 

Powered by Squarespace.