
Frames Flakes | Nail Art Tutorial
Chrome has a tendency to find every bit of leftover stickiness and make itself at home. In this tutorial, I'm sharing how I created this framed flakes design and the little details that help keep chrome crisp, flakes smooth, and overlays from getting bulky.
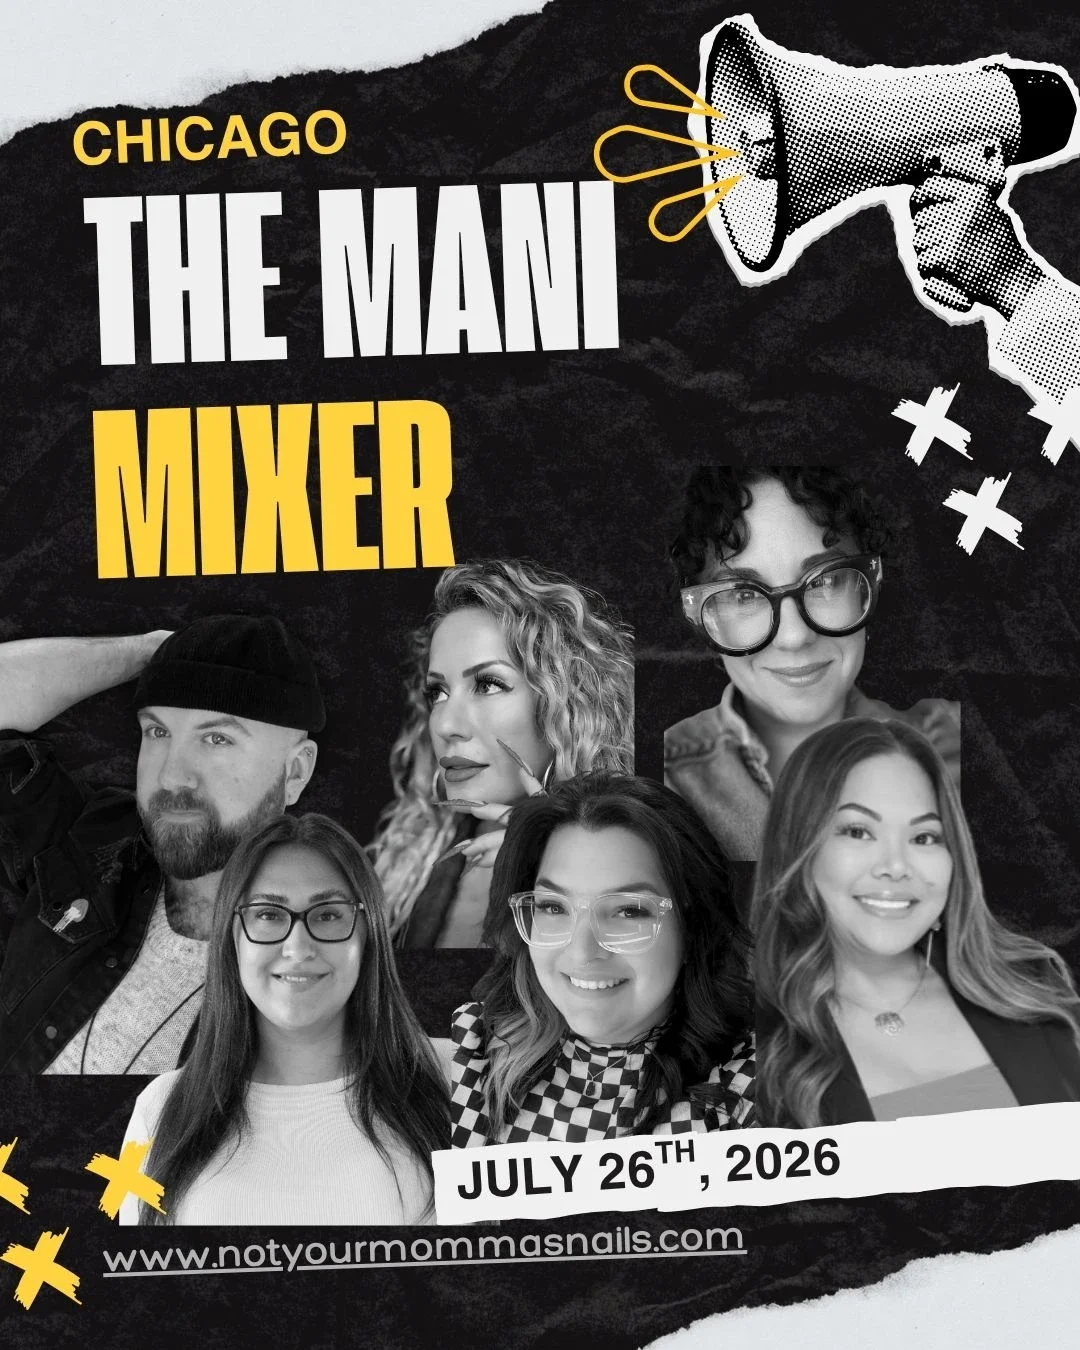
The Mani Mixer 2026 | Finding Your Nail Community
Being a nail artist means spending your days talking to people while somehow still working in a surprisingly solitary profession. From my first nail mentor to the friendships I've built throughout the industry, a few thoughts on community, connection and why I'm headed to Chicago for The Mani Mixer 2026.
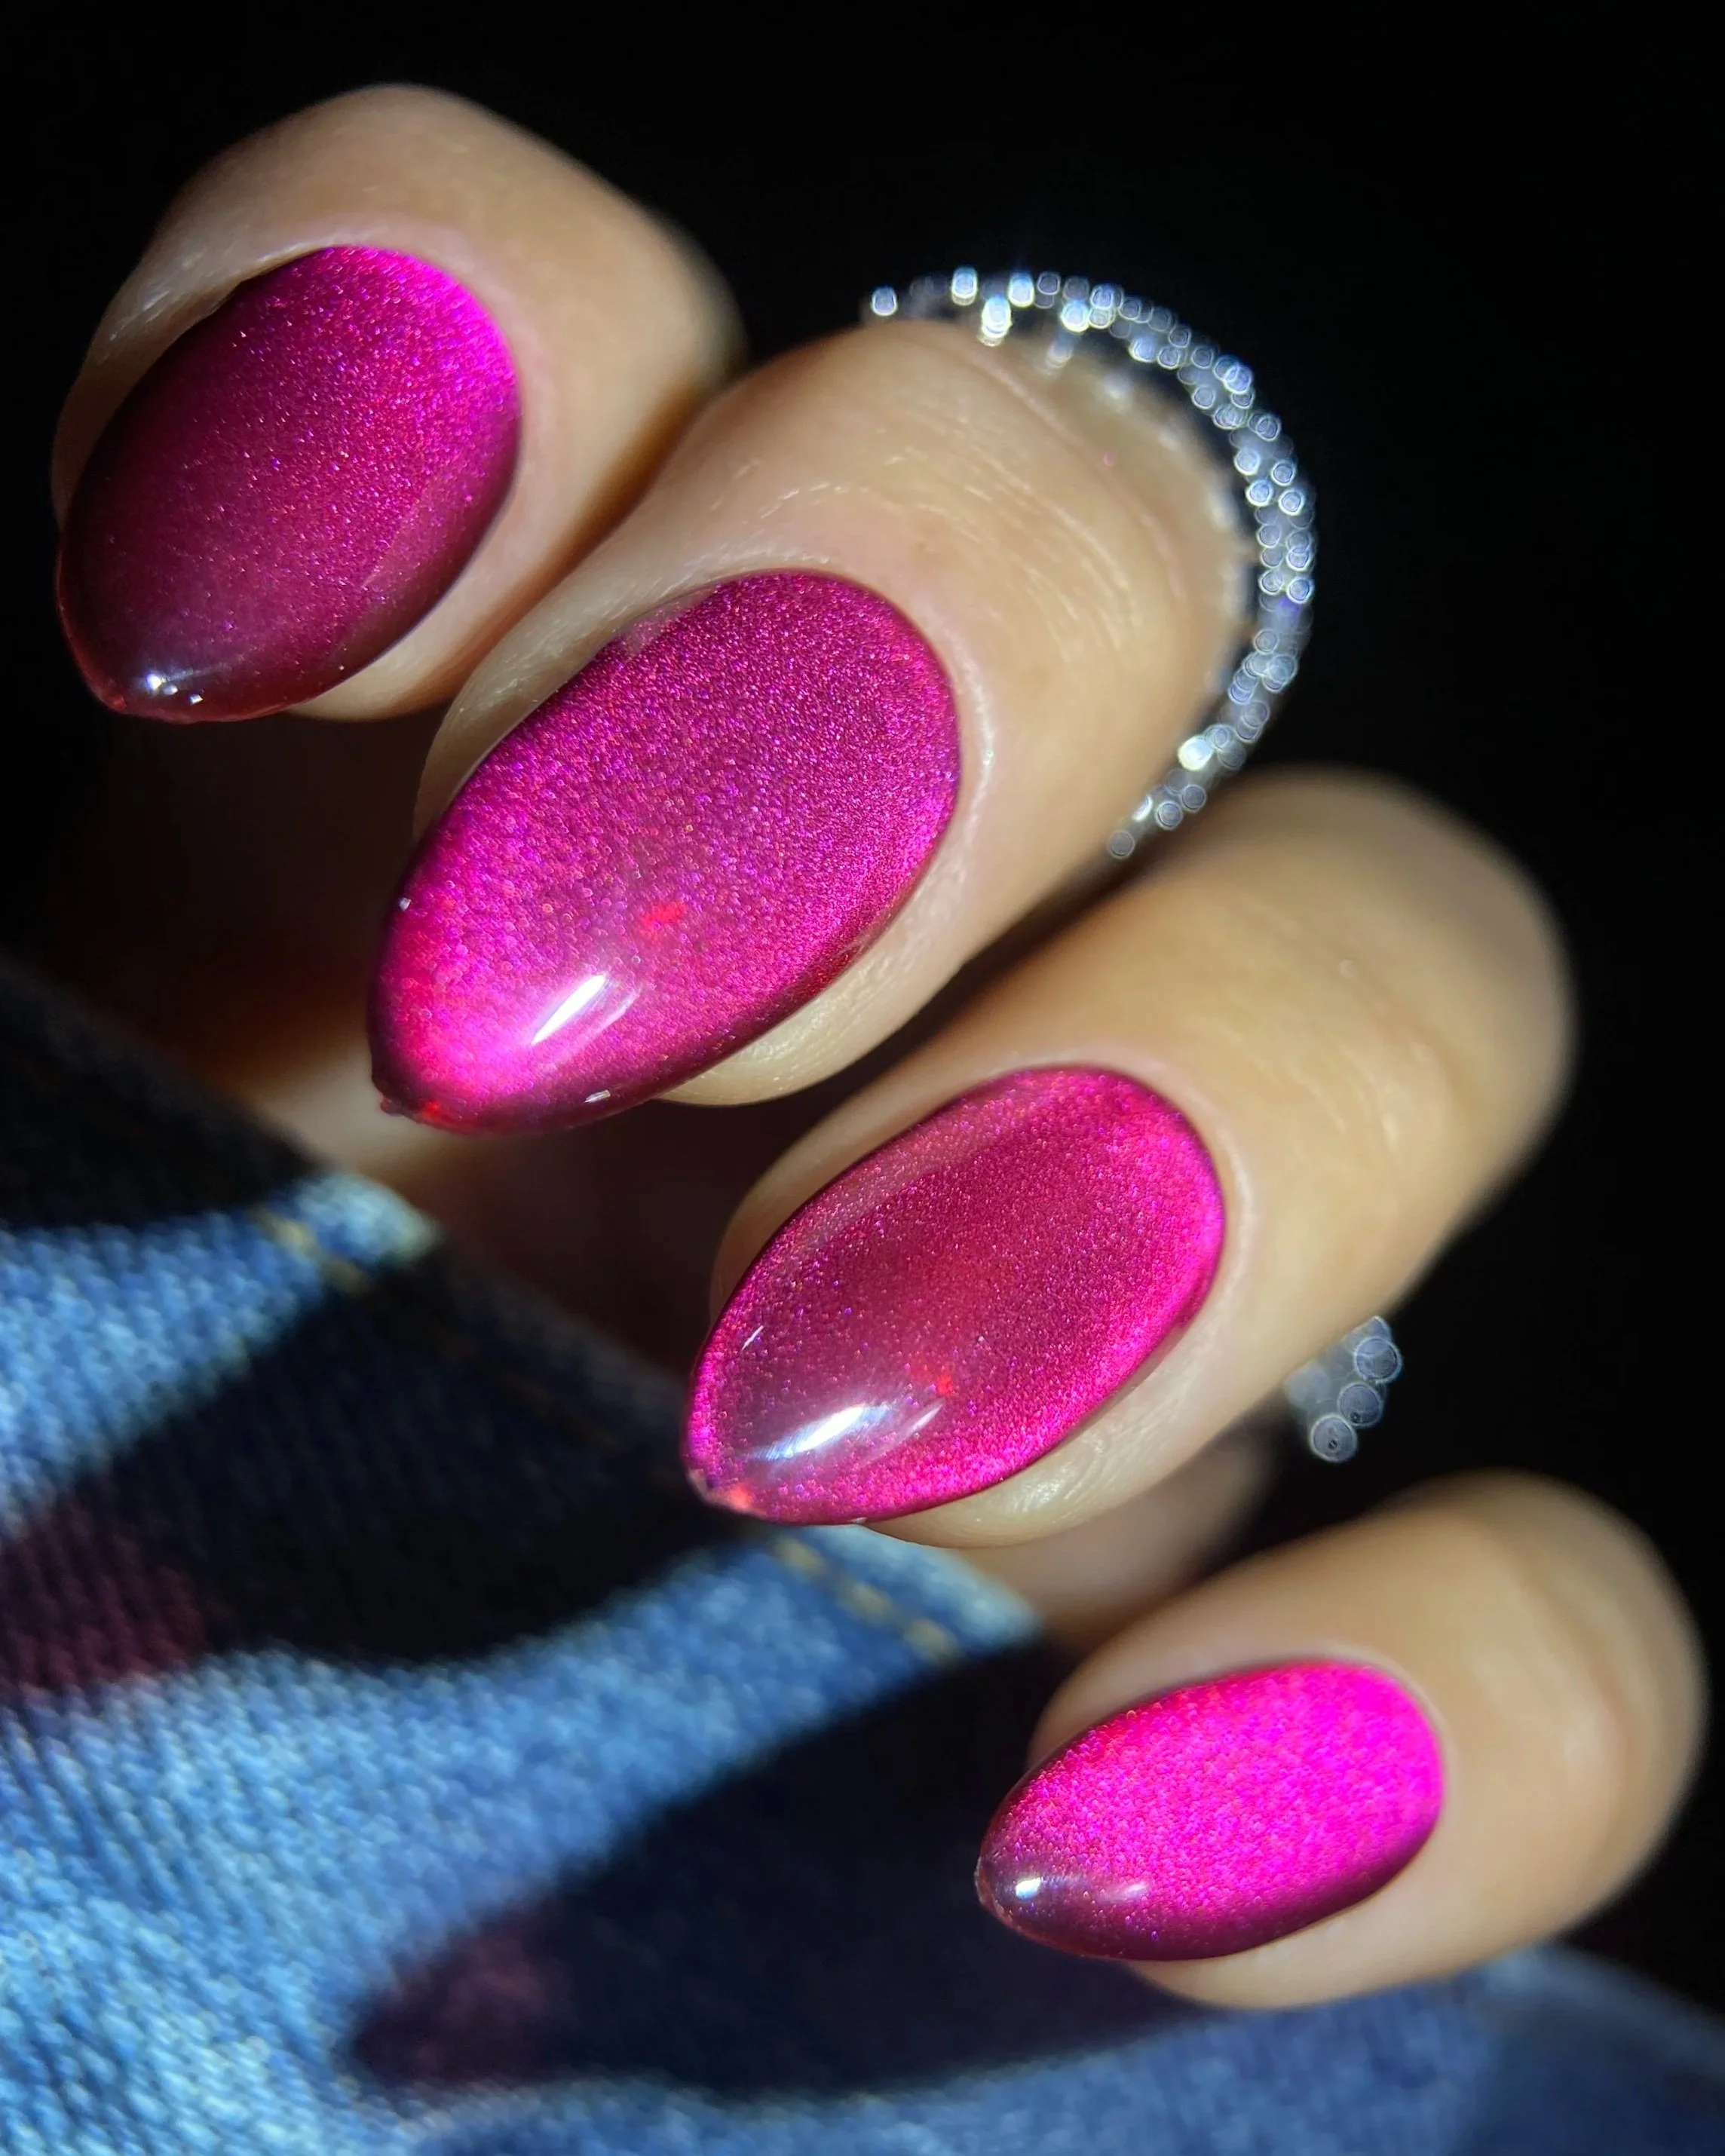
Double Rhythm Gemstone Glow Collection Review + Swatches
Affordable magnet gels with a luxe finish? Where do I sign? The Double Rhythm Gemstone Glow collection combines rich jewel tones, velvety magnetic particles, and a glassy finish in a HEMA- and TPO-free formula that feels far more expensive than it is.
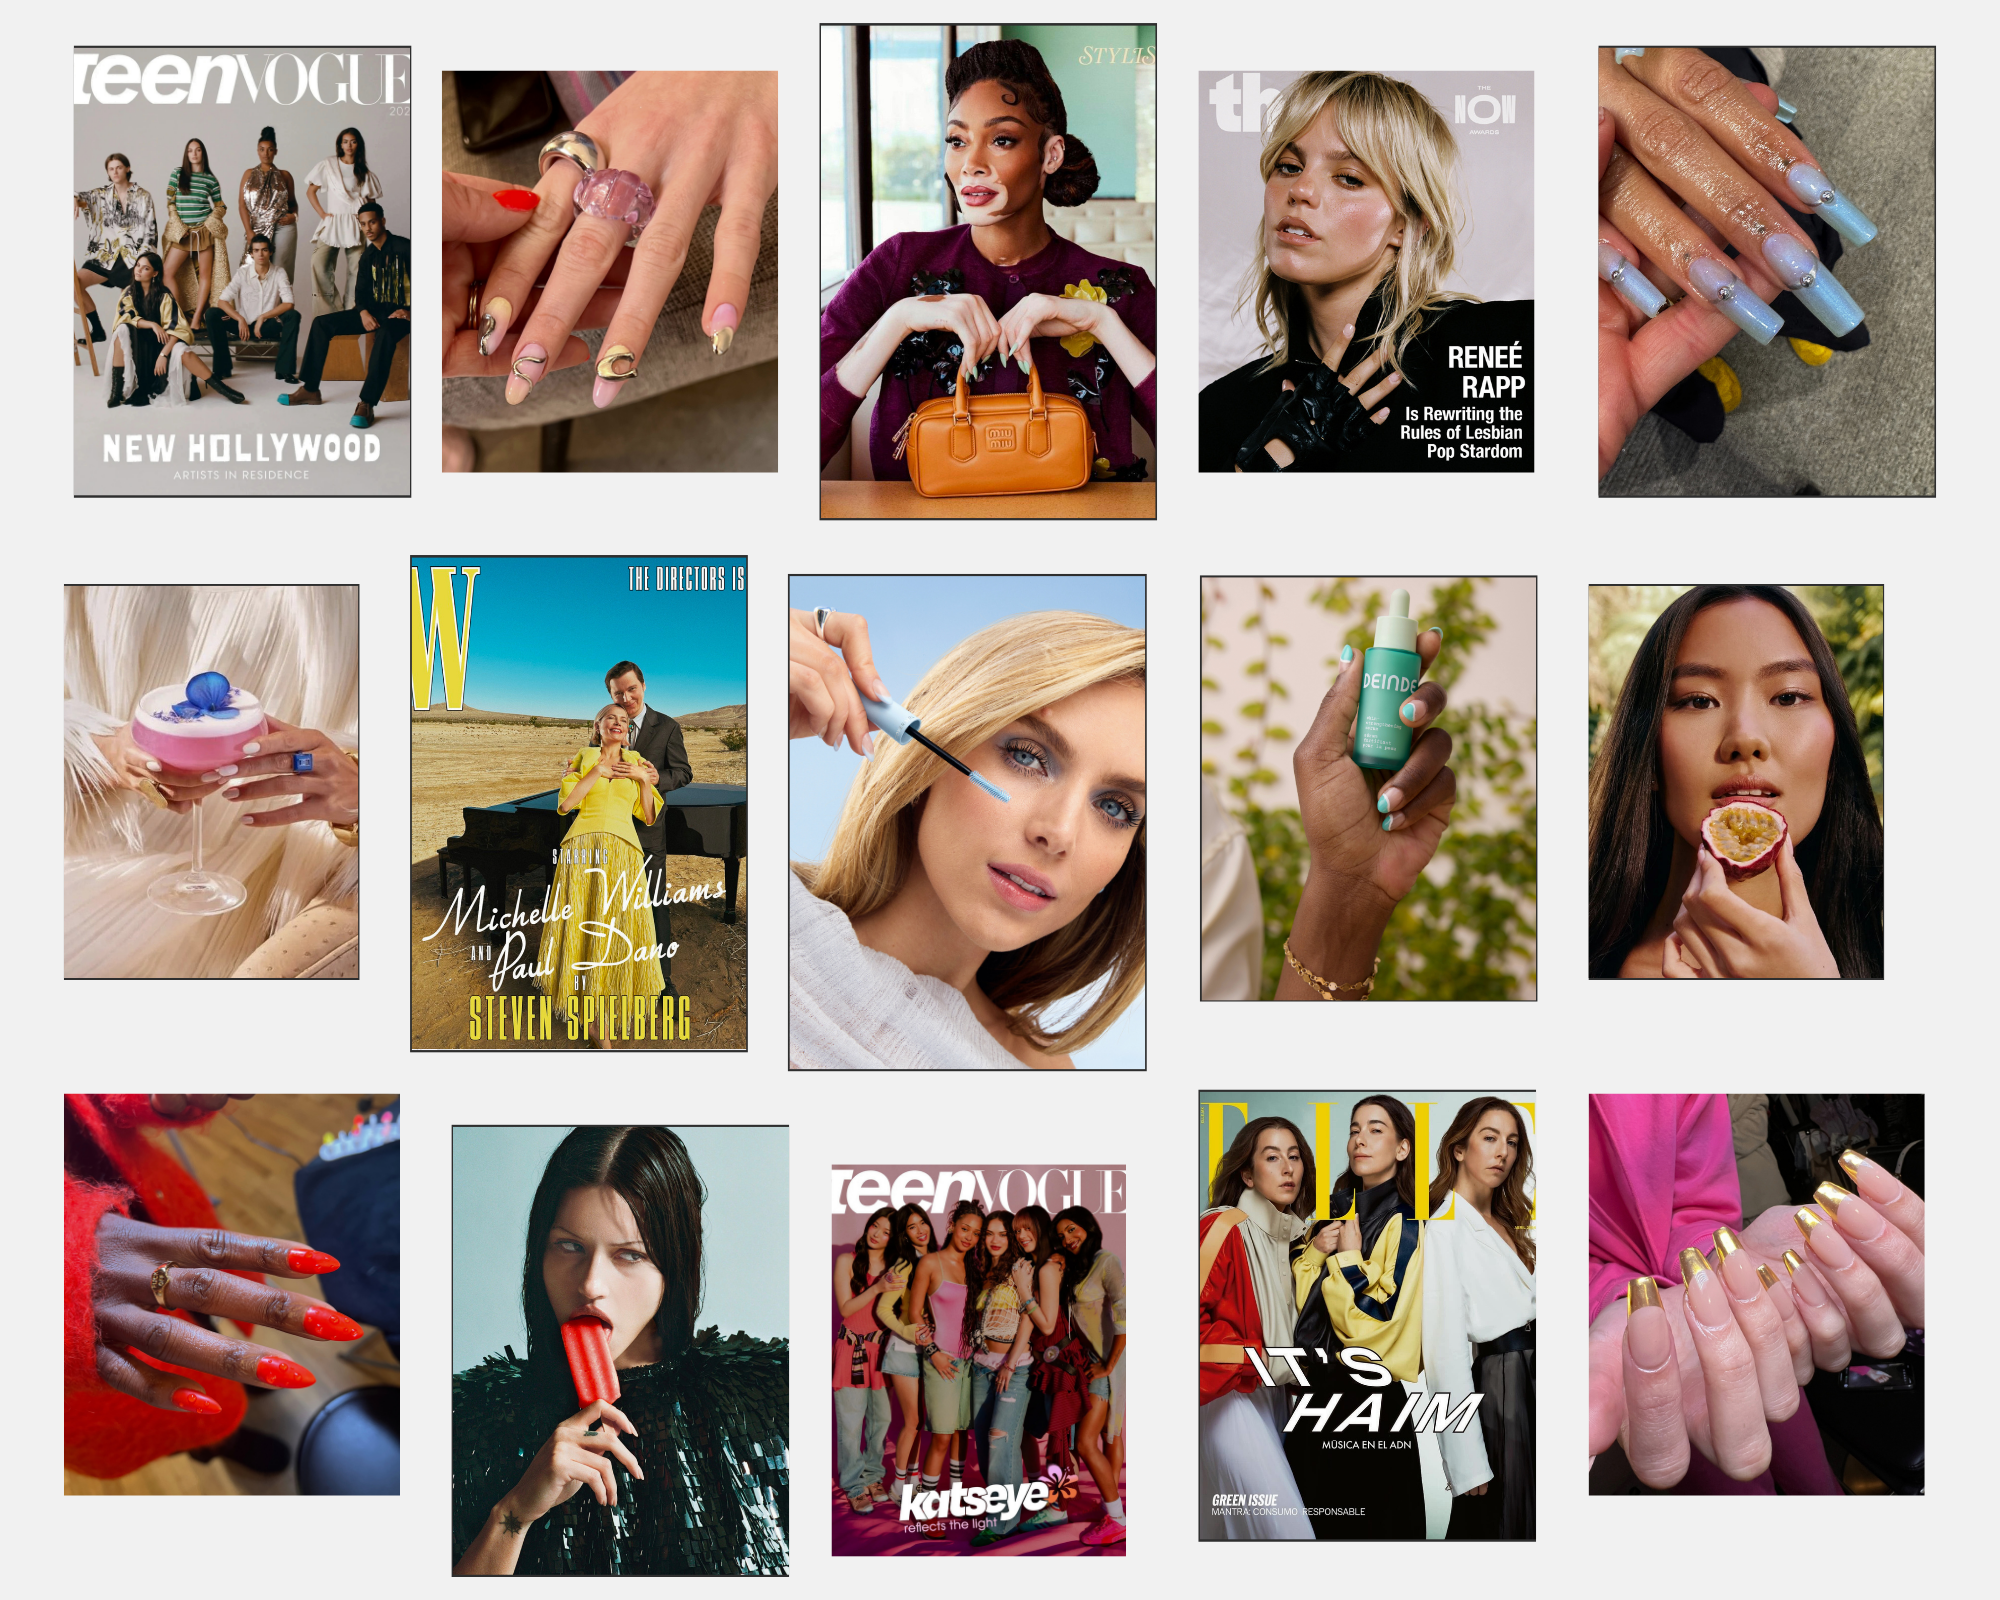
Building a Body of Work | Industry Musings
I fell into an administrative haze while updating my website and accidentally spent the afternoon wandering through years of editorials, campaigns, manicures, and blog posts. It reminded me that social media isn't the only place a creative career exists, and that sometimes it's worth looking back before moving on to the next thing.
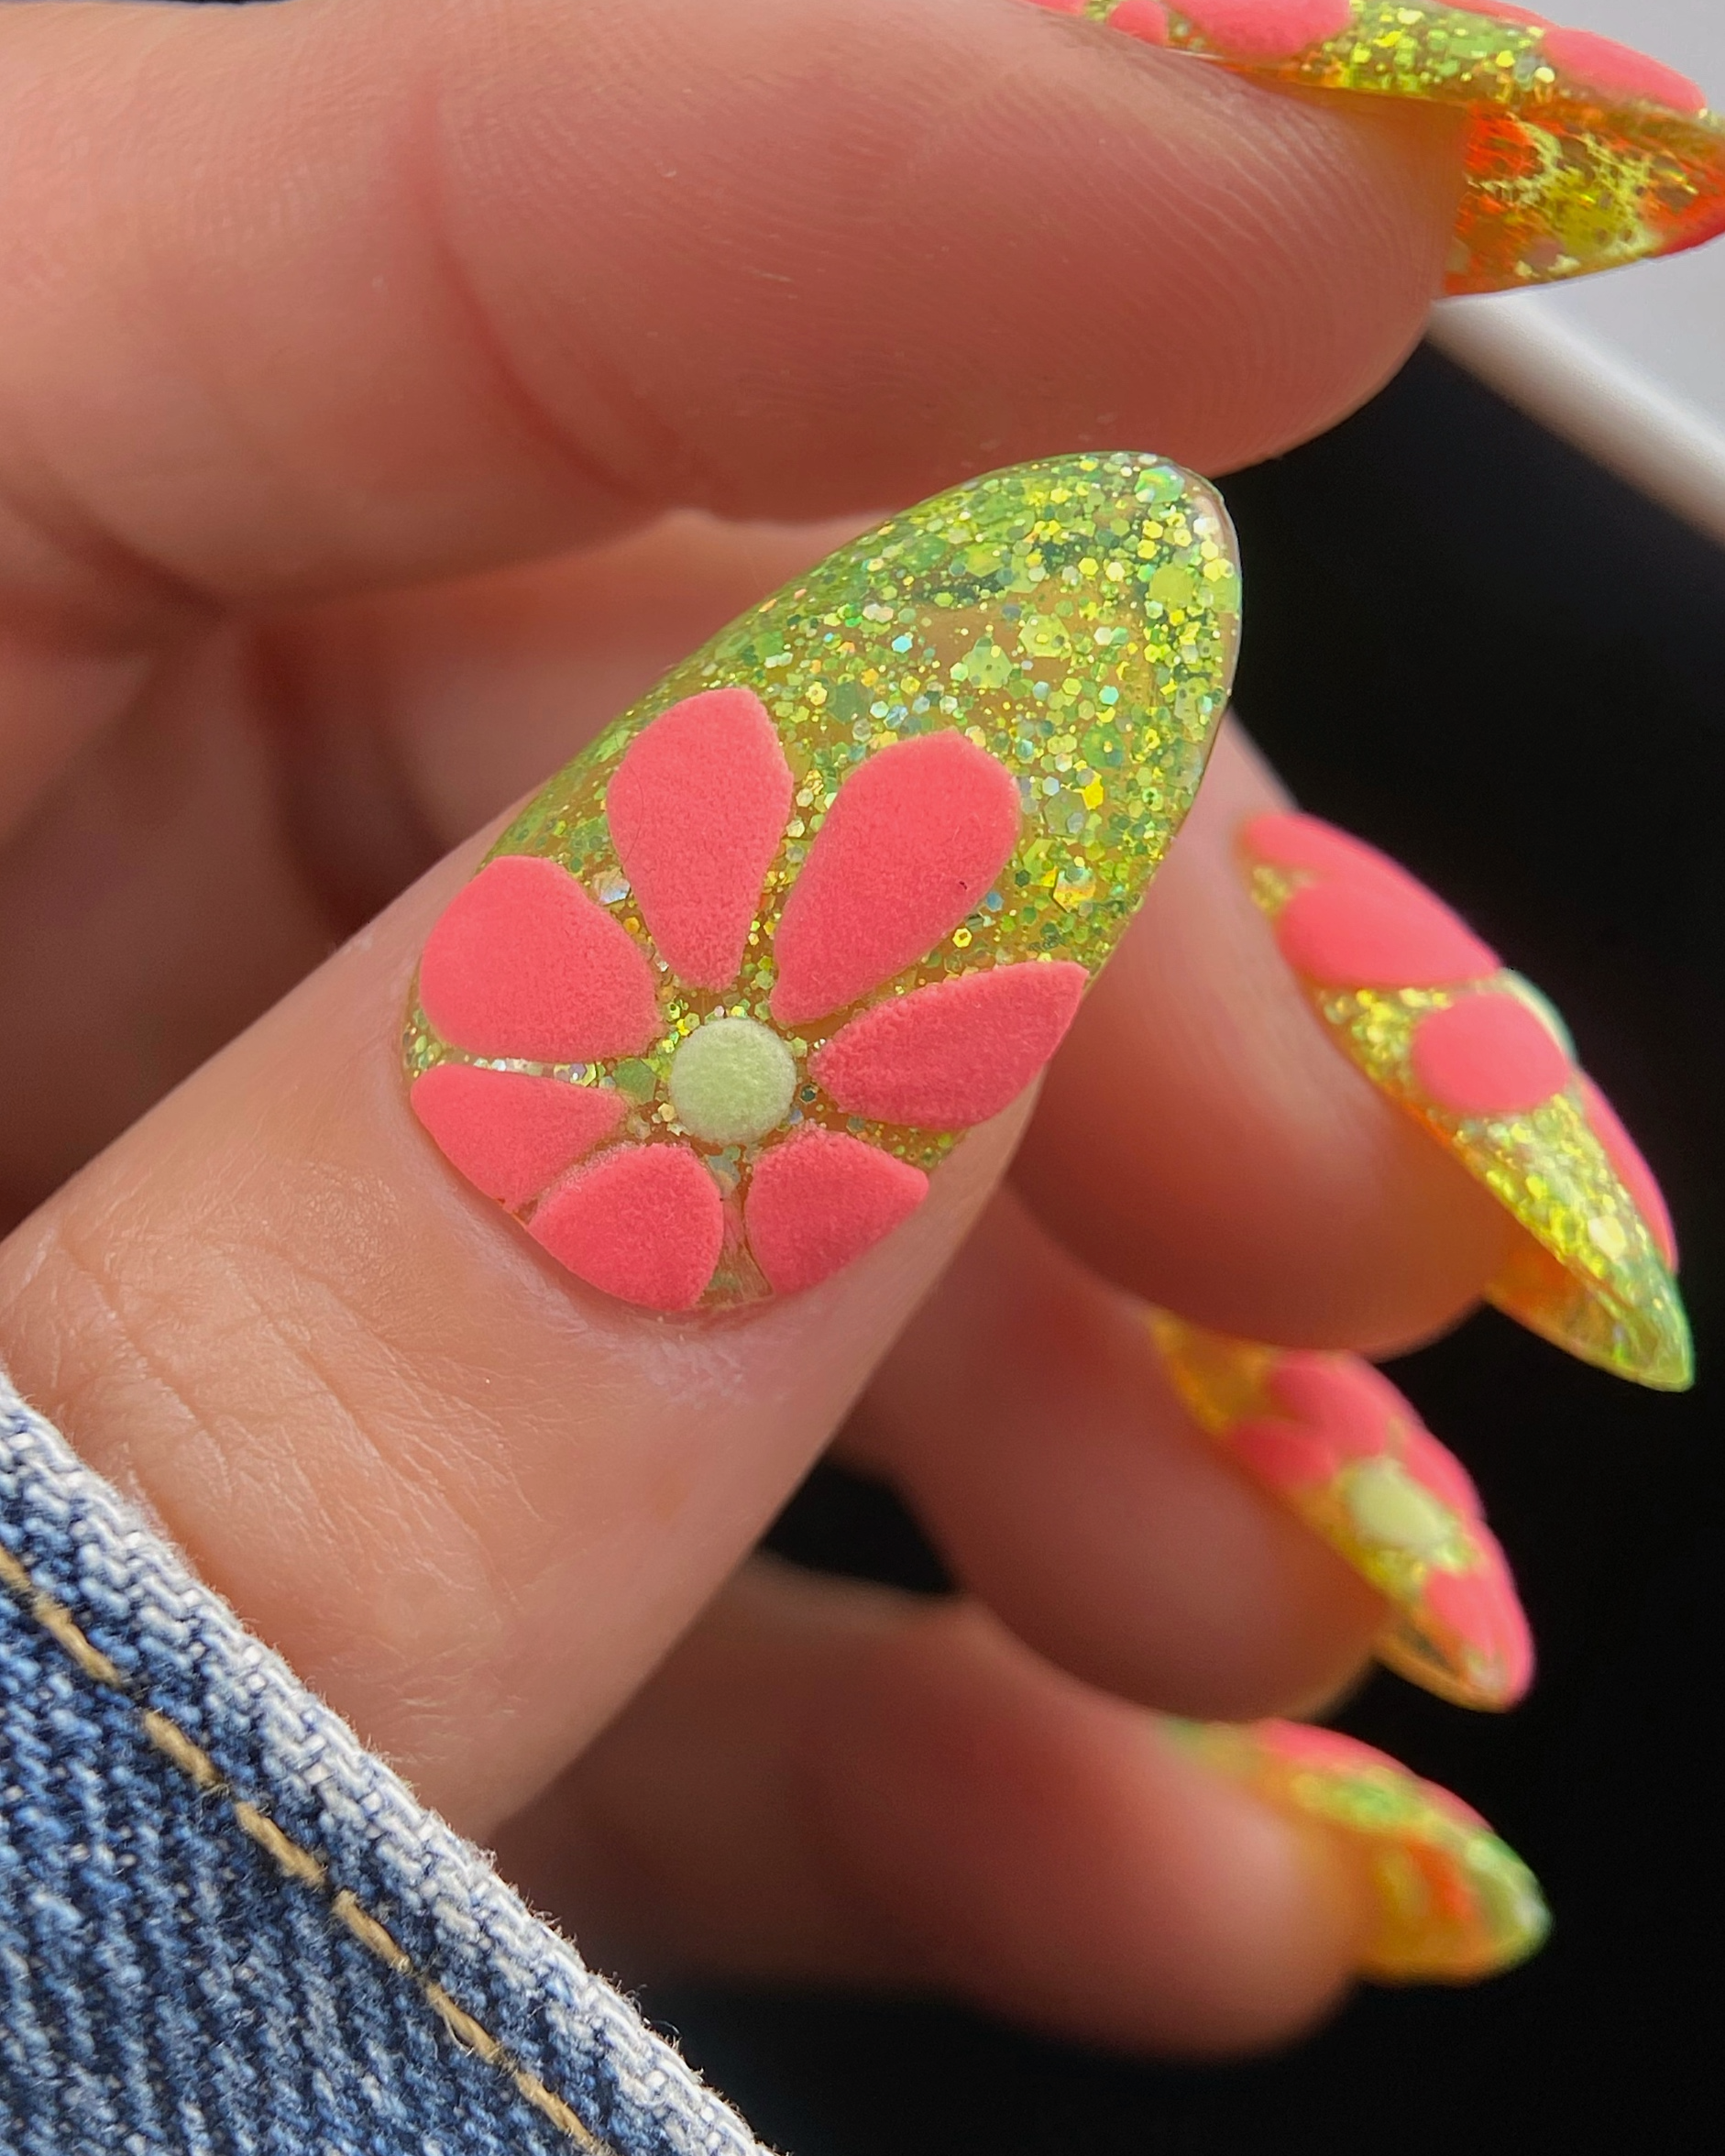
Puff Paint Flowers | Nail Art Tutorial
These colorful puff paint flower nails reminded me of The Lizzie McGuire Movie, terrible Starbucks cappuccinos, and the fact that growing up doesn't mean giving up whimsy. Follow along as I show you how to create this textured floral nail art using gel and acrylic powder.
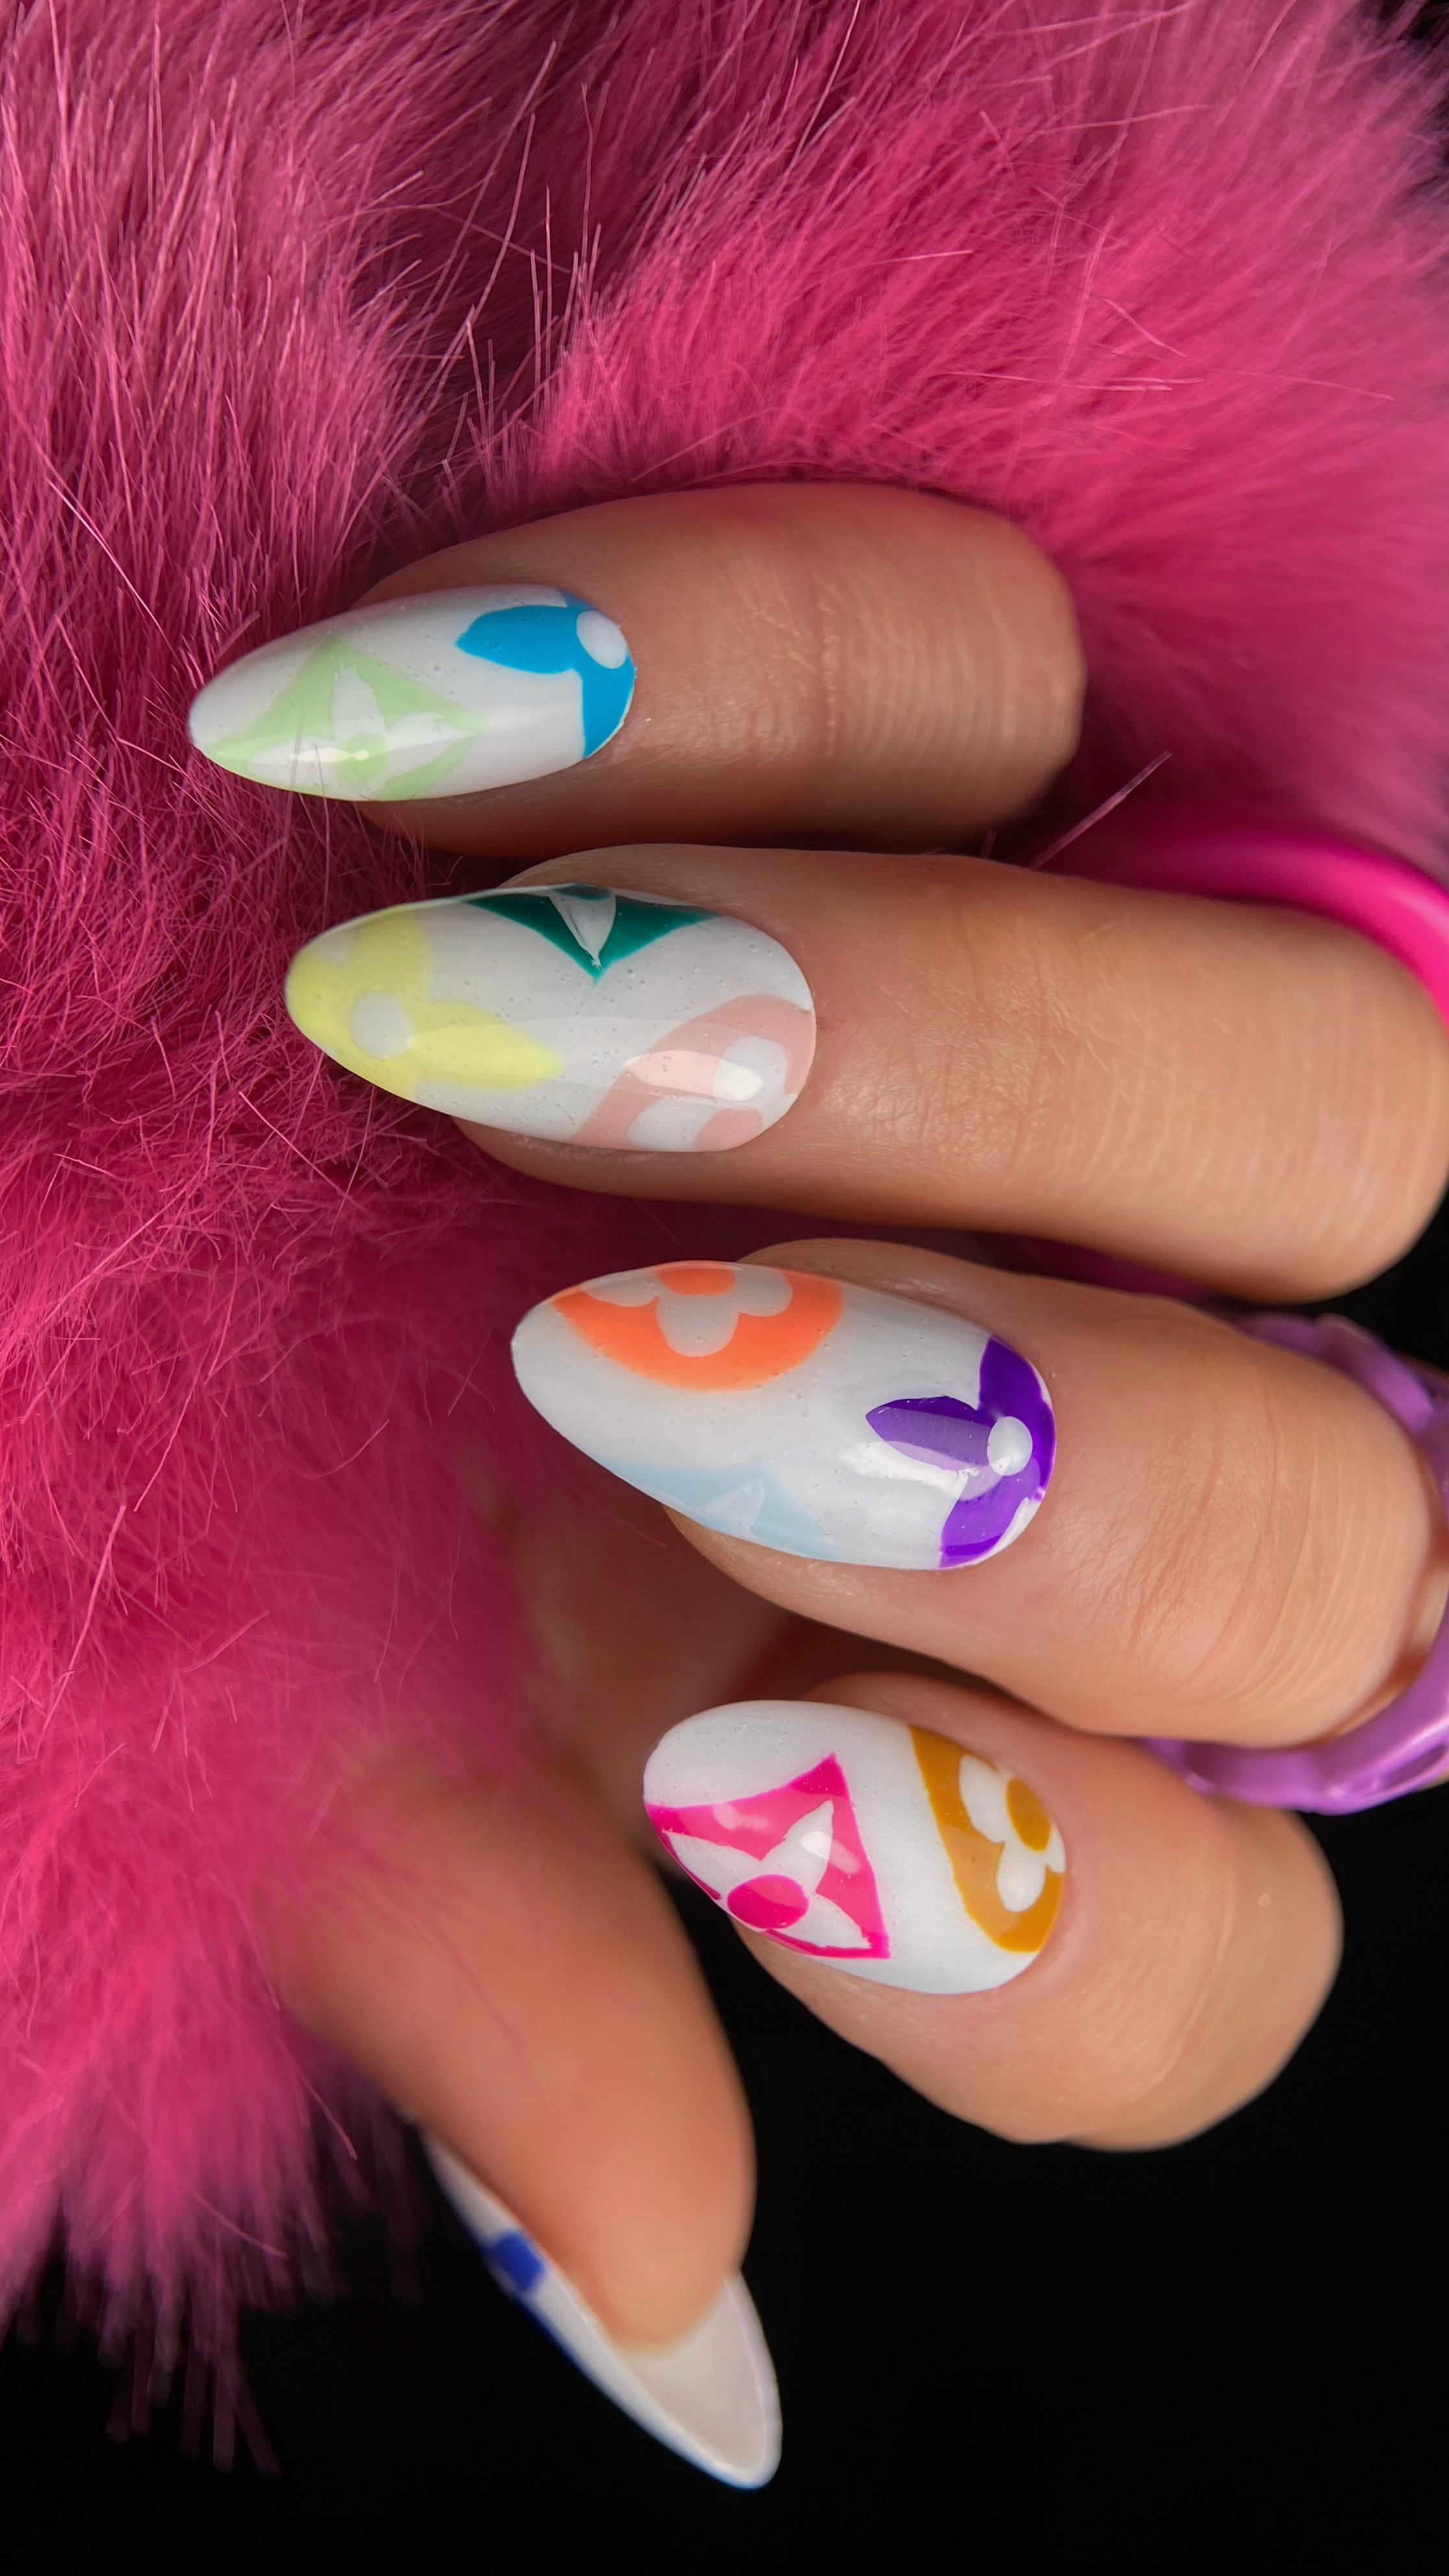
Louis Vuitton x Takashi Murakami Inspired Nail Art | Watch Me Work
The return of the Louis Vuitton x Takashi Murakami collection sent me straight back to the early 2000s, when I spent more time wandering South Coast Plaza than I did attending class. Take a look behind the scenes as I recreate some of my favorite elements of the iconic collaboration in this colorful nail art design.
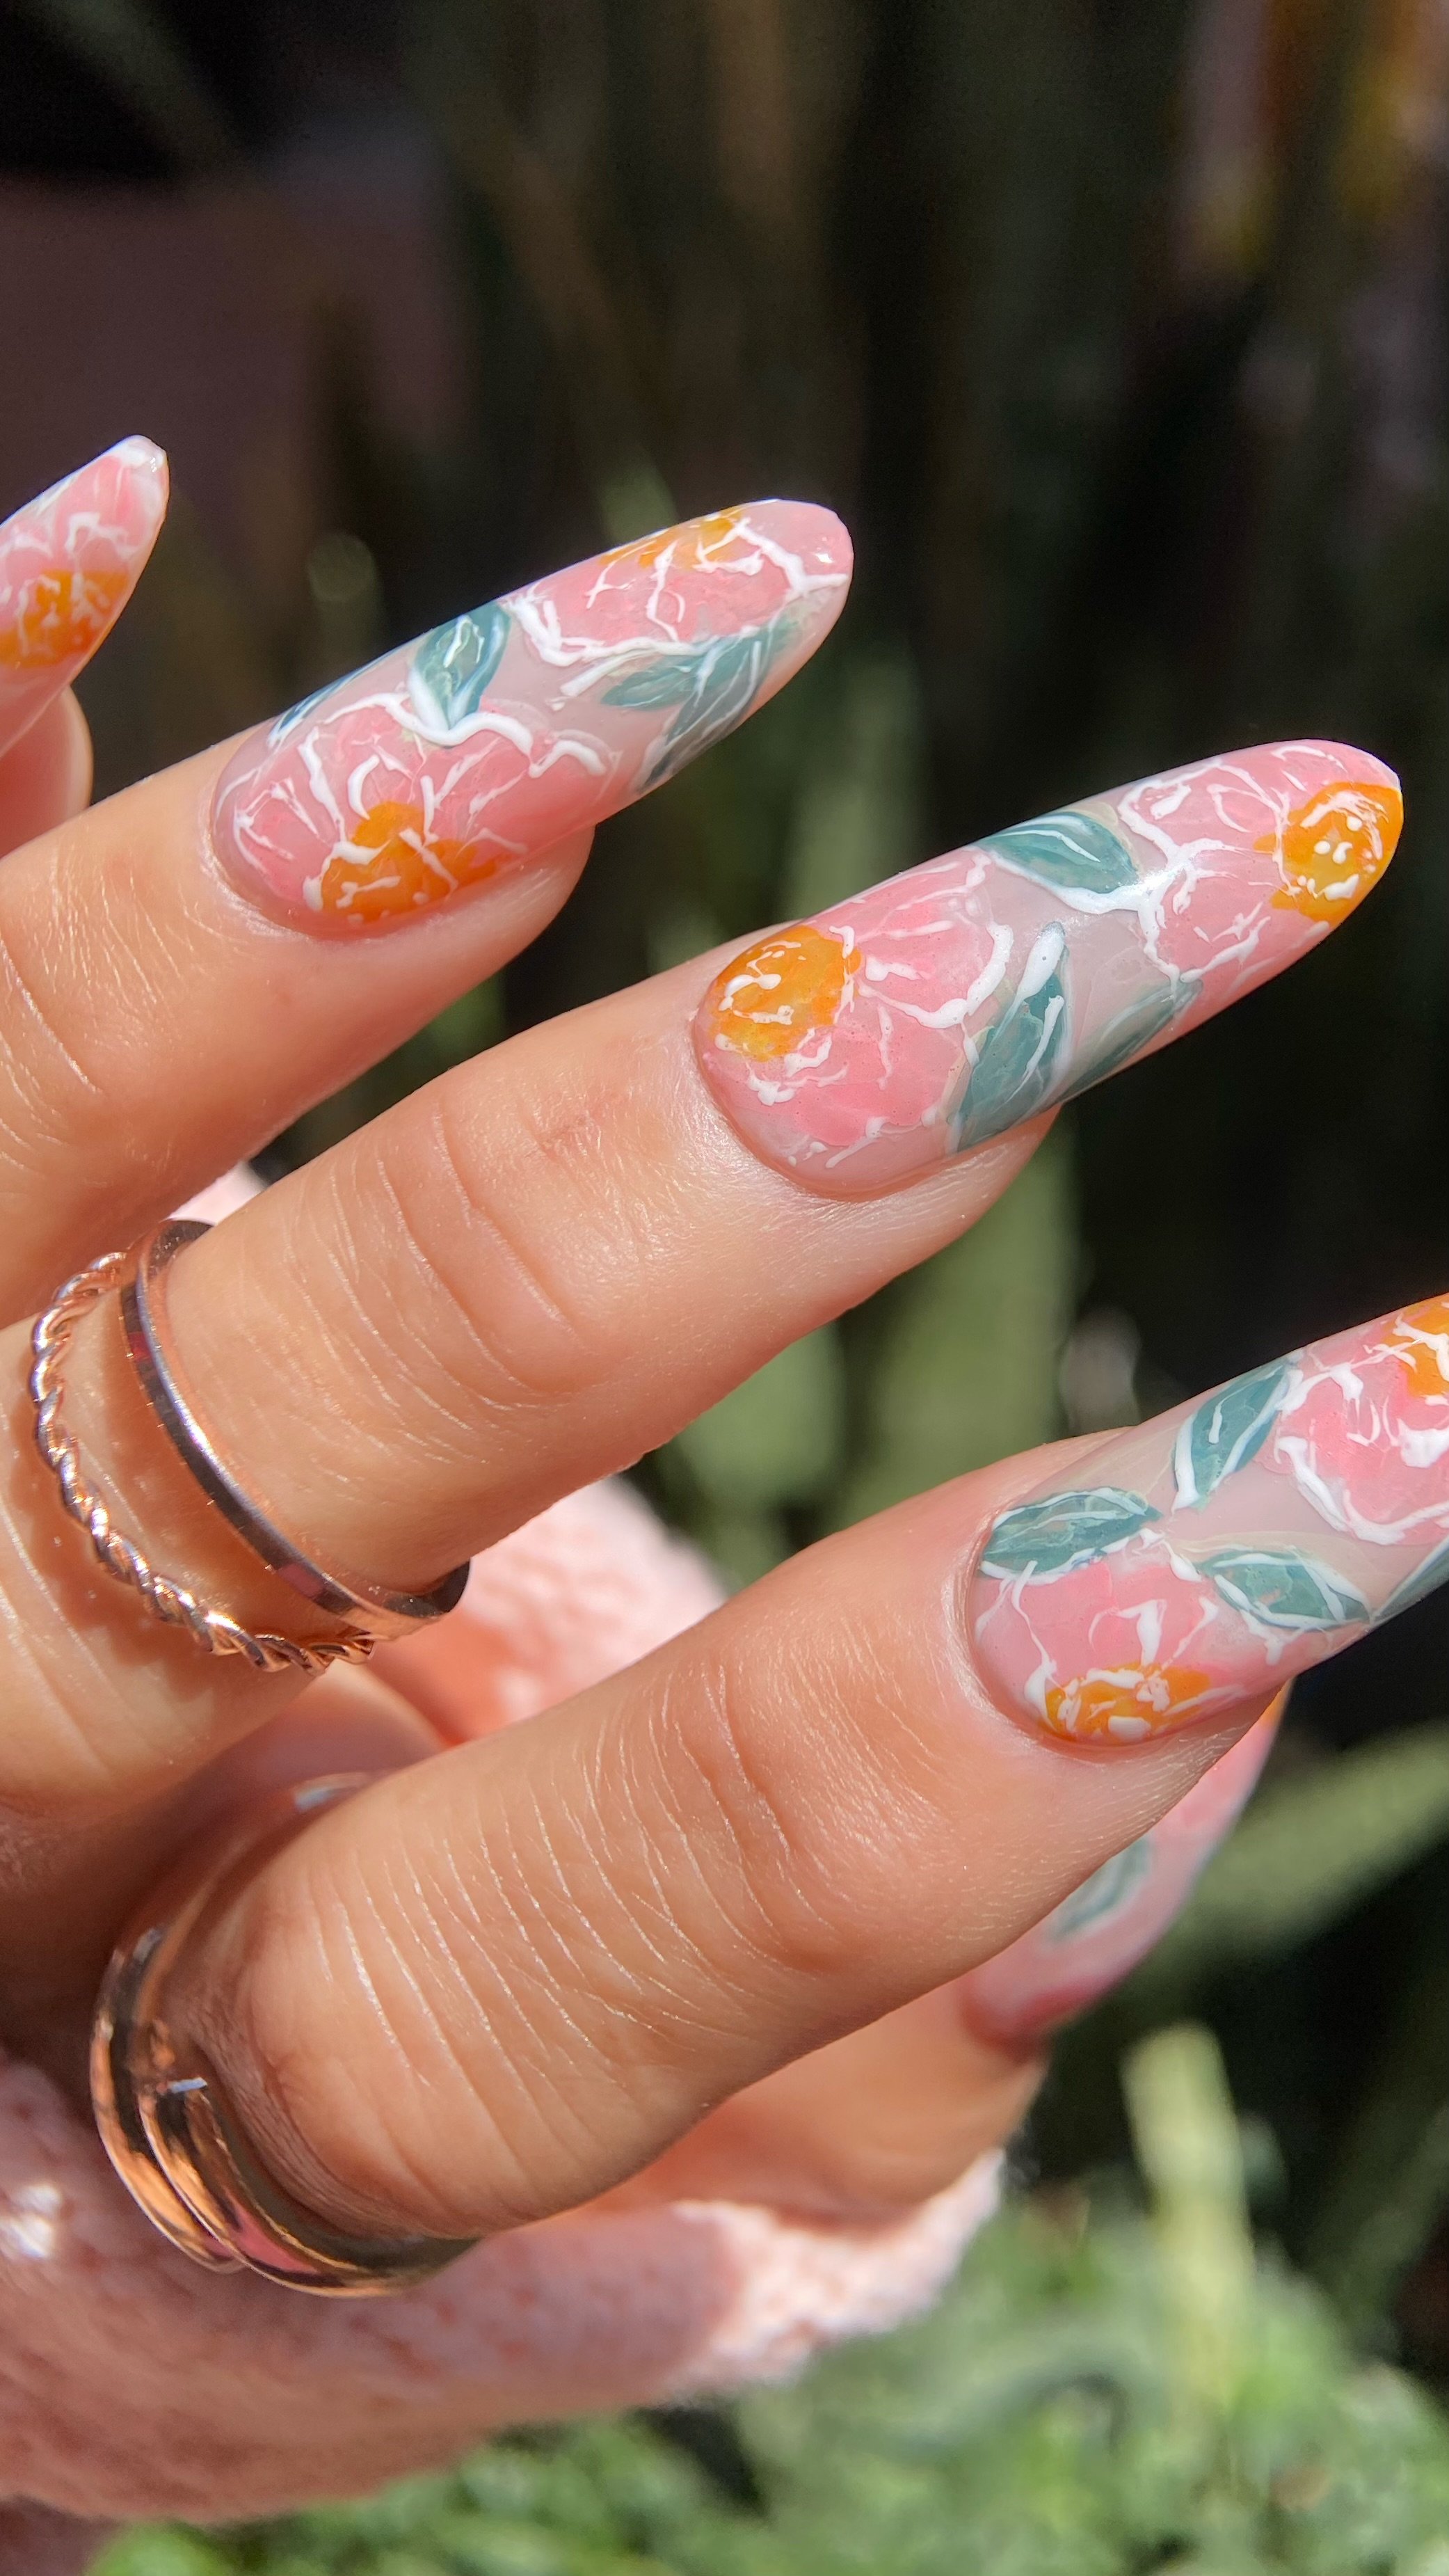
Sketchbook Florals | Nail Art Tutorial
Perfectly imperfect is my kind of style, in art and in life. I love the way the new formula of Kokoist Bleeding Ink flows, and for this look I really wanted to lean into the watercolor vibes of it all. Think artsy, billowy, peony-adjacent blooms with a soft painterly finish.
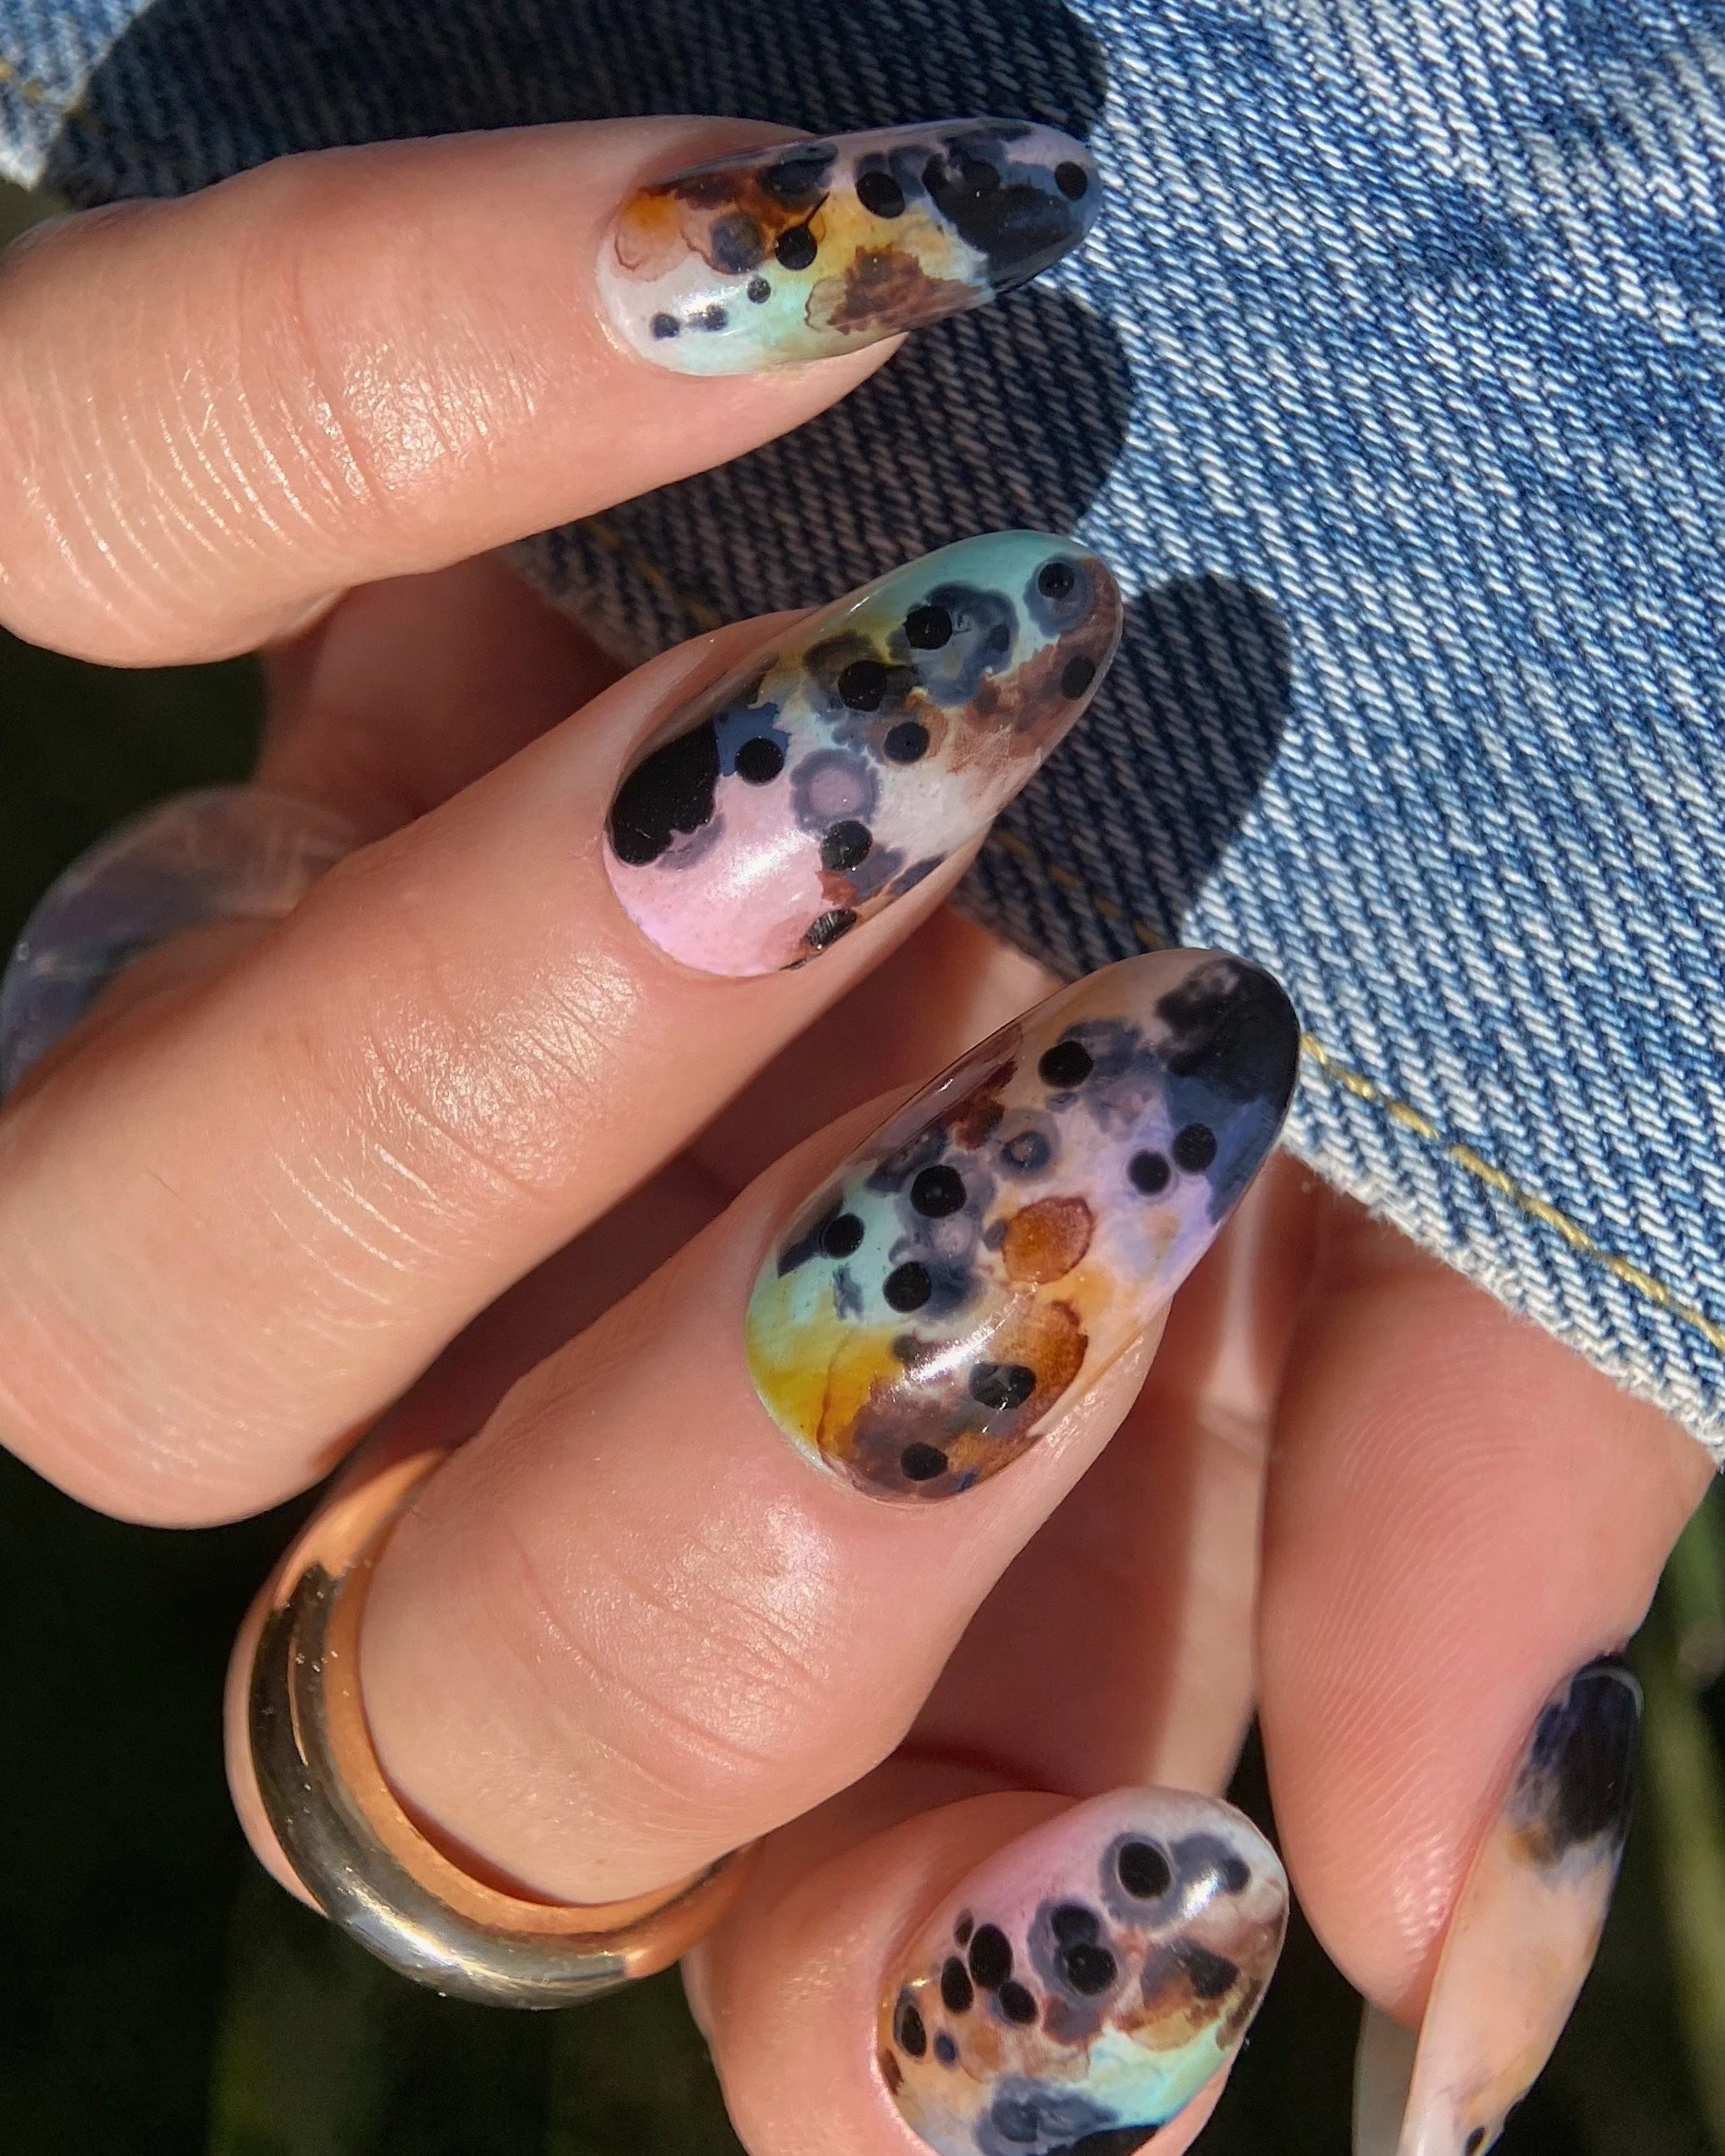
Inky Abstract | Nail Art Tutorial
Inspired by an abstract image I stumbled across on Pinterest, this layered design combines soft color washes, Bleeding Ink, and unexpected tools to create a moody, inky effect with plenty of depth and dimension.
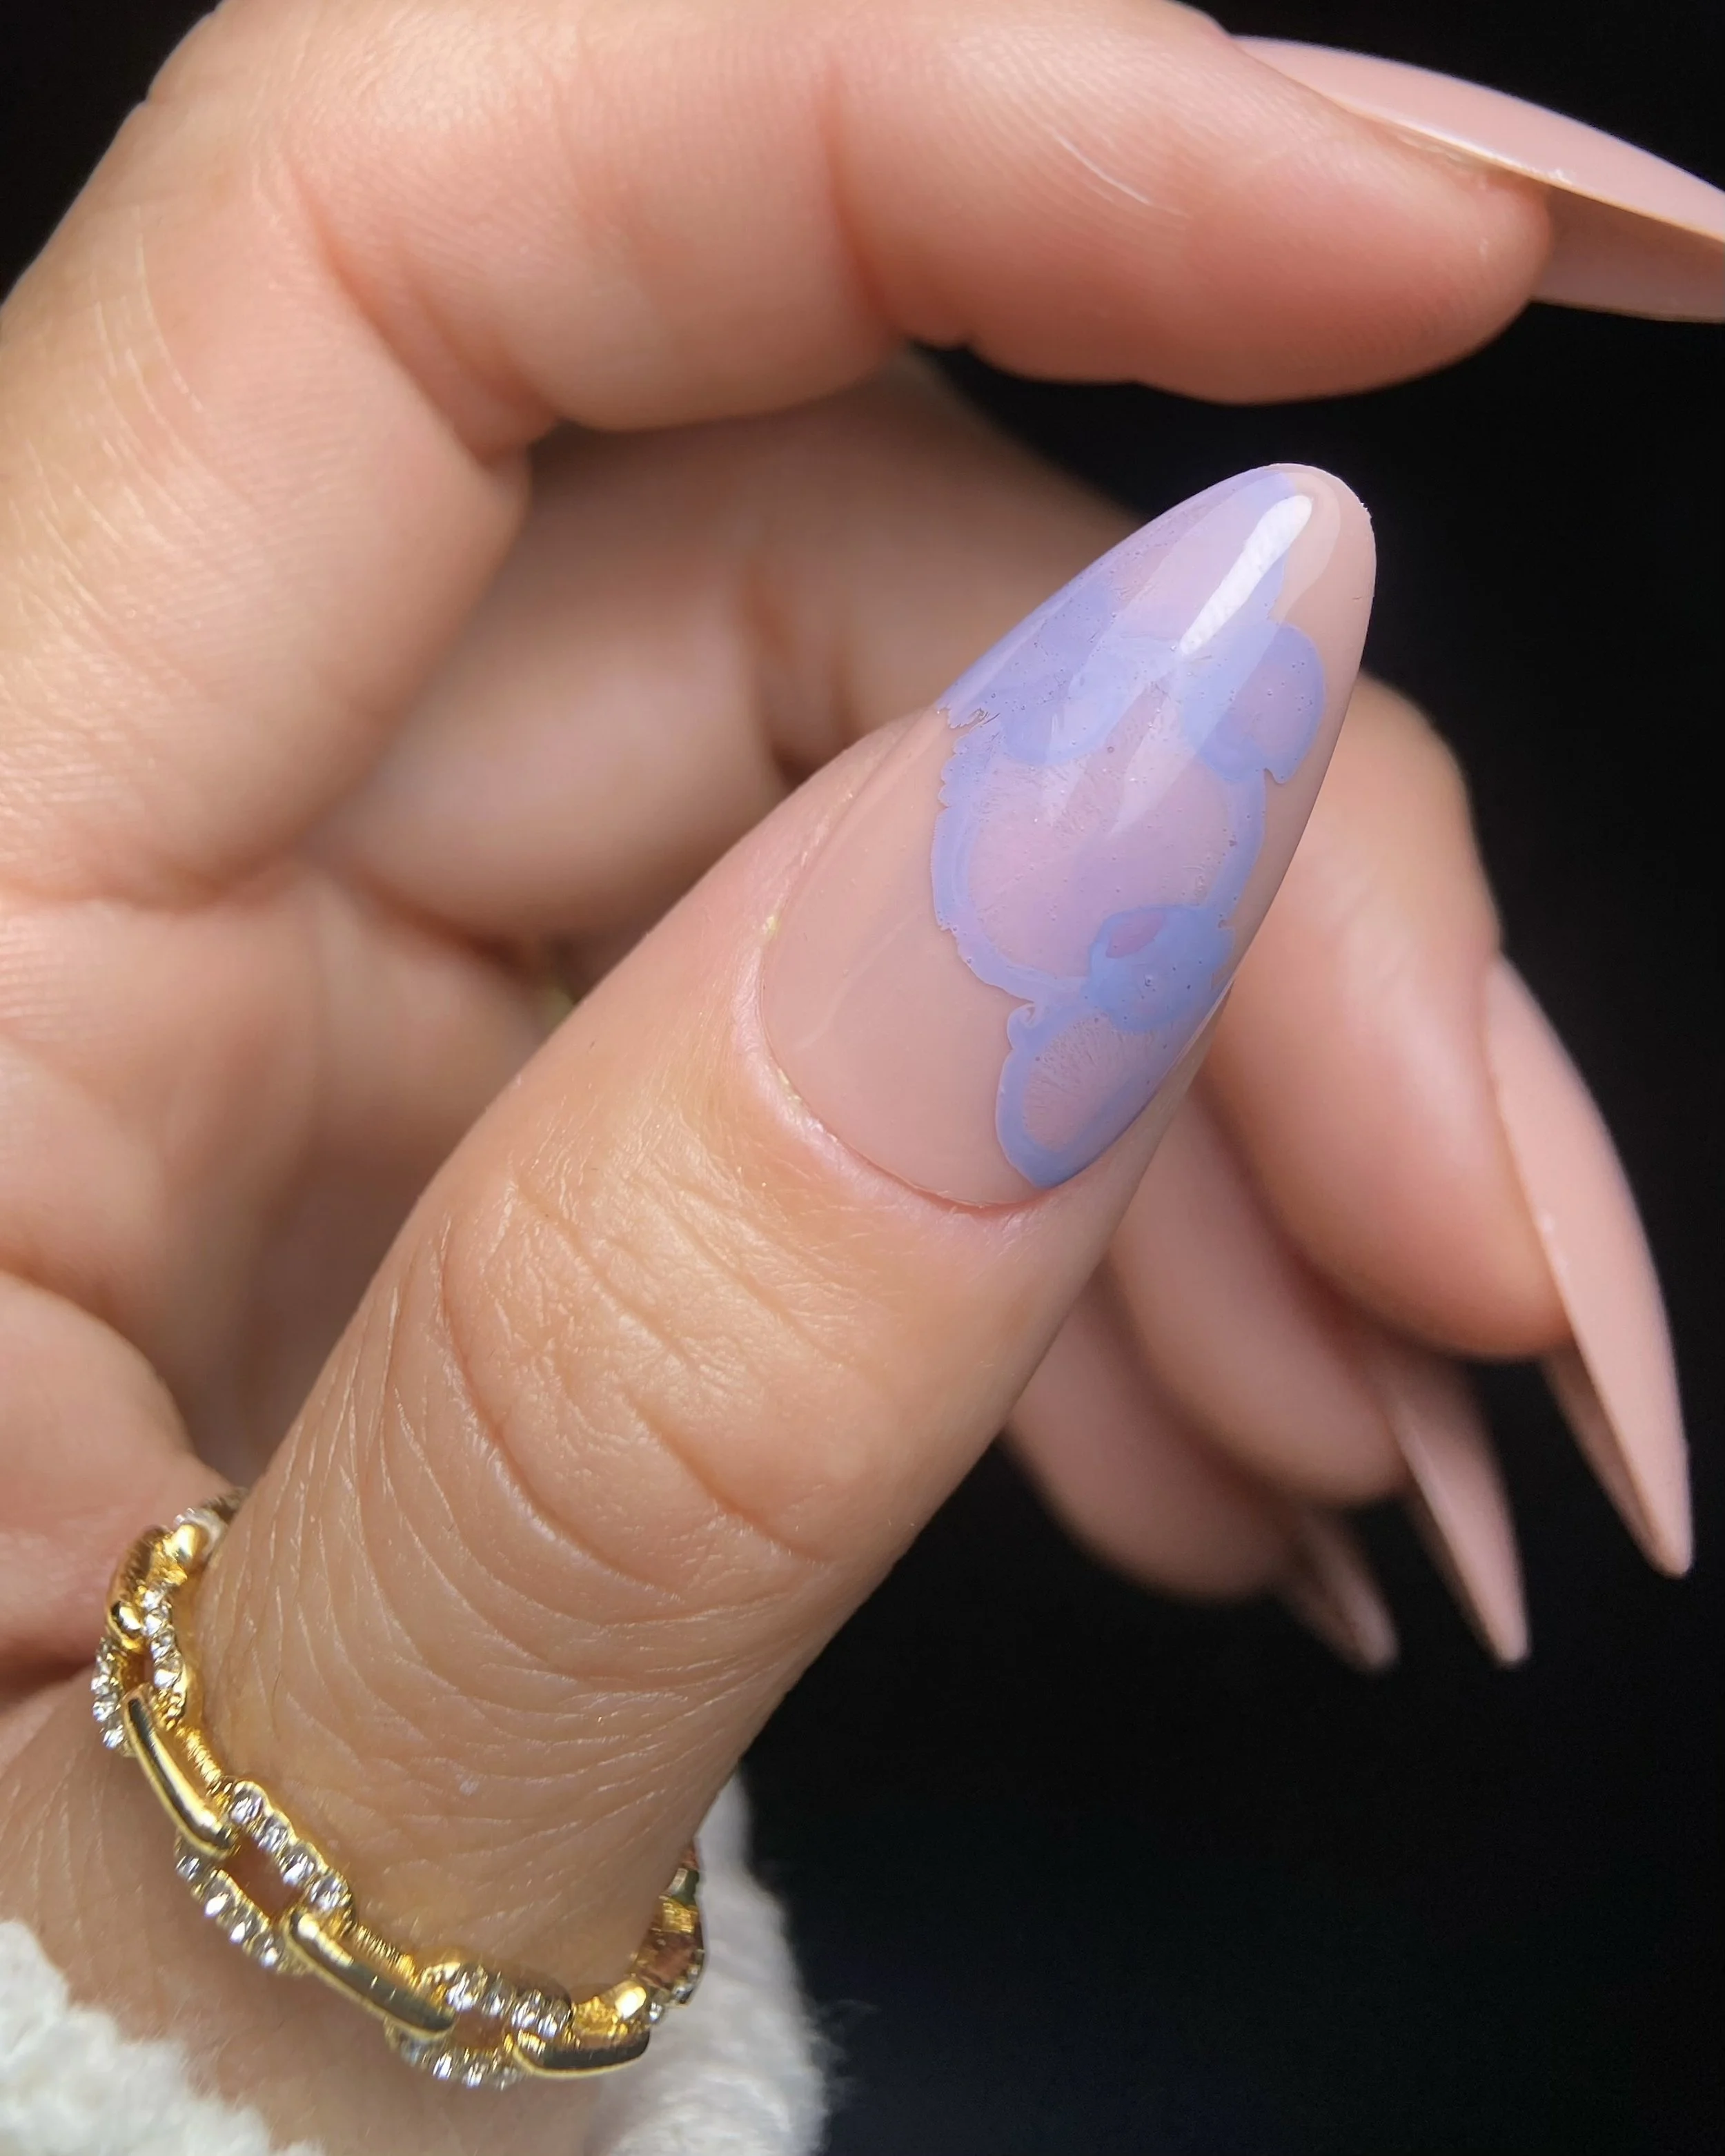
Kokoist Bleeding Ink Collection Review + Swatches | Summer 2026
I've been waiting months for Kokoist's Bleeding Ink relaunch, and it did not disappoint. See swatches of all 16 shades, plus my favorite application techniques, surface recommendations, and a fun way to create custom Boba Gel colors.

Zara Girls Summer 2026 Campaign | On Set
For the Zara Girls Summer 2026 campaign, we played with a mix of fun solid colors and natural manicures. Clean, simple, polished nails were exactly what the images called for.

Orly Club Tropicana Collection Swatches | Summer Neon Nail Polish & GelFX
Orly's Club Tropicana Collection is a curated mix of neon shades and glitter toppers that are perfect for layering, creating nail art, or simply wearing a la carte. See swatches of all six colors, including Pink Moon, Rave Wave, and In The Limelight.
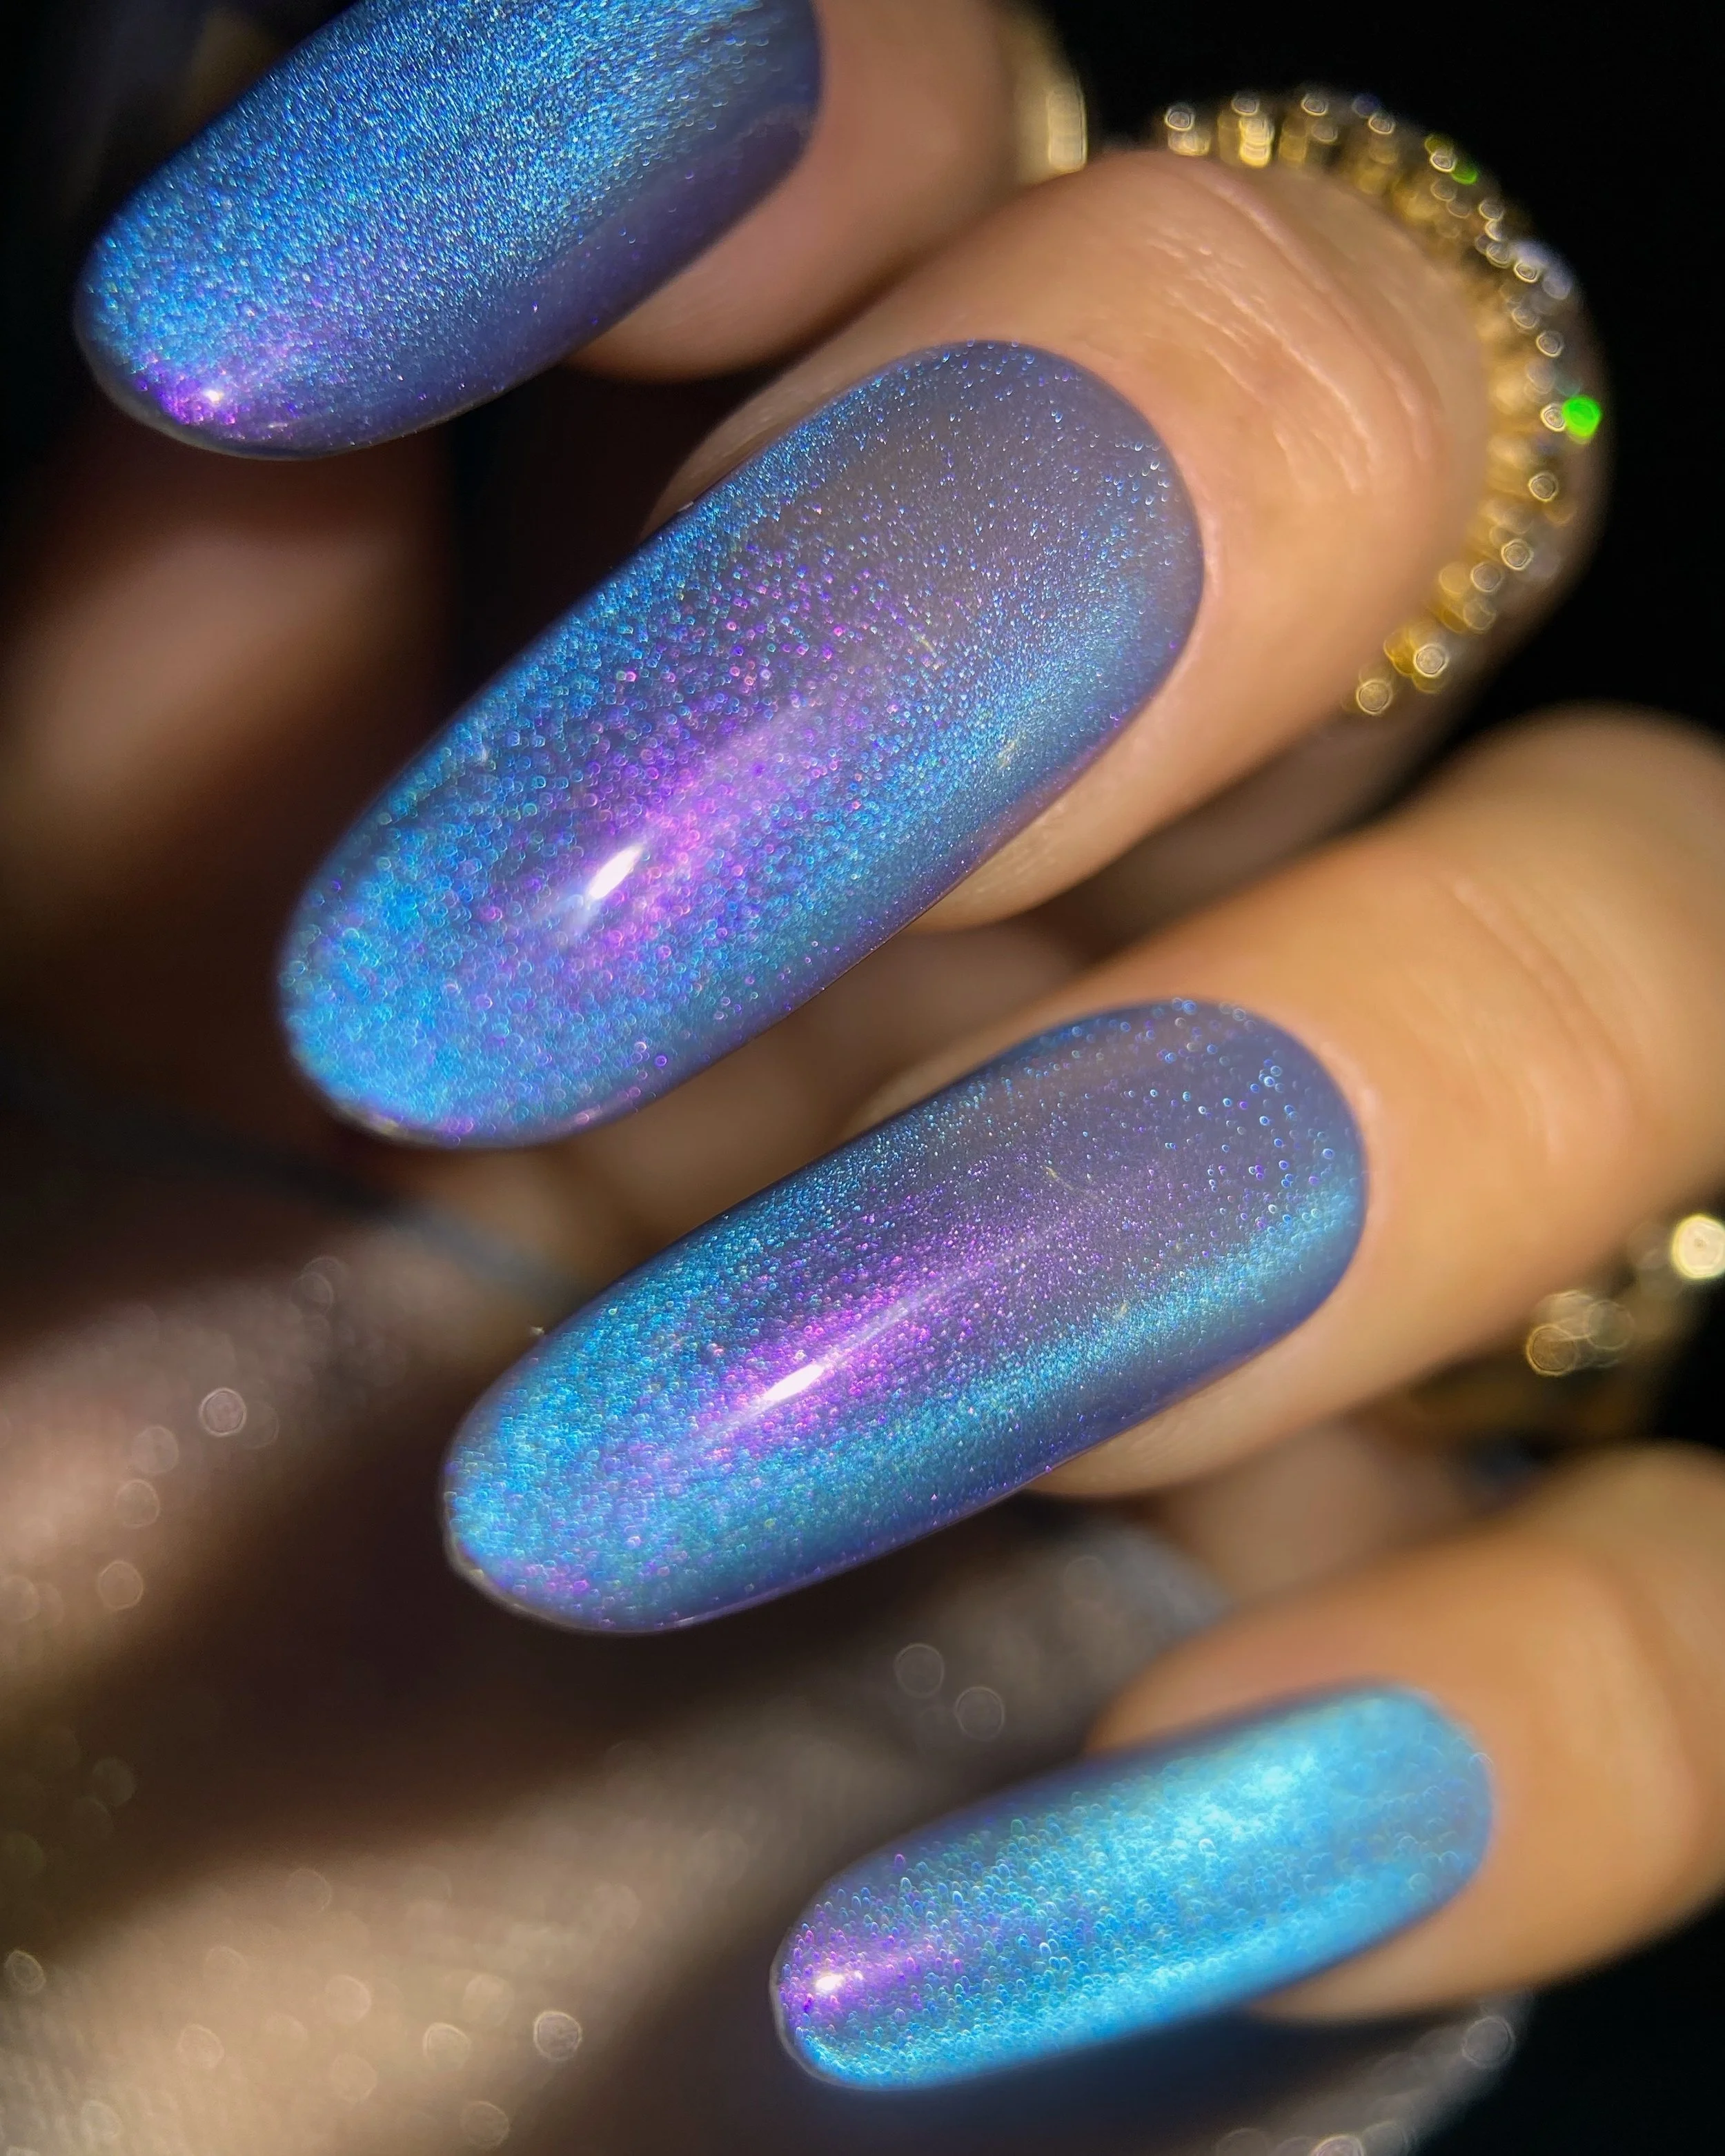
Kokoist Unicorn Mermaid Magnet Collection Review + Swatches
The moodier, aquatic counterpart to Unicorn Candy, Kokoist's Unicorn Mermaid Collection combines glassy magnetic shimmer with a soft jelly base for a look that feels both ethereal and sophisticated. See swatches, layering tips, and application notes for all three shades.
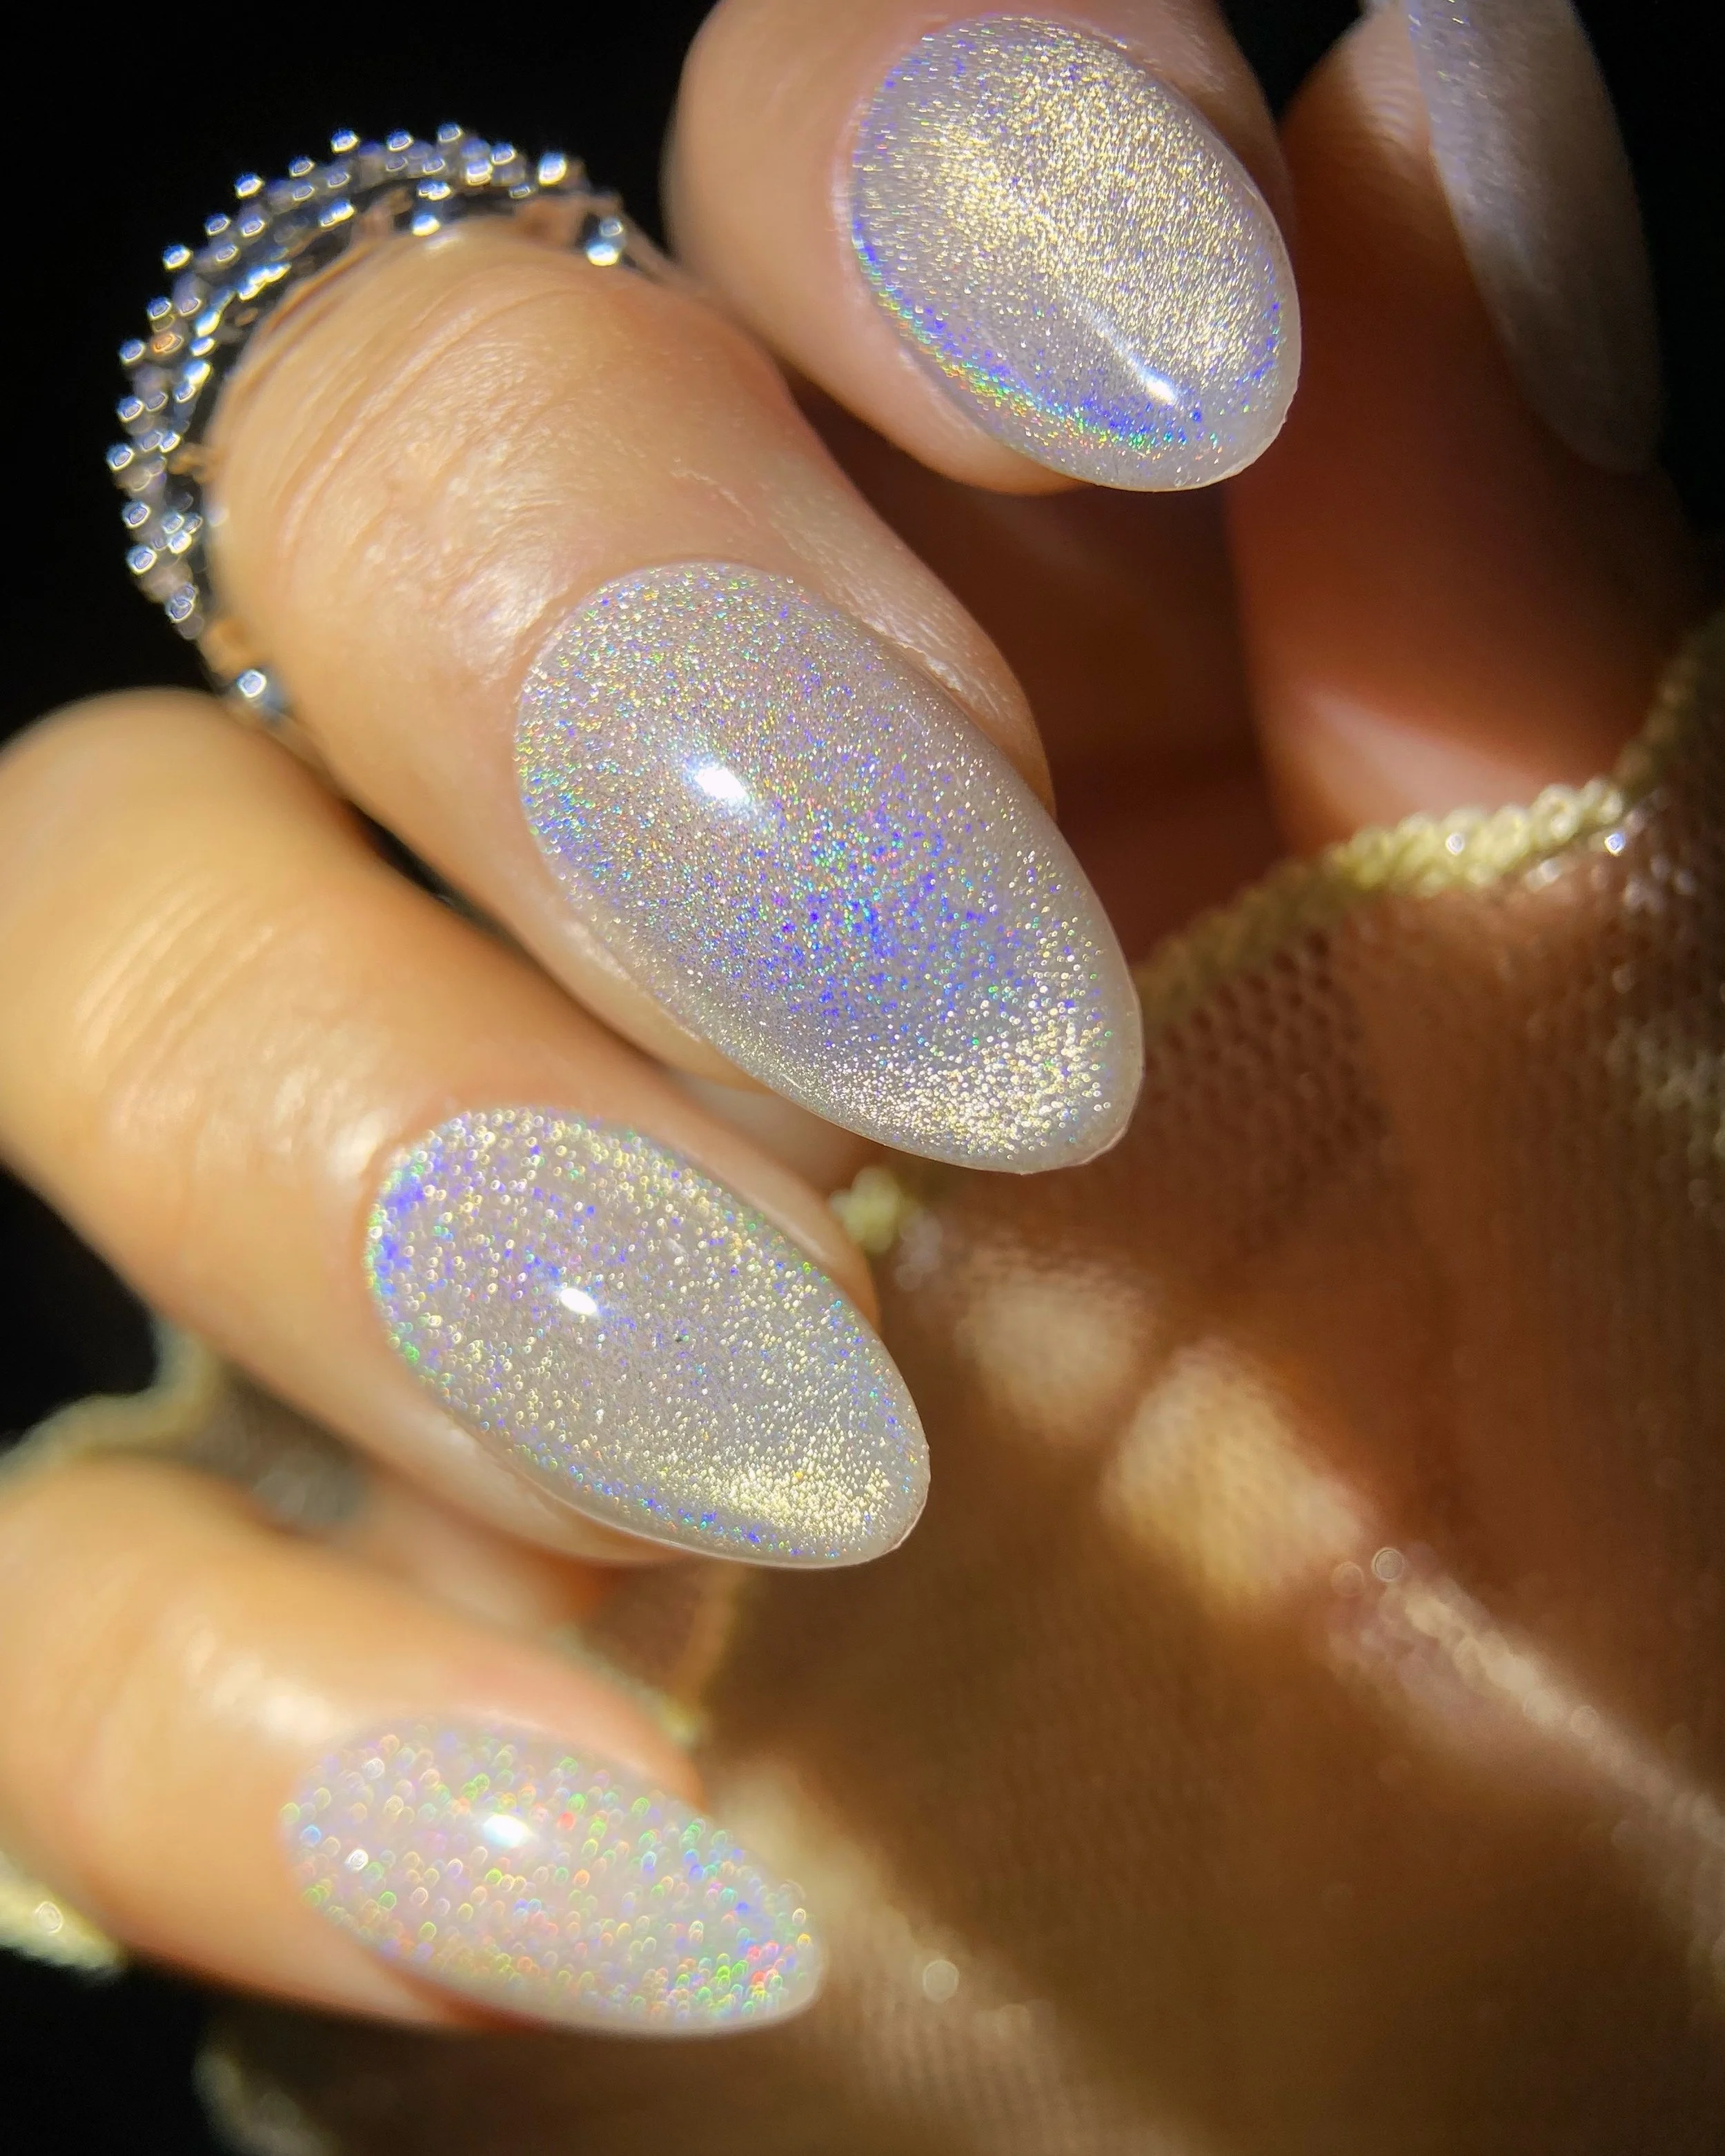
Kokoist Unicorn Candy Magnet Collection Review + Swatches
For my fellow magpies, Kokoist's Unicorn Candy Collection delivers colorful jelly bases, holographic shimmer, and magnetic effects that are equal parts playful and wearable. See swatches, layering tips, and all six rainbow-inspired shades.
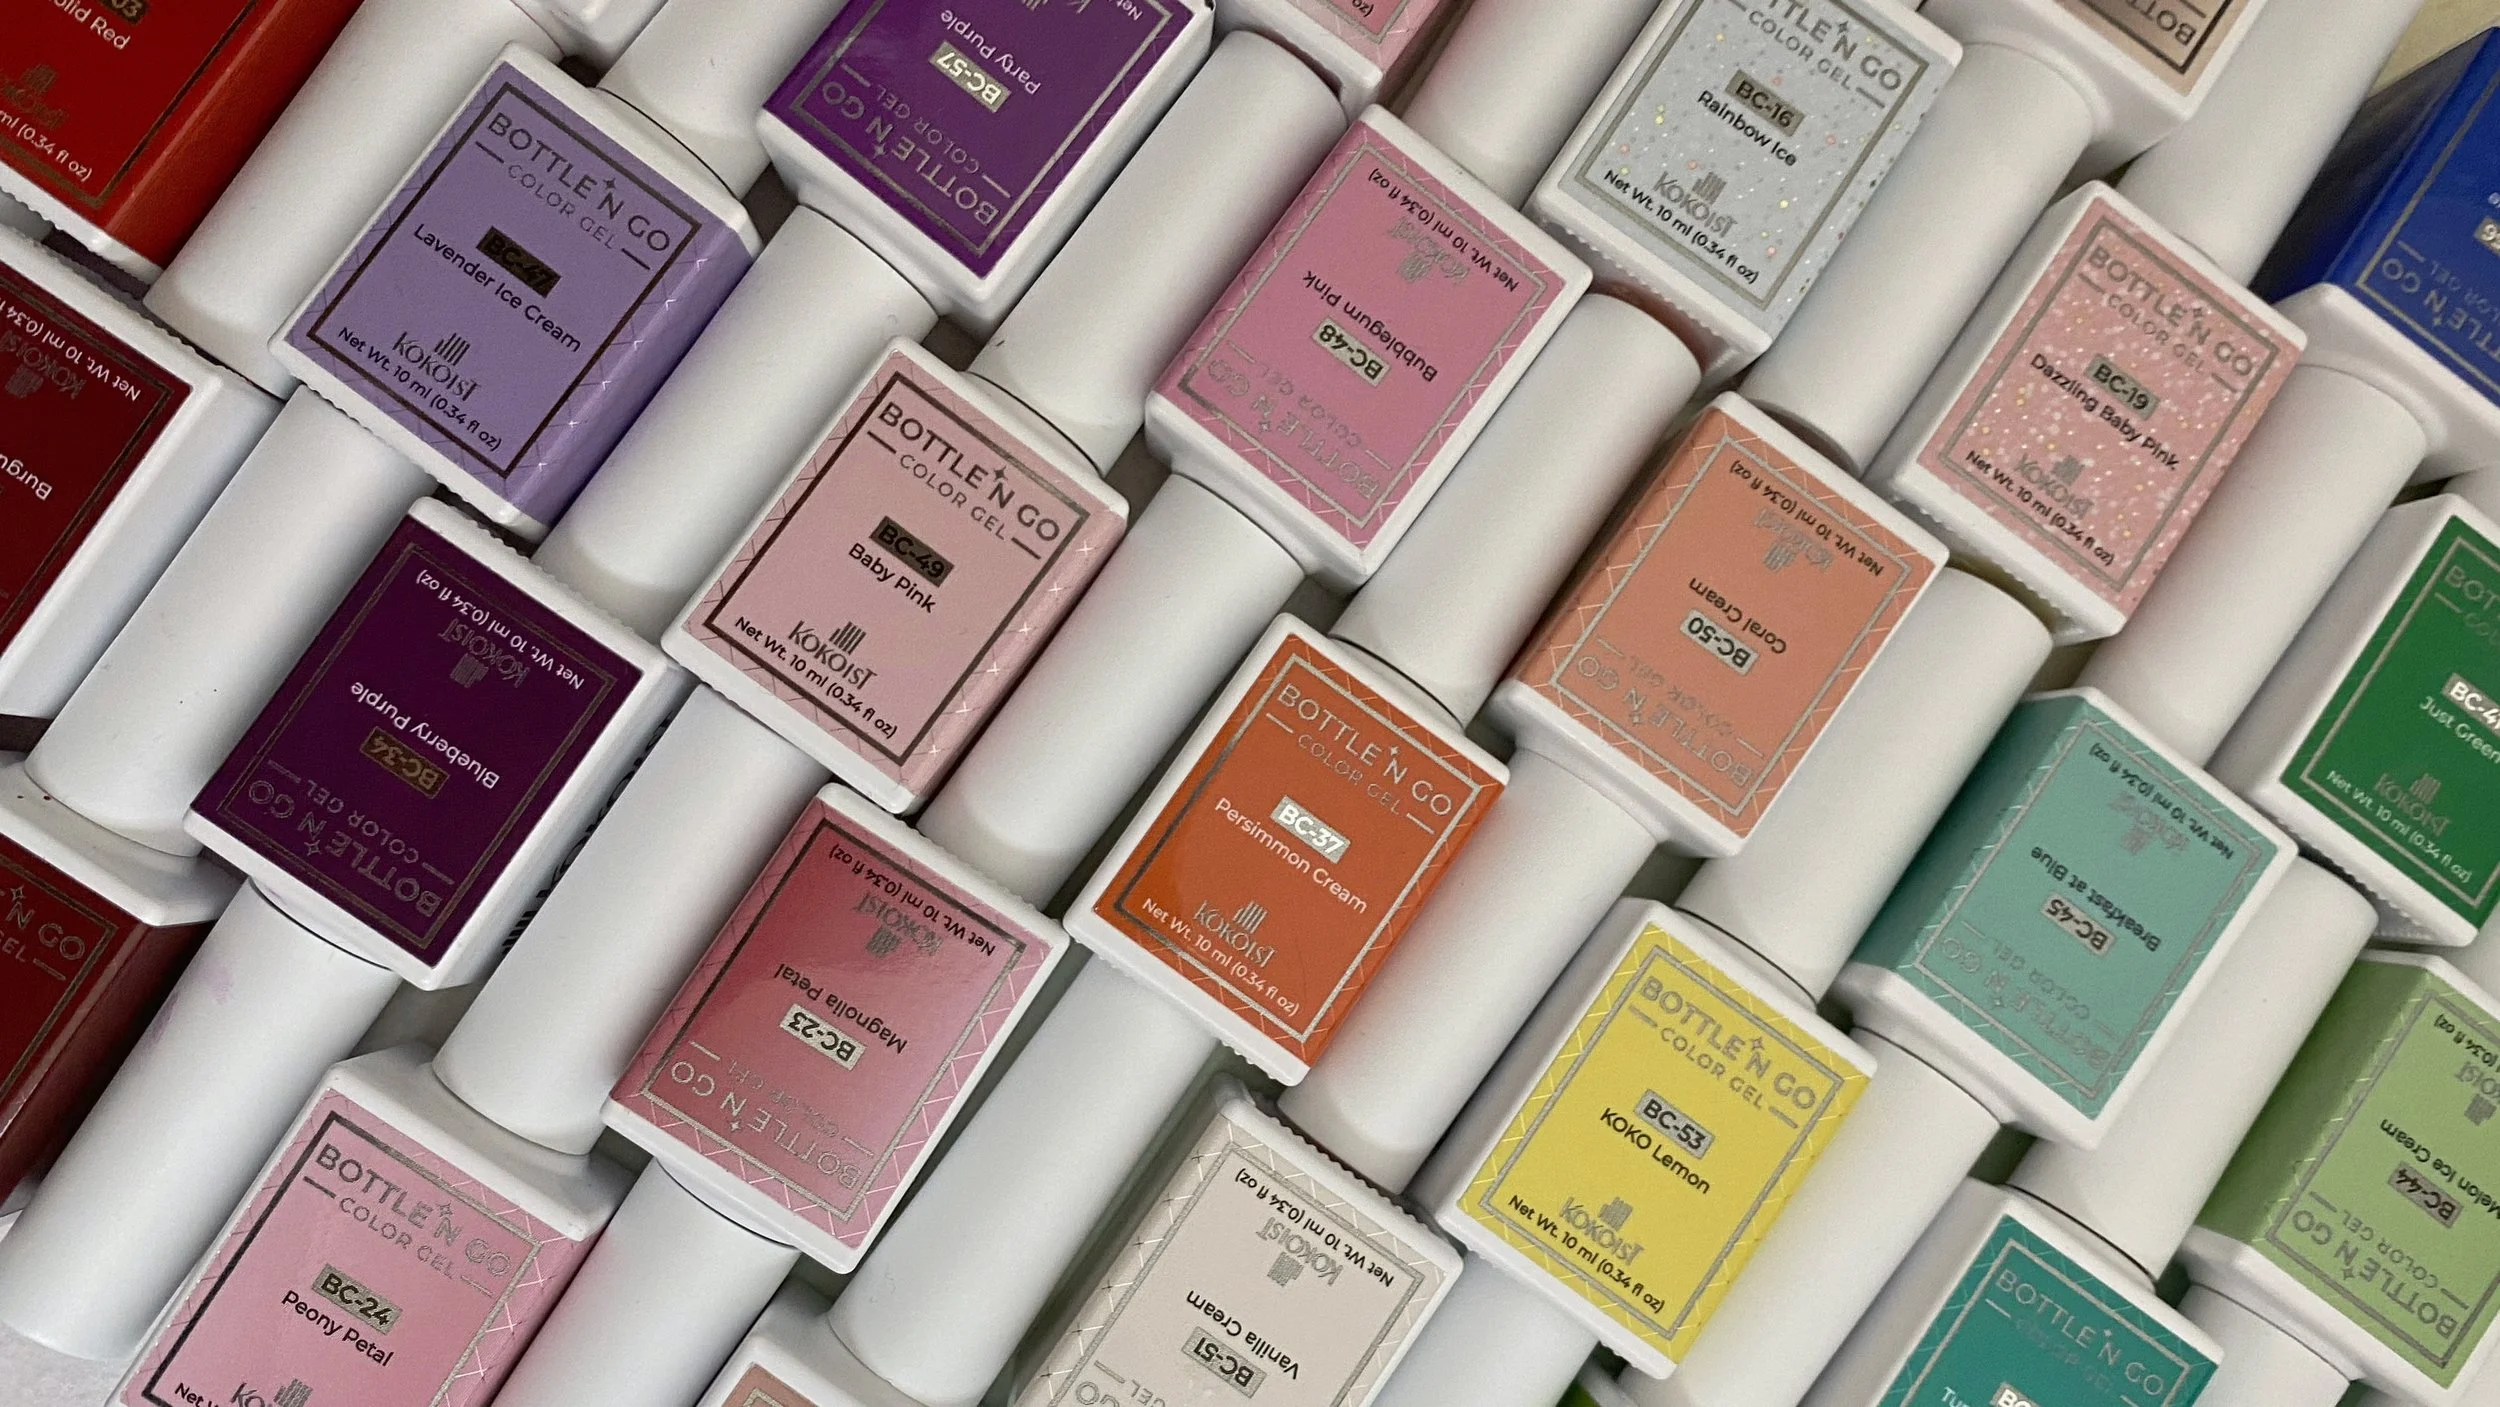
Kokoist Bottle’n Go Review + Swatches | HEMA-Free & TPO-Free Japanese Bottled Gel
Cute little pots aren't going anywhere, but Kokoist's Bottle'n Go Collection makes a strong case for bottled gel. See swatches of all 58 colors, plus my thoughts on Sticky Base, Totally Glossy, and the HEMA and TPO free formula.

Nail Thoughts Celebration Collection: Interview with Founder Katie Masters + Swatches
Interview with Nail Thoughts founder Katie Masters on the Celebration Collection, surpassing 100 shades, packaging updates, and full swatches.

Nail Thoughts Zodiac Collection (Spring 2026)
The #MagnetMoment shows no signs of slowing down. See swatches of all twelve shades in the Nail Thoughts Zodiac Collection and go behind the scenes with Katie Masters as she shares the inspiration behind the colors, glitter mixes, and zodiac-inspired themes.

KatsEye for Teen Vogue | On Set
When Teen Vogue calls, I will always answer. I’ve been fortunate enough to count them as a client for a few years now and I was so excited to create these gnarly nail looks for the global pop girl-group sensation, KatsEye.

Kokoist Terra Magnet Gel Collection (Fall 2025)
It’s undeniable that magnet gels are having a moment. With so many ways to manipulate the velvety fine pigments and particles, how could we not love them?
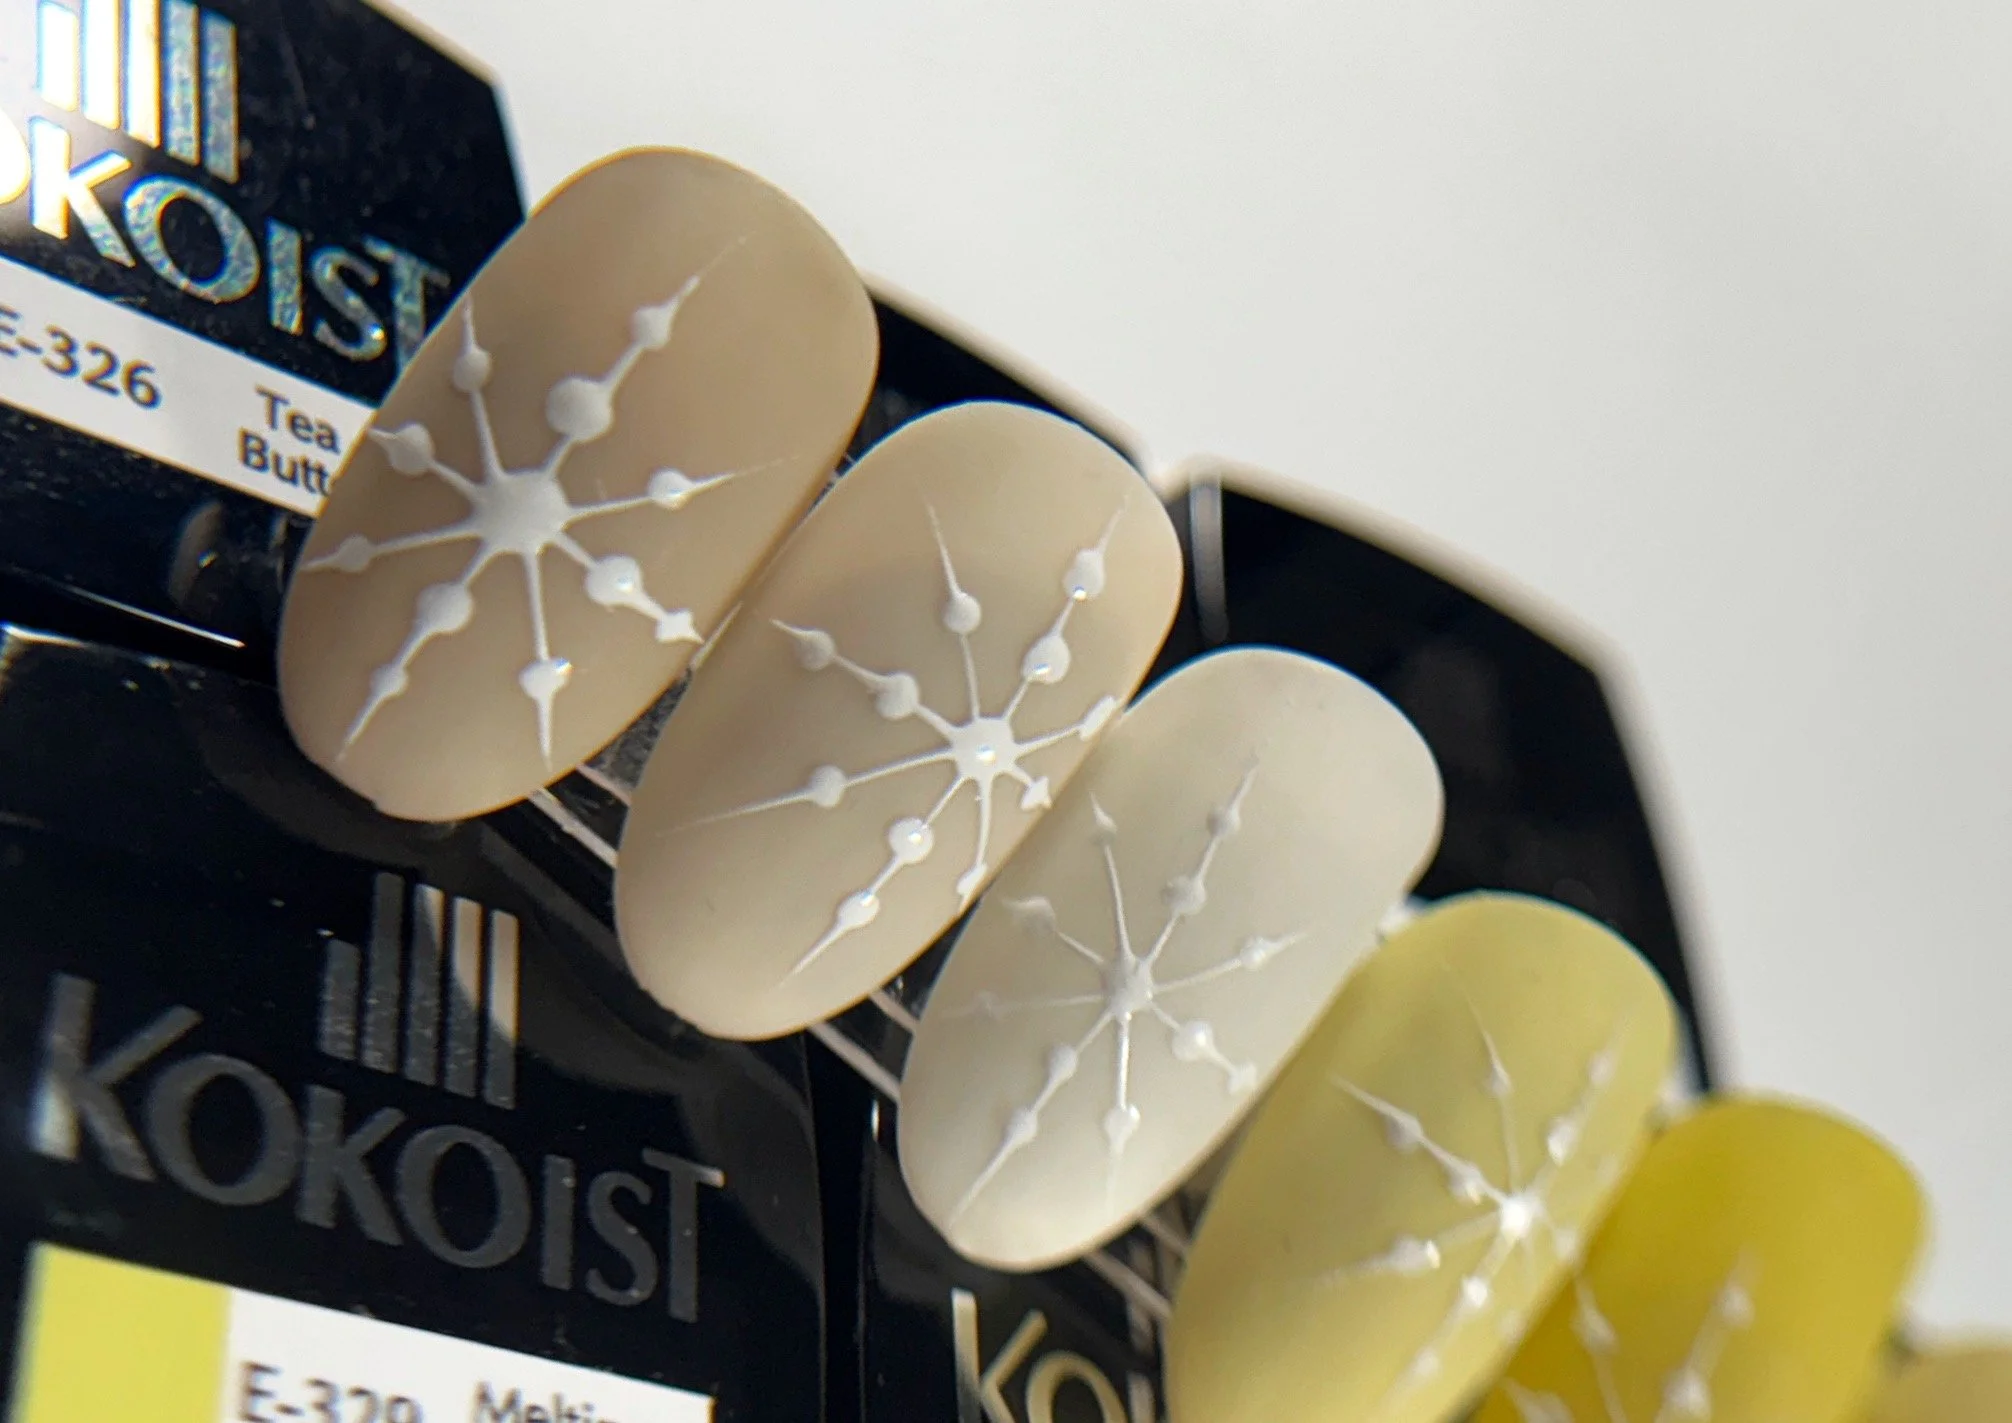
Cashmere Snowflakes | Nail Art Tutorial
Subtle has never really been my default setting when it comes to nail art. I love a gaudy, sparkly ugly sweater-inspired set, but sometimes you just need a little J.Lo-in-a-beige-sweater kind of holiday nail art moment. These matte neutral snowflakes prove that winter nail art can feel festive, cozy, and seasonal without relying on traditional holiday colors.

Reneé Rapp for Them Magazine | On Set
A clean gel manicure for Reneé Rapp's feature in Them Magazine, created using Kokoist E-141S Pink Beige Toffy.