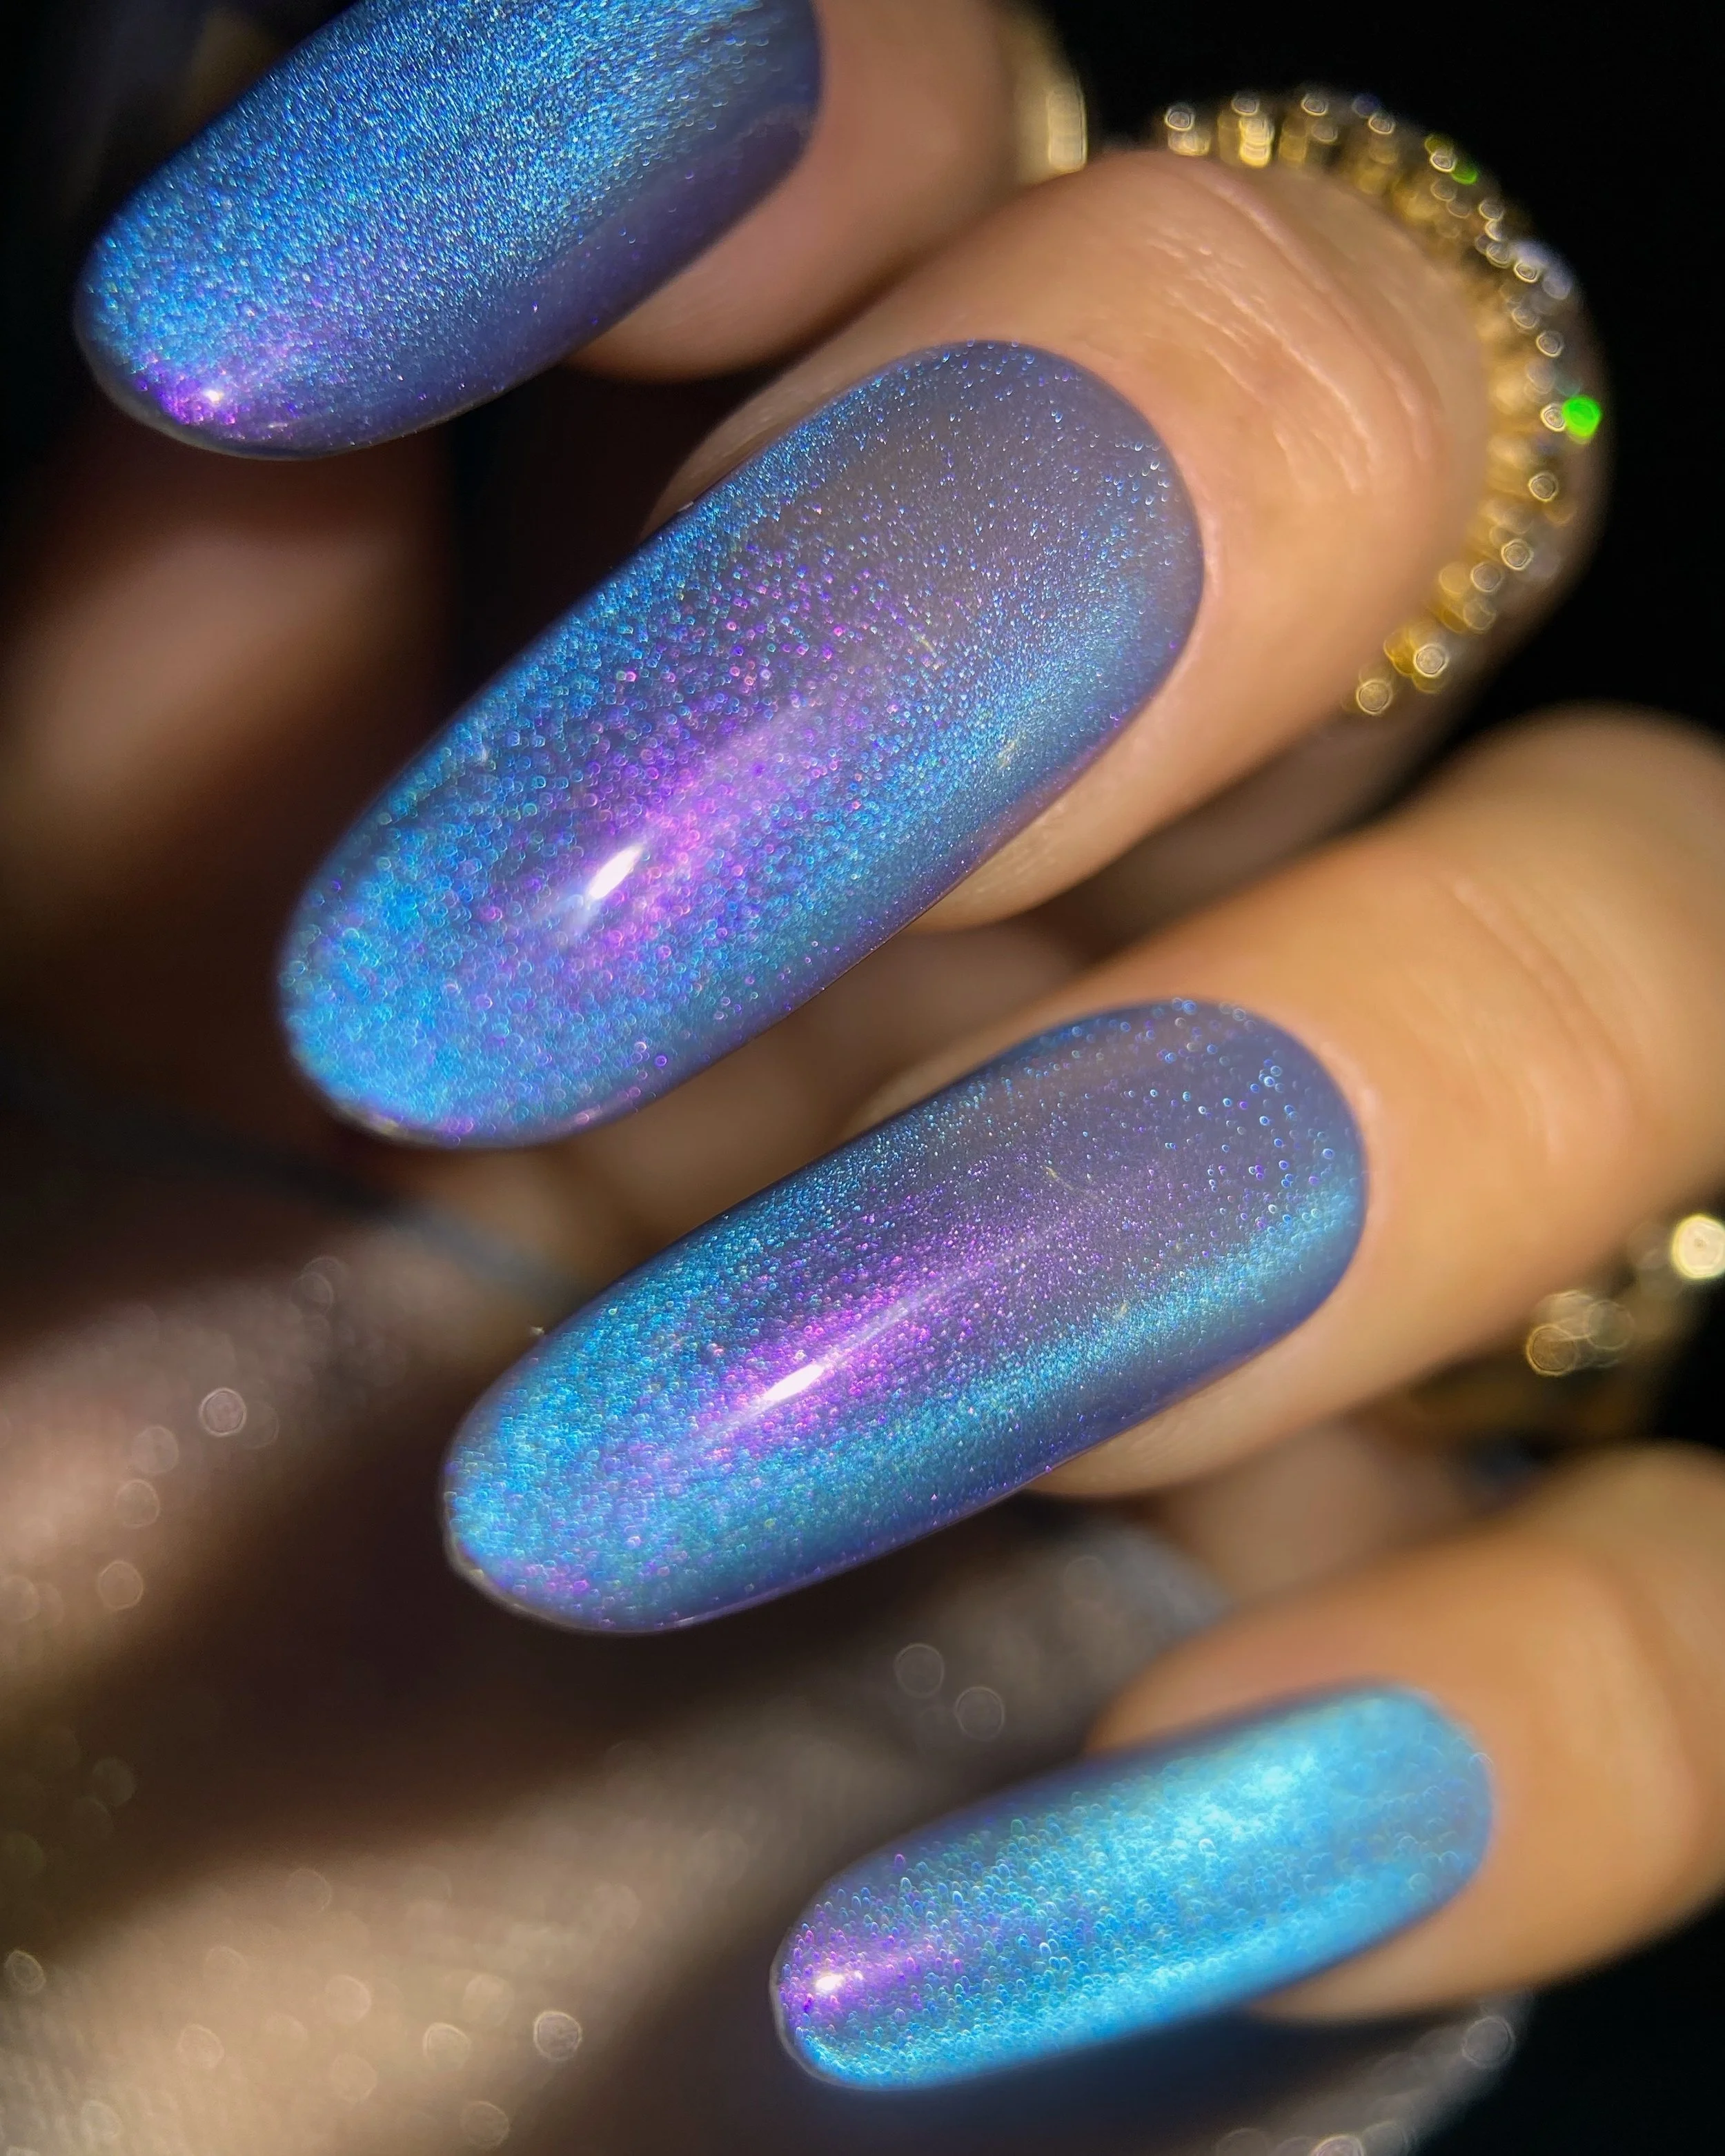
Kokoist Unicorn Mermaid Magnet Collection Review + Swatches
The moodier, aquatic counterpart to Unicorn Candy, Kokoist's Unicorn Mermaid Collection combines glassy magnetic shimmer with a soft jelly base for a look that feels both ethereal and sophisticated. See swatches, layering tips, and application notes for all three shades.
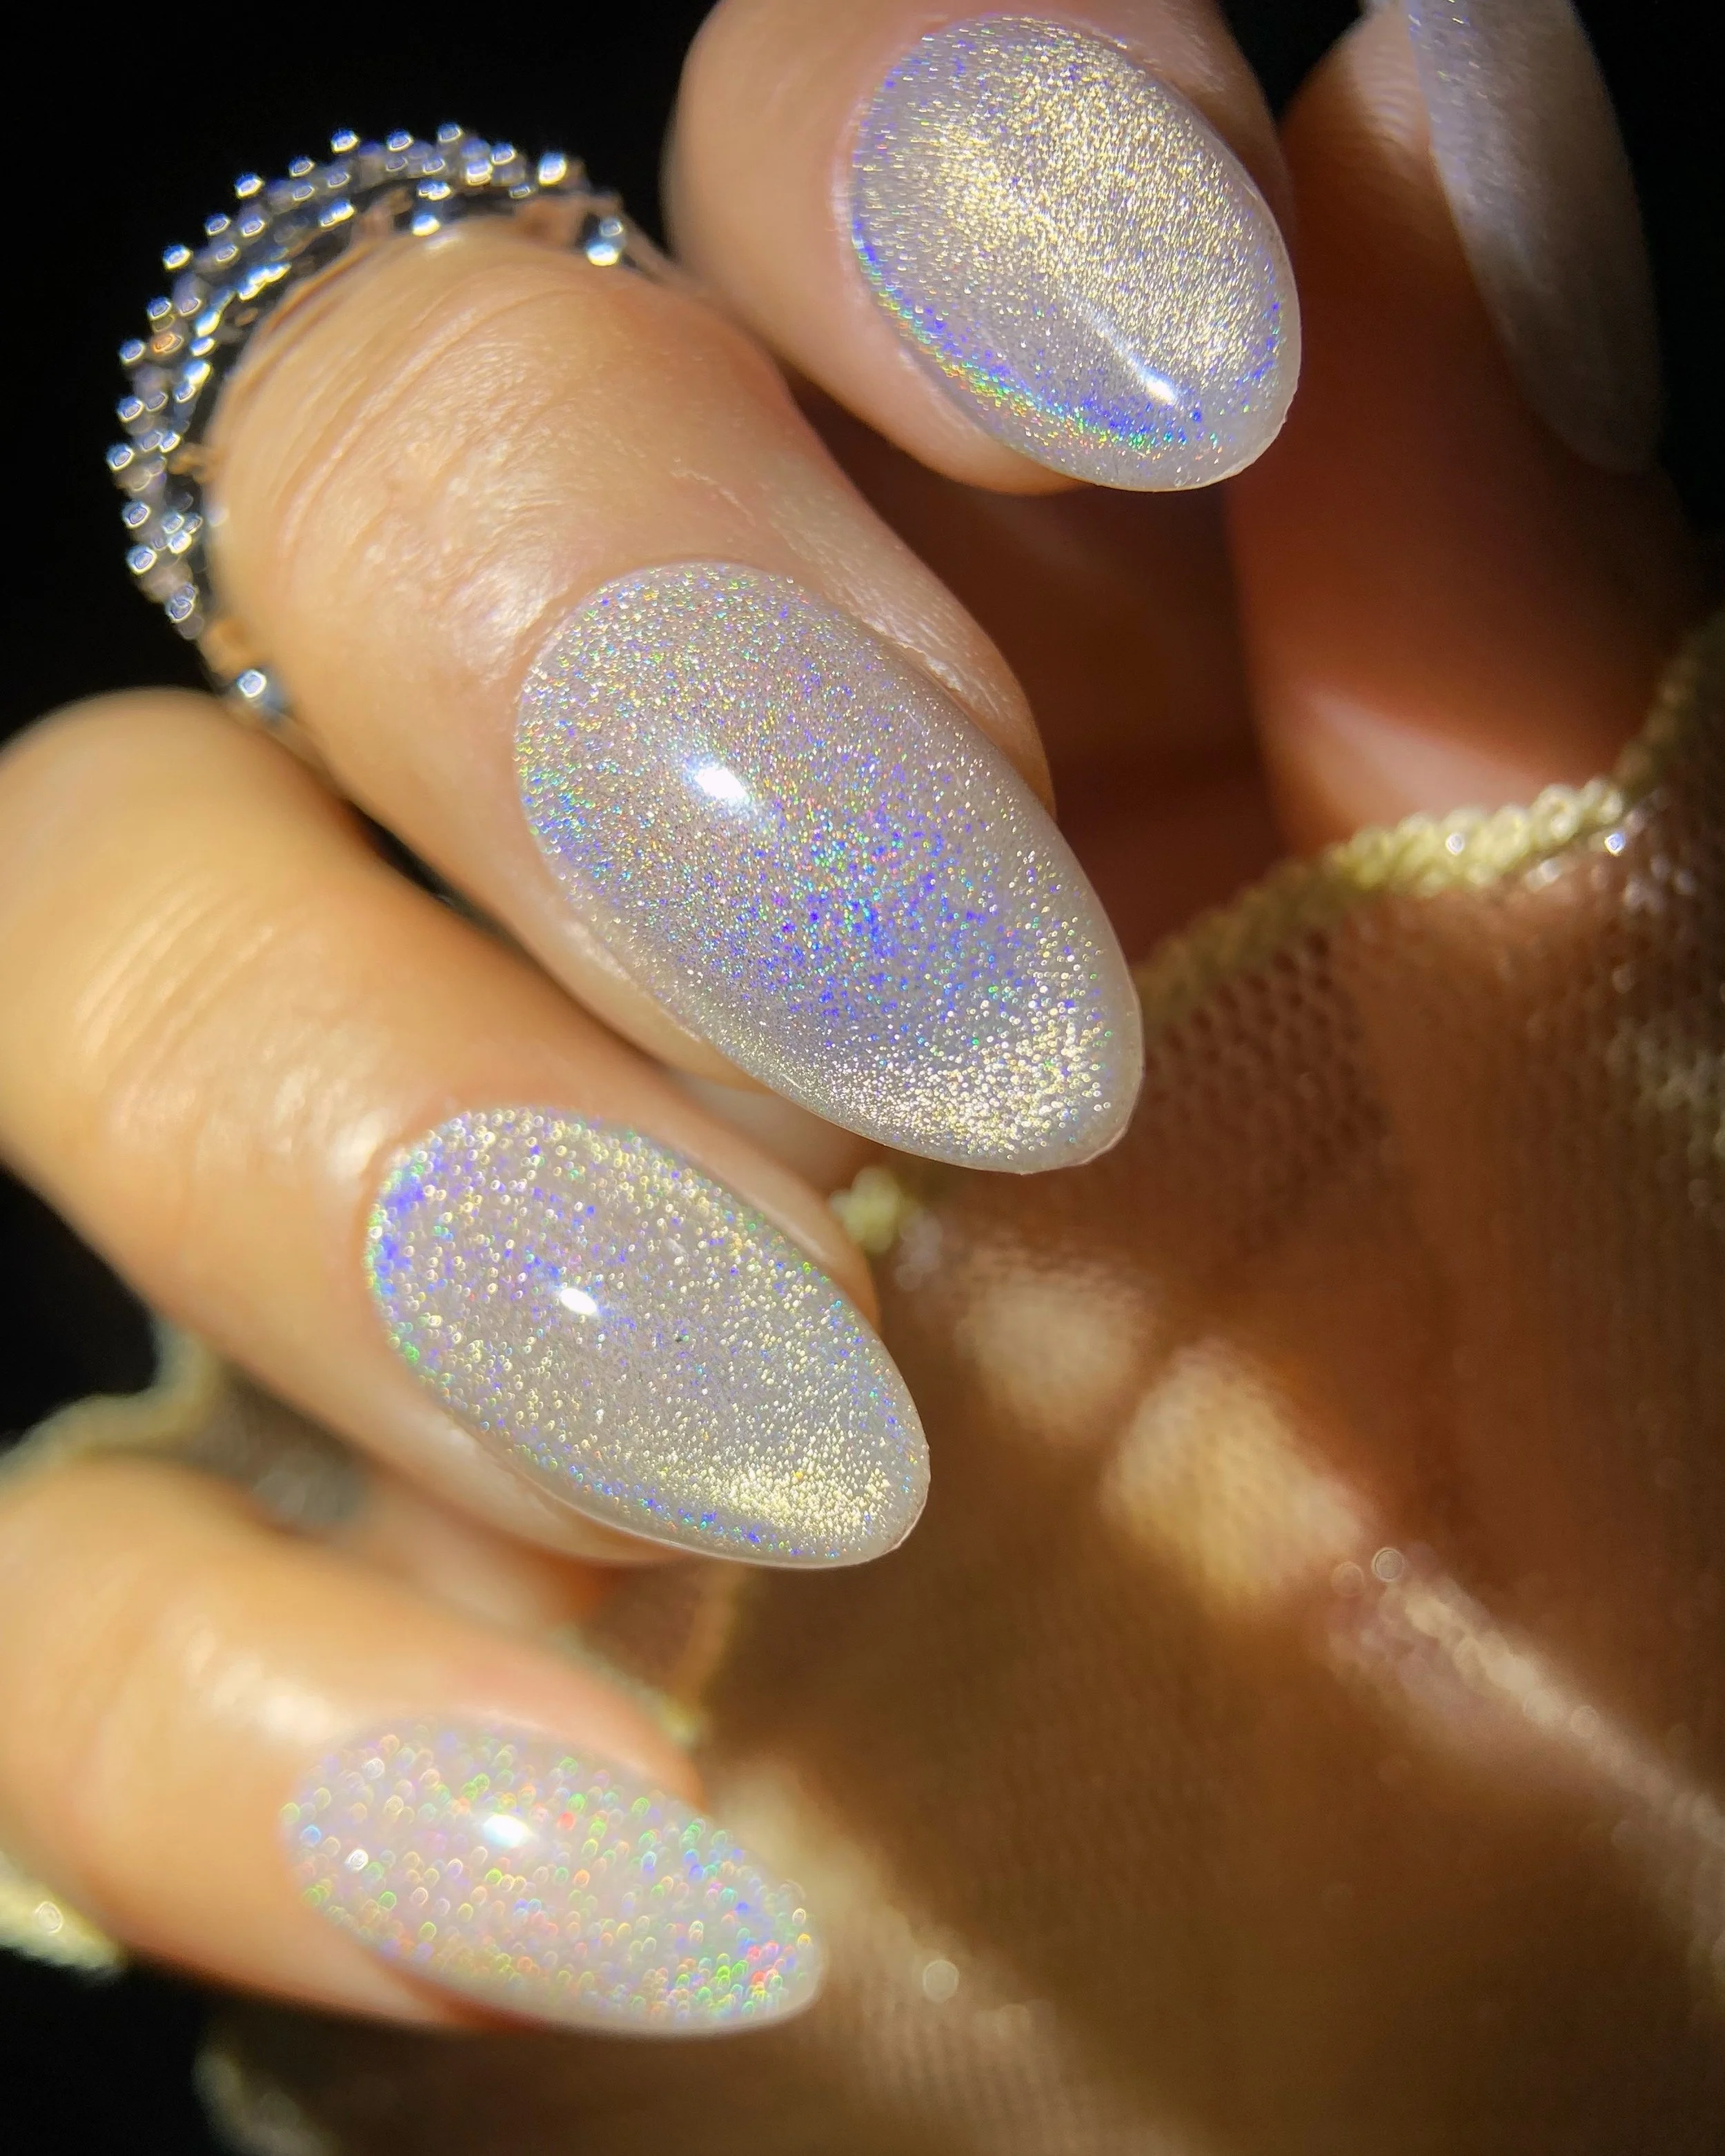
Kokoist Unicorn Candy Magnet Collection Review + Swatches
For my fellow magpies, Kokoist's Unicorn Candy Collection delivers colorful jelly bases, holographic shimmer, and magnetic effects that are equal parts playful and wearable. See swatches, layering tips, and all six rainbow-inspired shades.
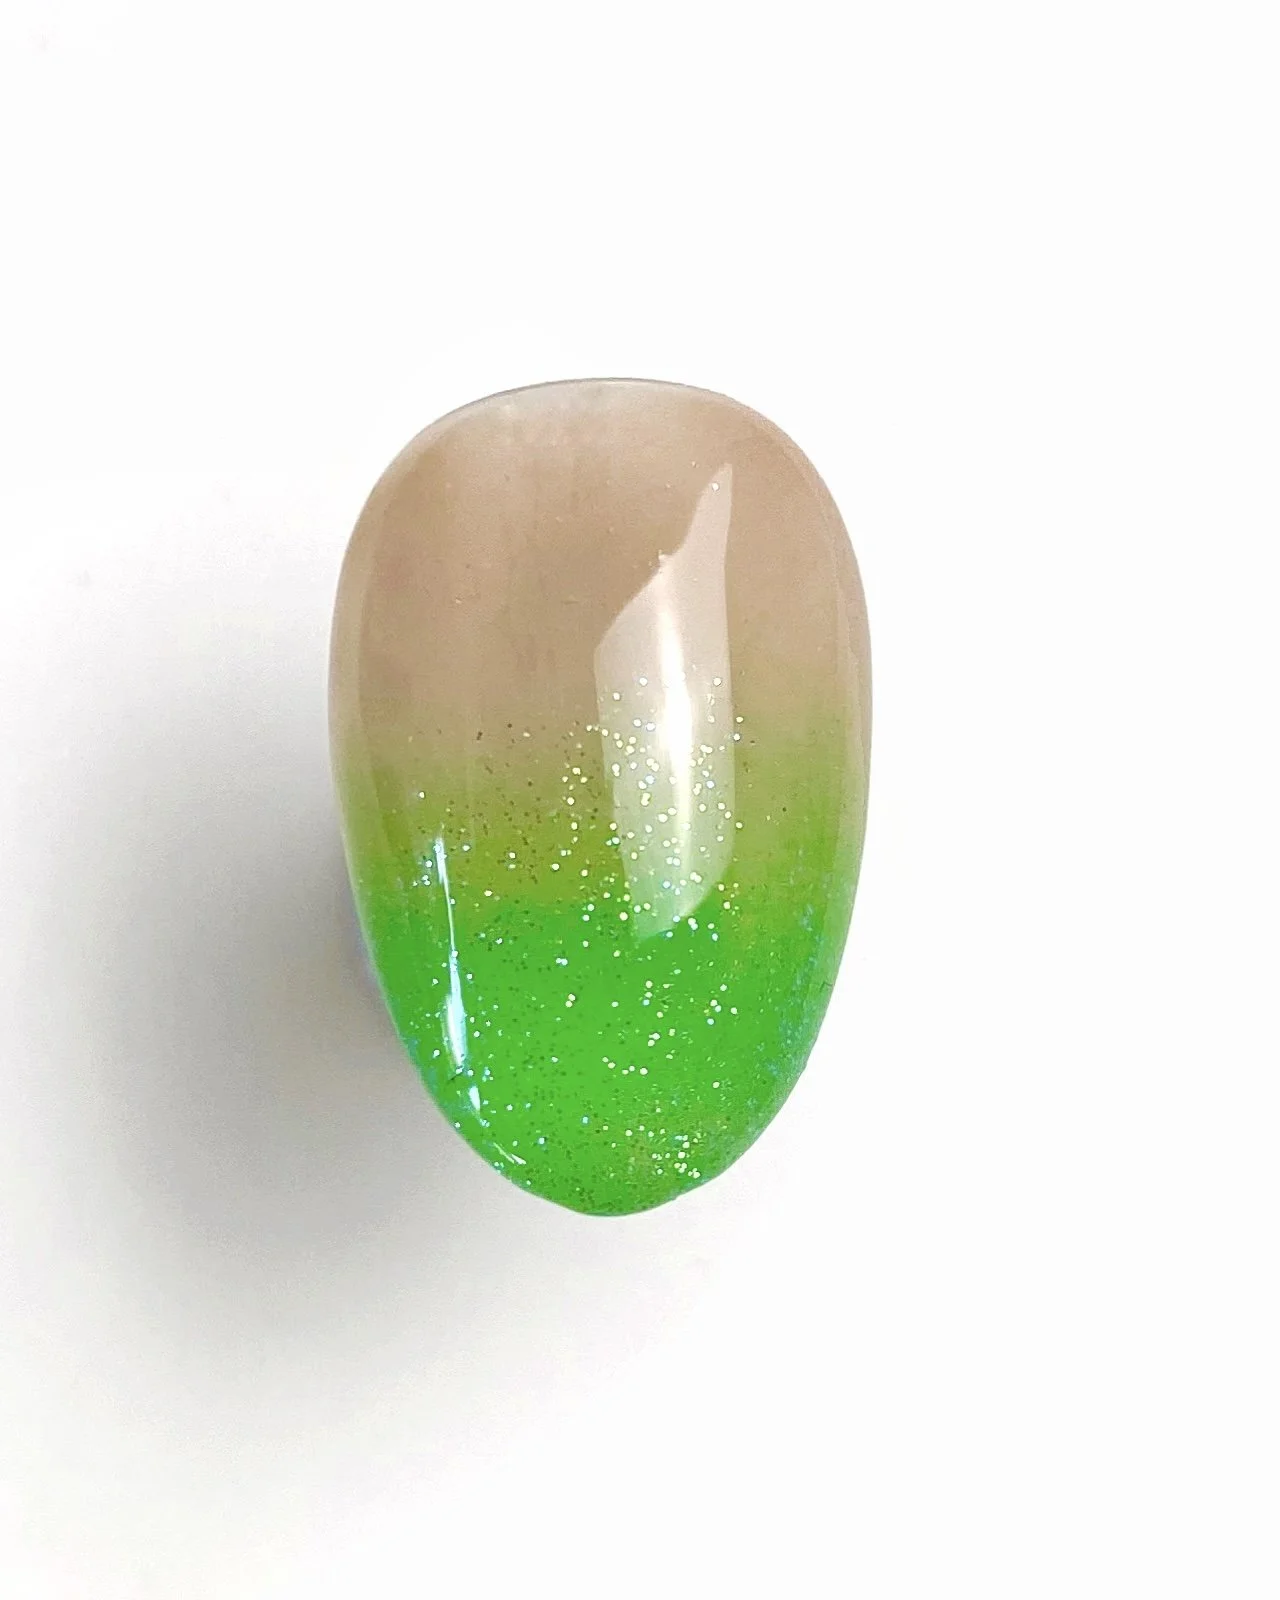
Lime Green Ombré Nails | Nail Art Tutorial
Gel ombré can be intimidating, but they're one of the most versatile nail art techniques to have in your toolkit. Learn how I created this sparkly lime green ombré design and the simple mindset shift that helped me stop overthinking the process.