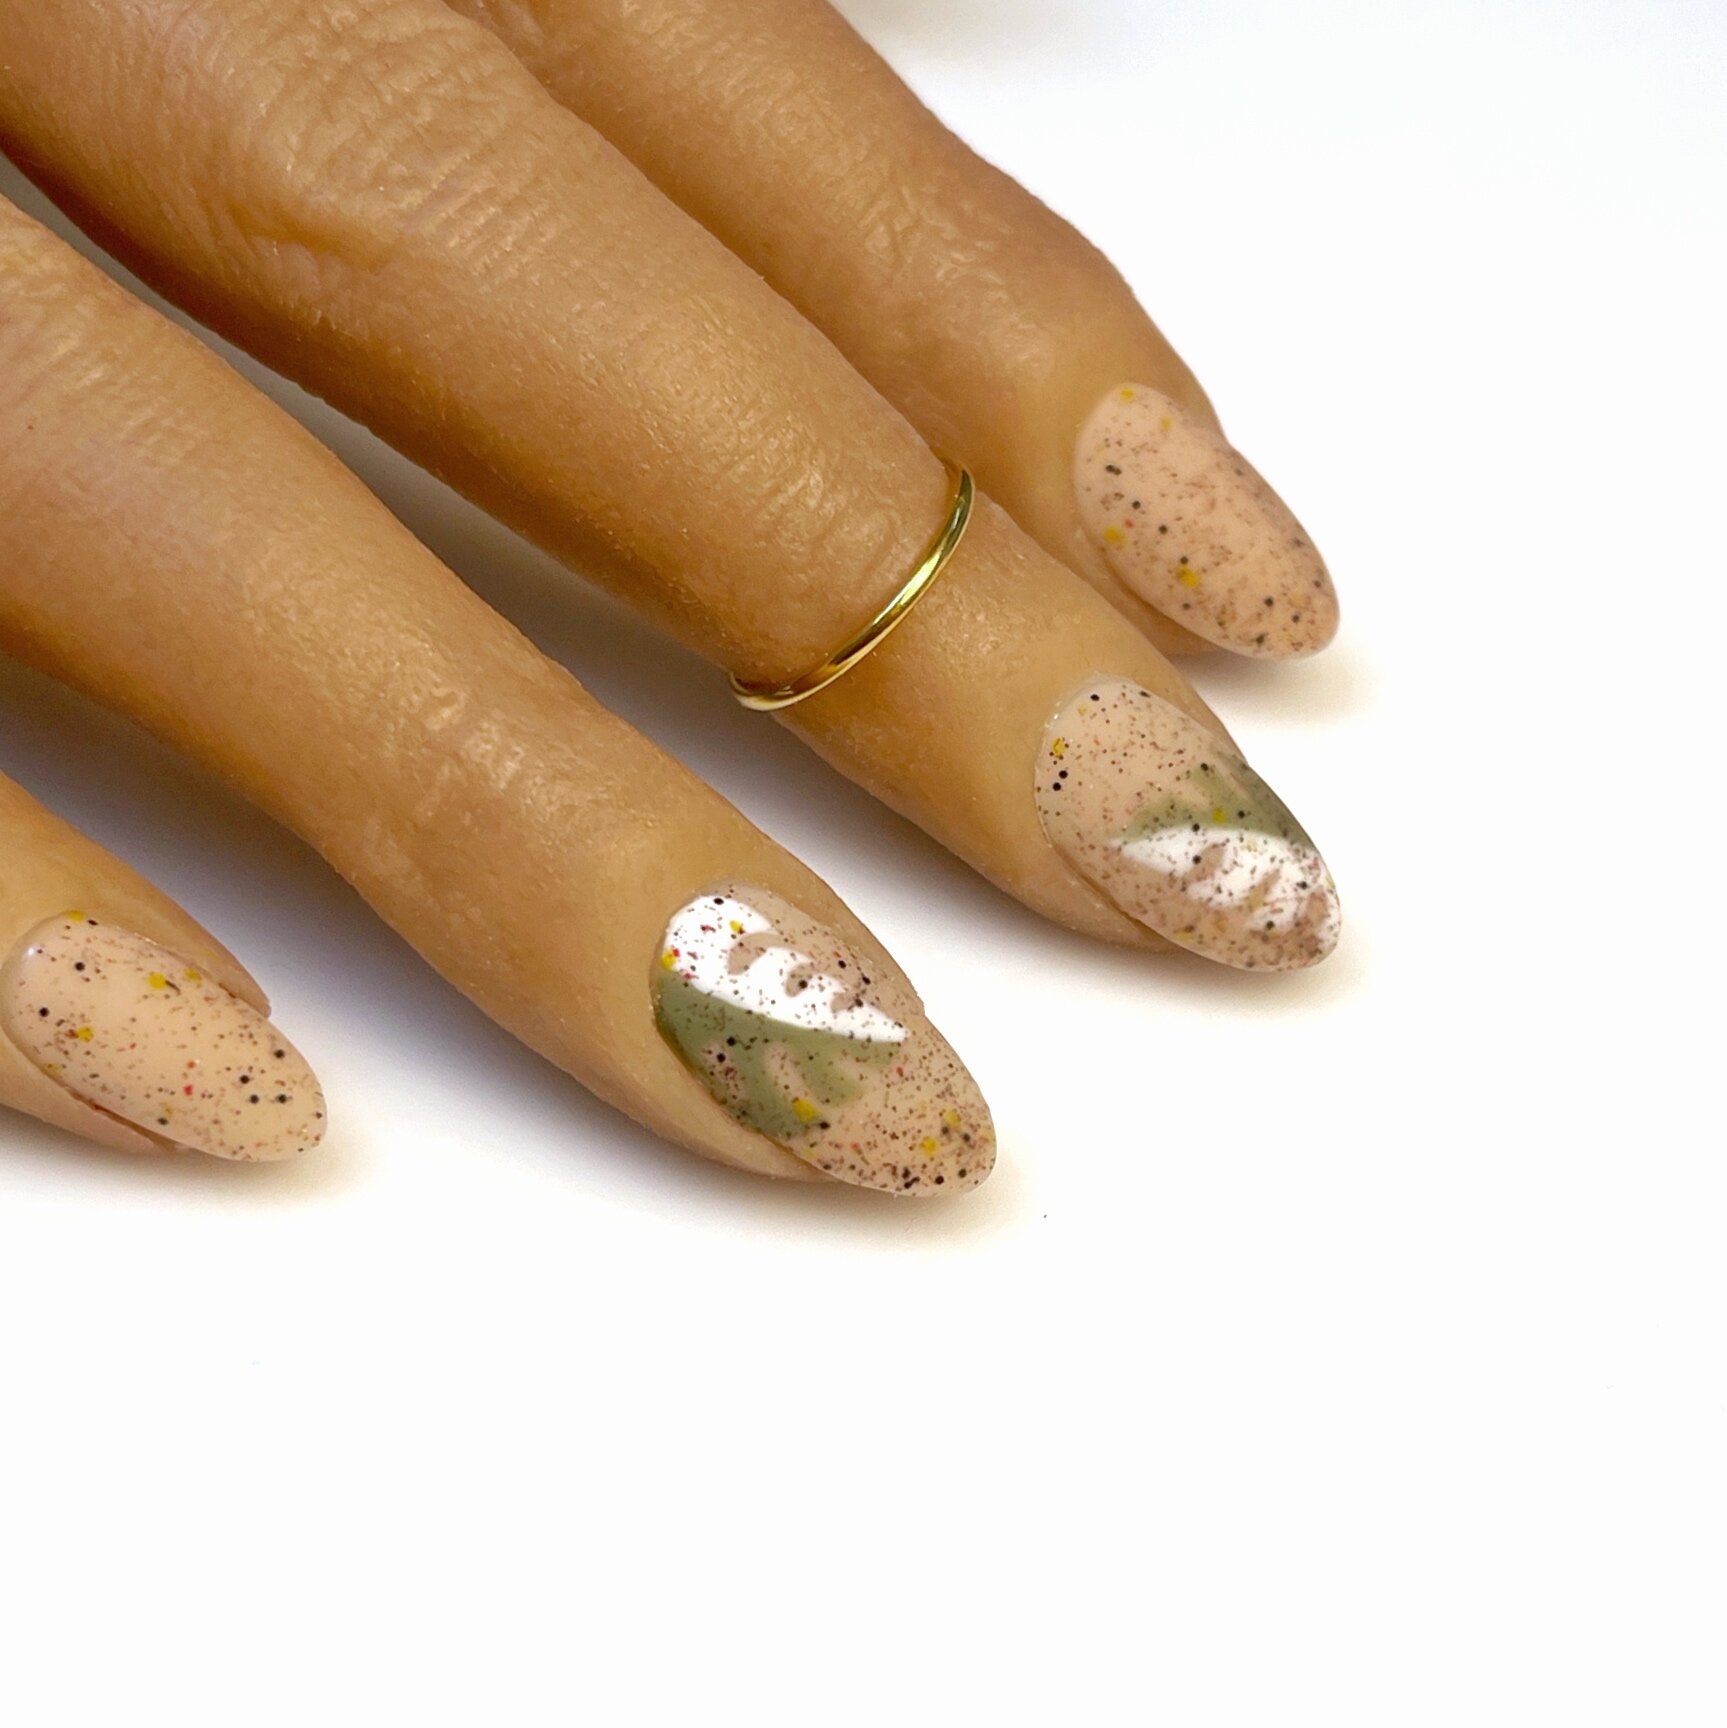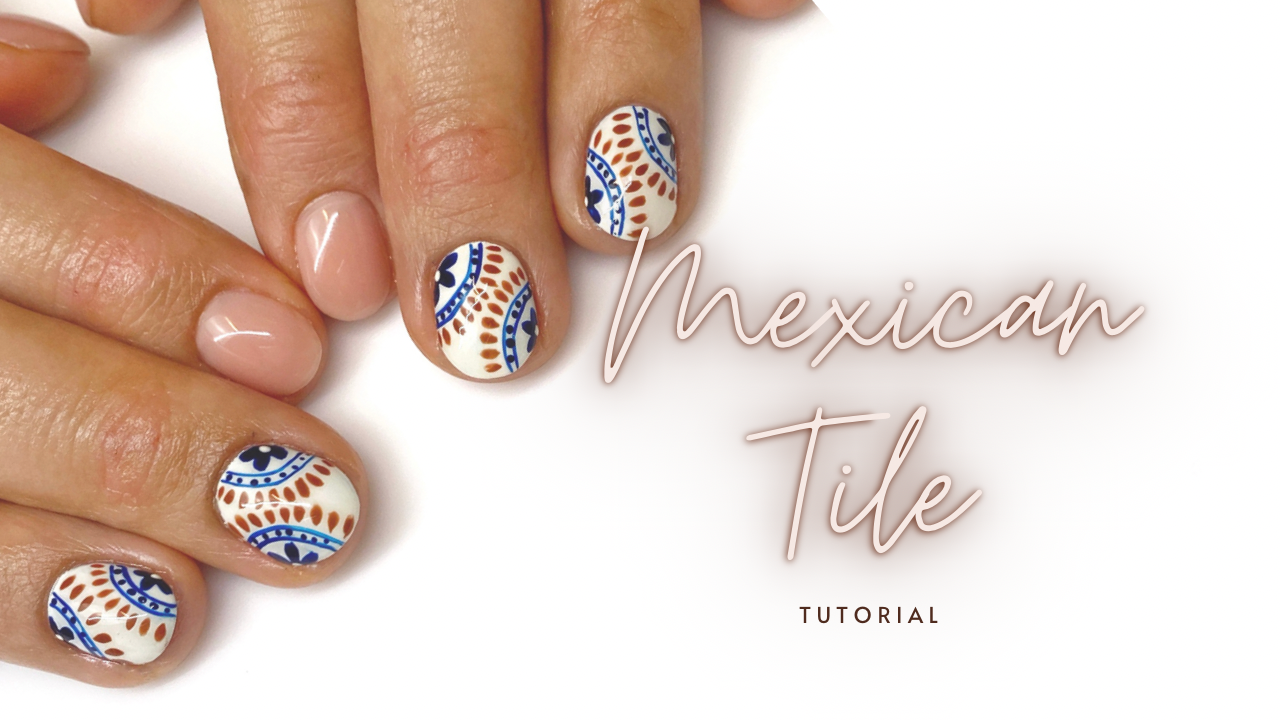
I feel SO privileged to have such a variety of creative clients. My client, Cori, always comes in with unique ideas and concepts and it’s always so fun to jam out and collaborate while we find the creative path. This design was loosely inspired by the Japanese concept of Wabi Sabi, the art of being perfectly imperfect.
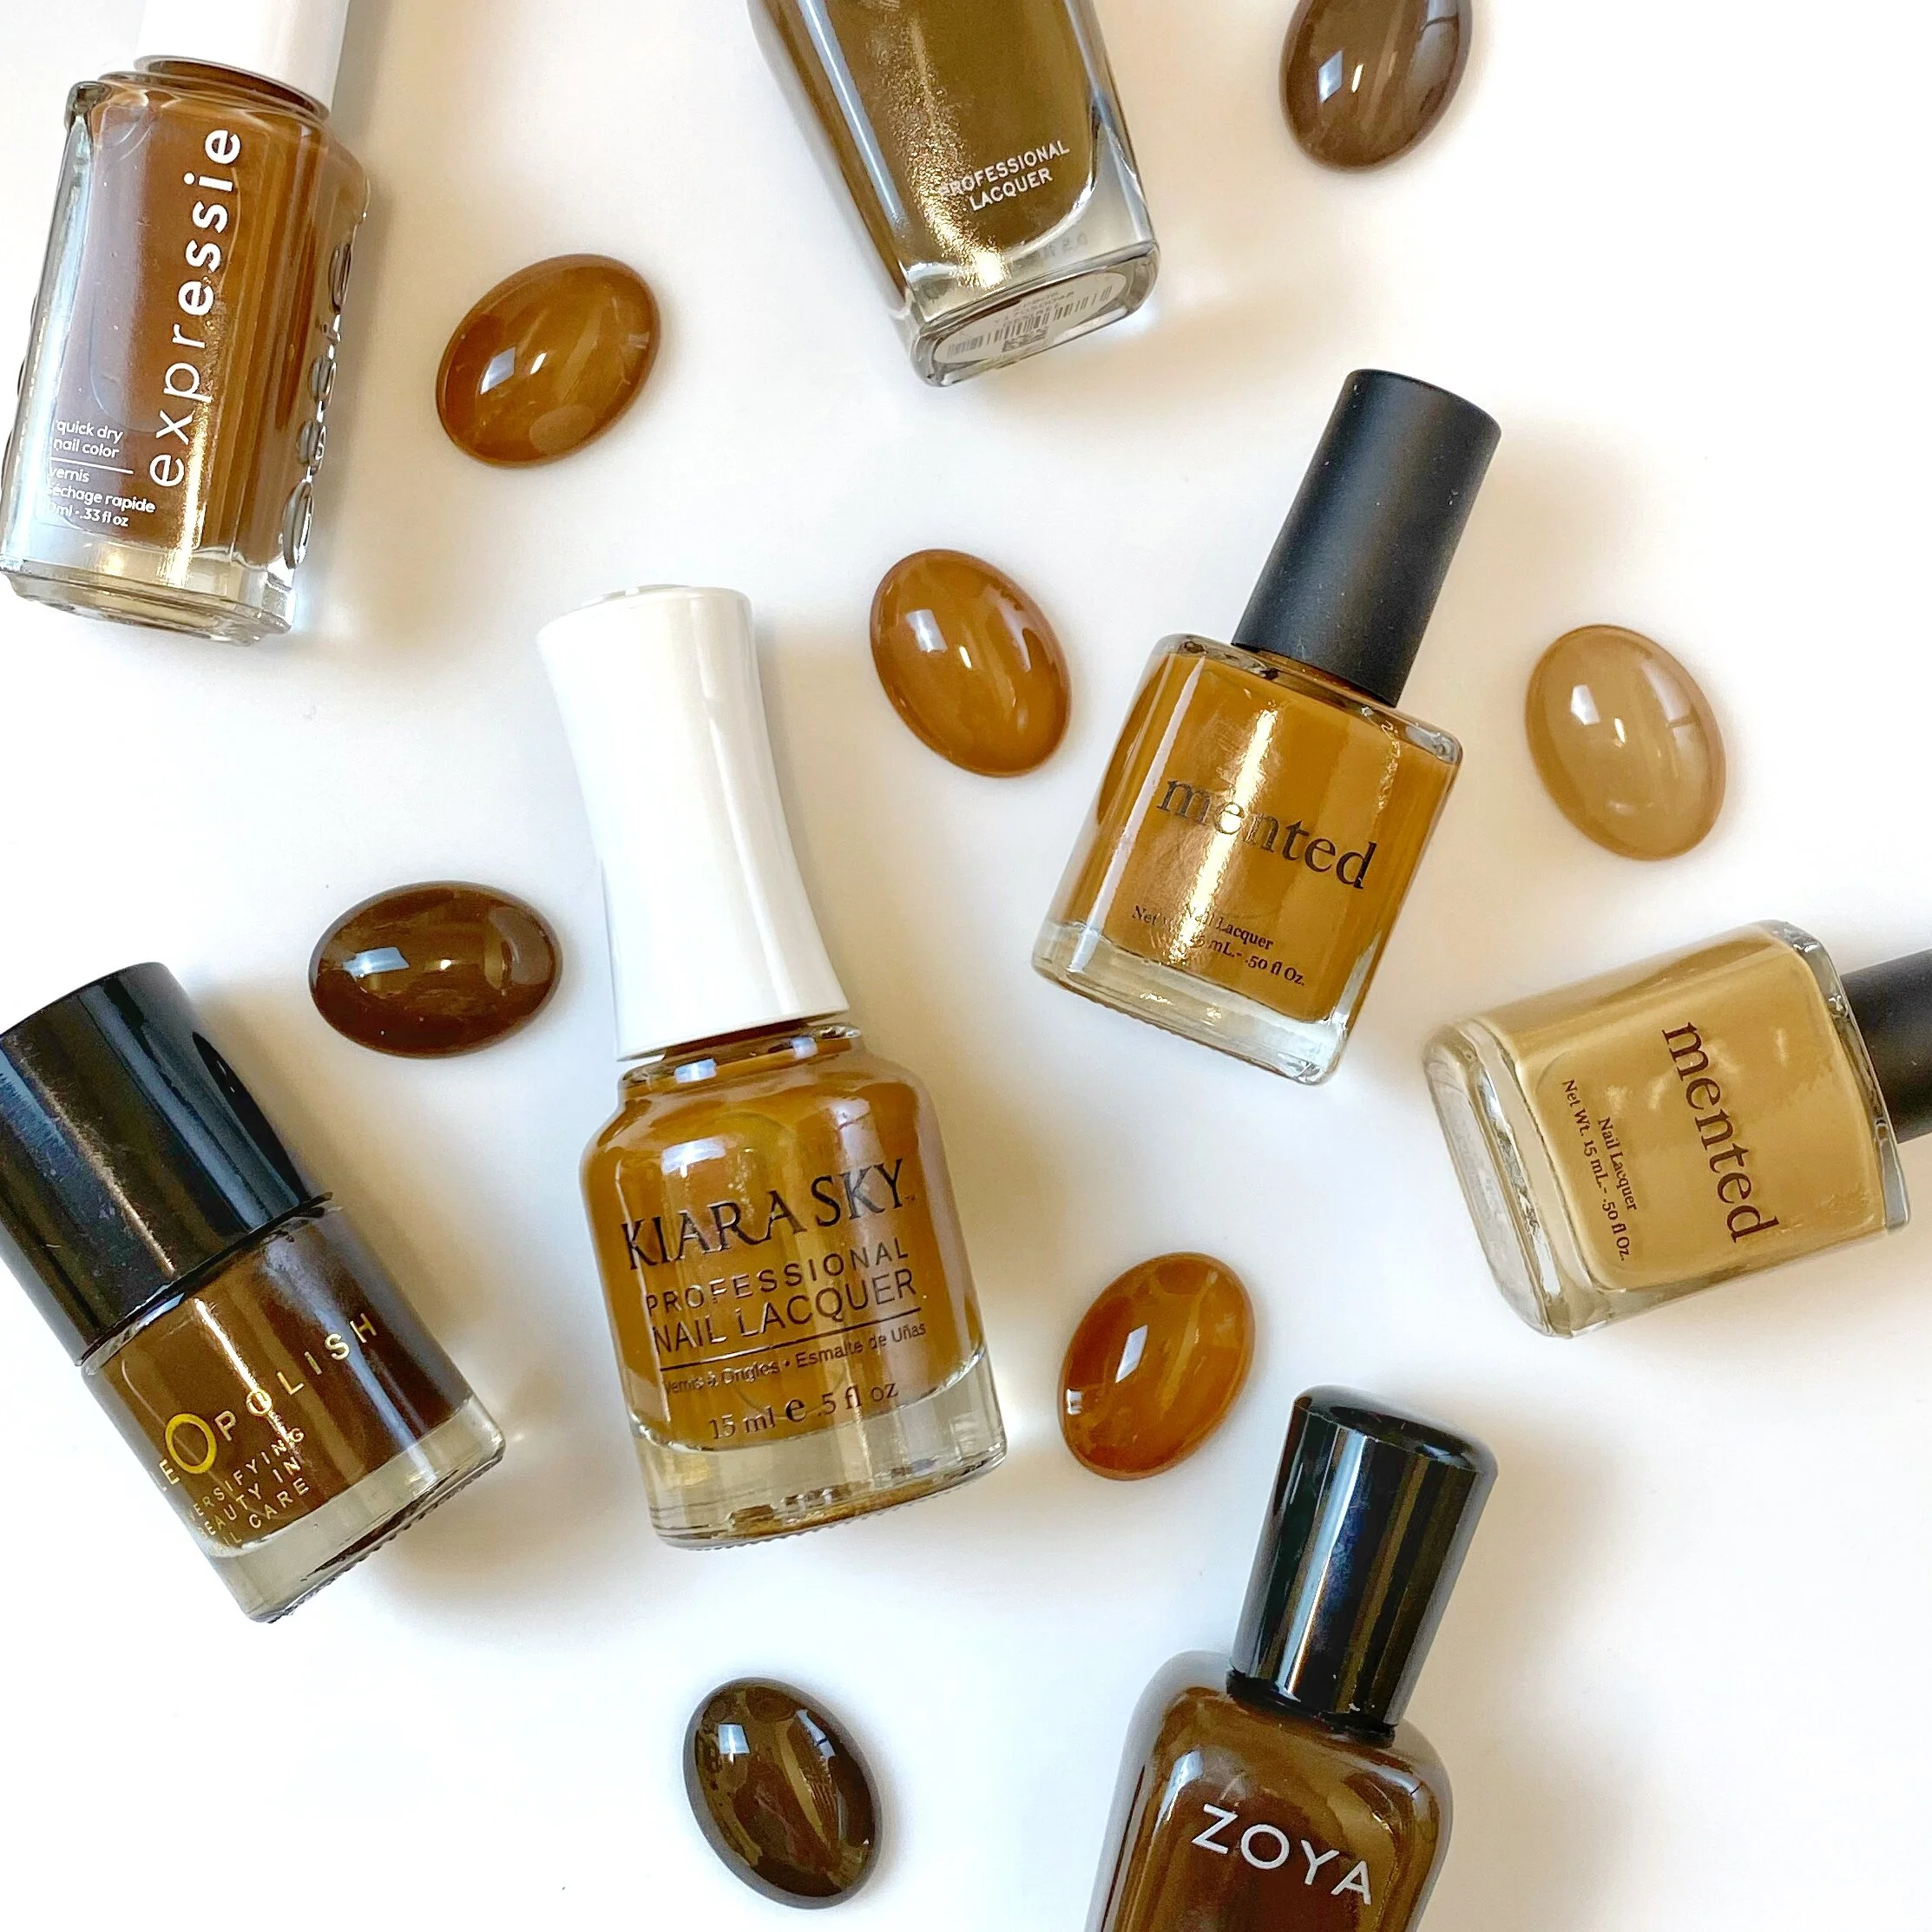
As a starting point, I knew that we wanted to play with a combo muted soft colorful tones counterbalanced with a glaze-like texture. My mind immediately went to the Kokoist Bread Pudding collection I purchased over the holiday season, a collection of sheer (but not clear) milky contemporary colorful tones- when paired with two of my longstanding favorites (E-78 Nudist Beach and E-91 White Gradation) are PERFECT for a perfectly imperfect nuanced watercolor design.

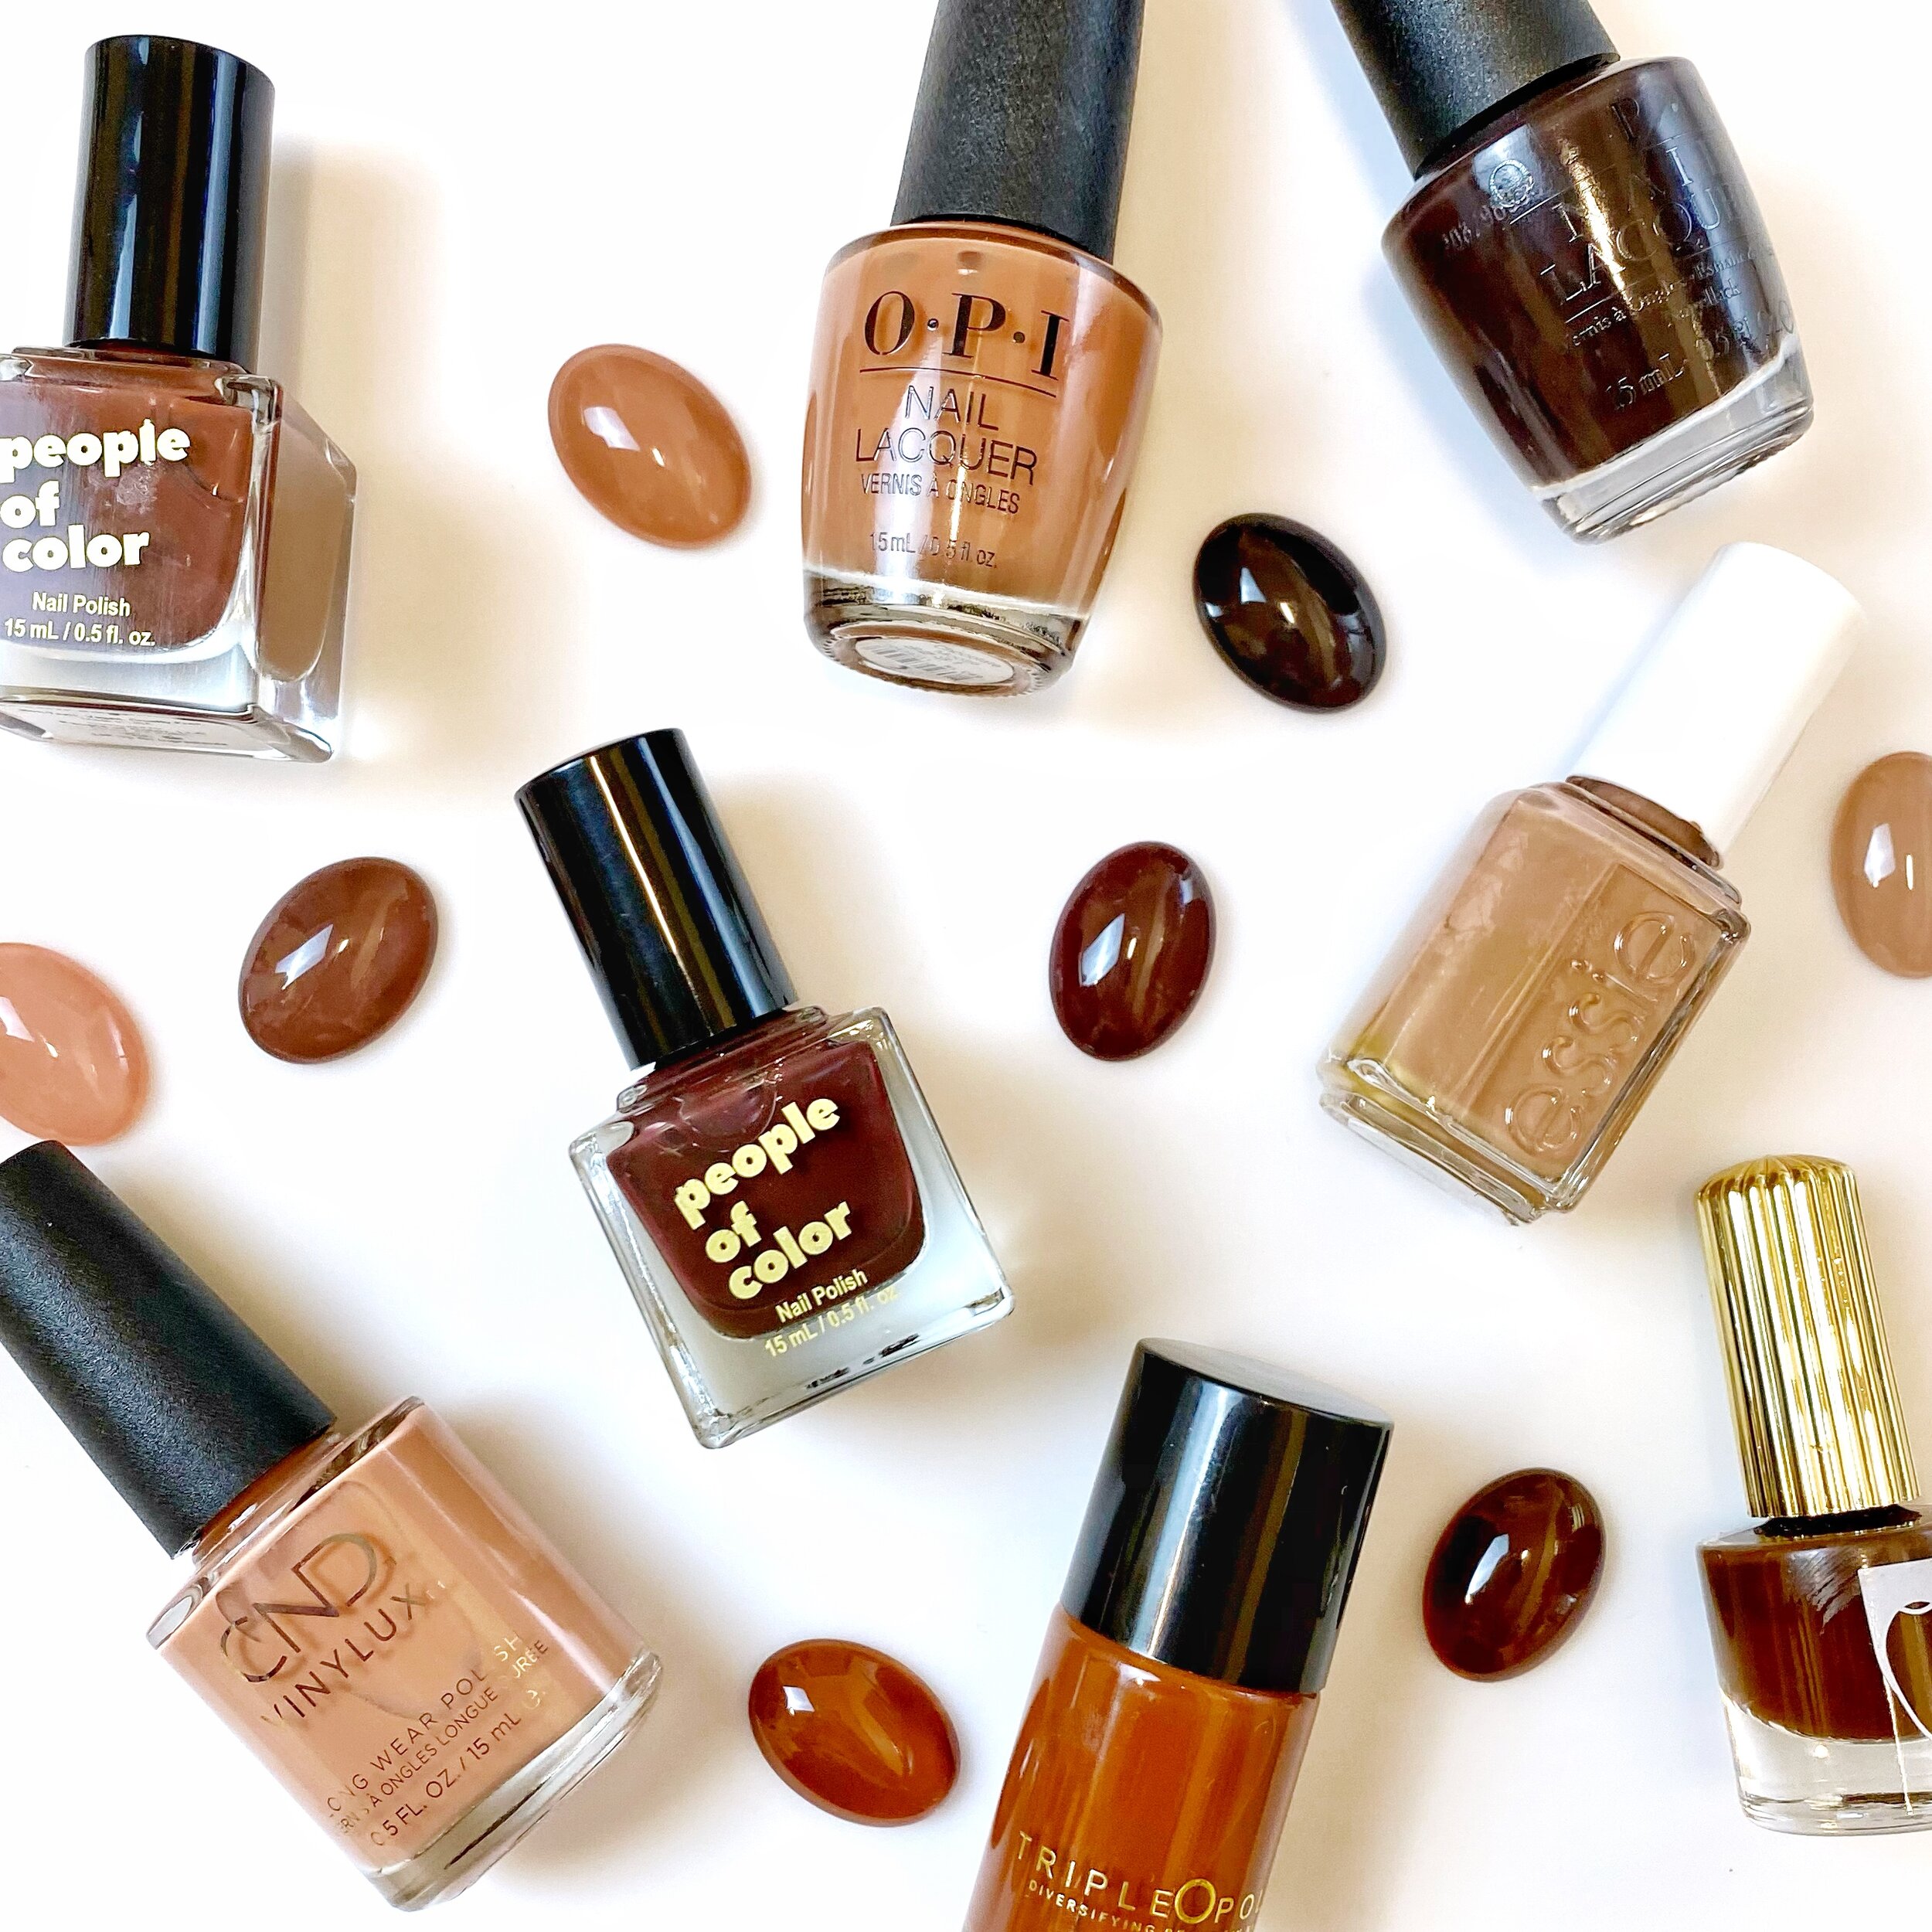
Image courtesy of Show Me Professional & Nail Formula Canada
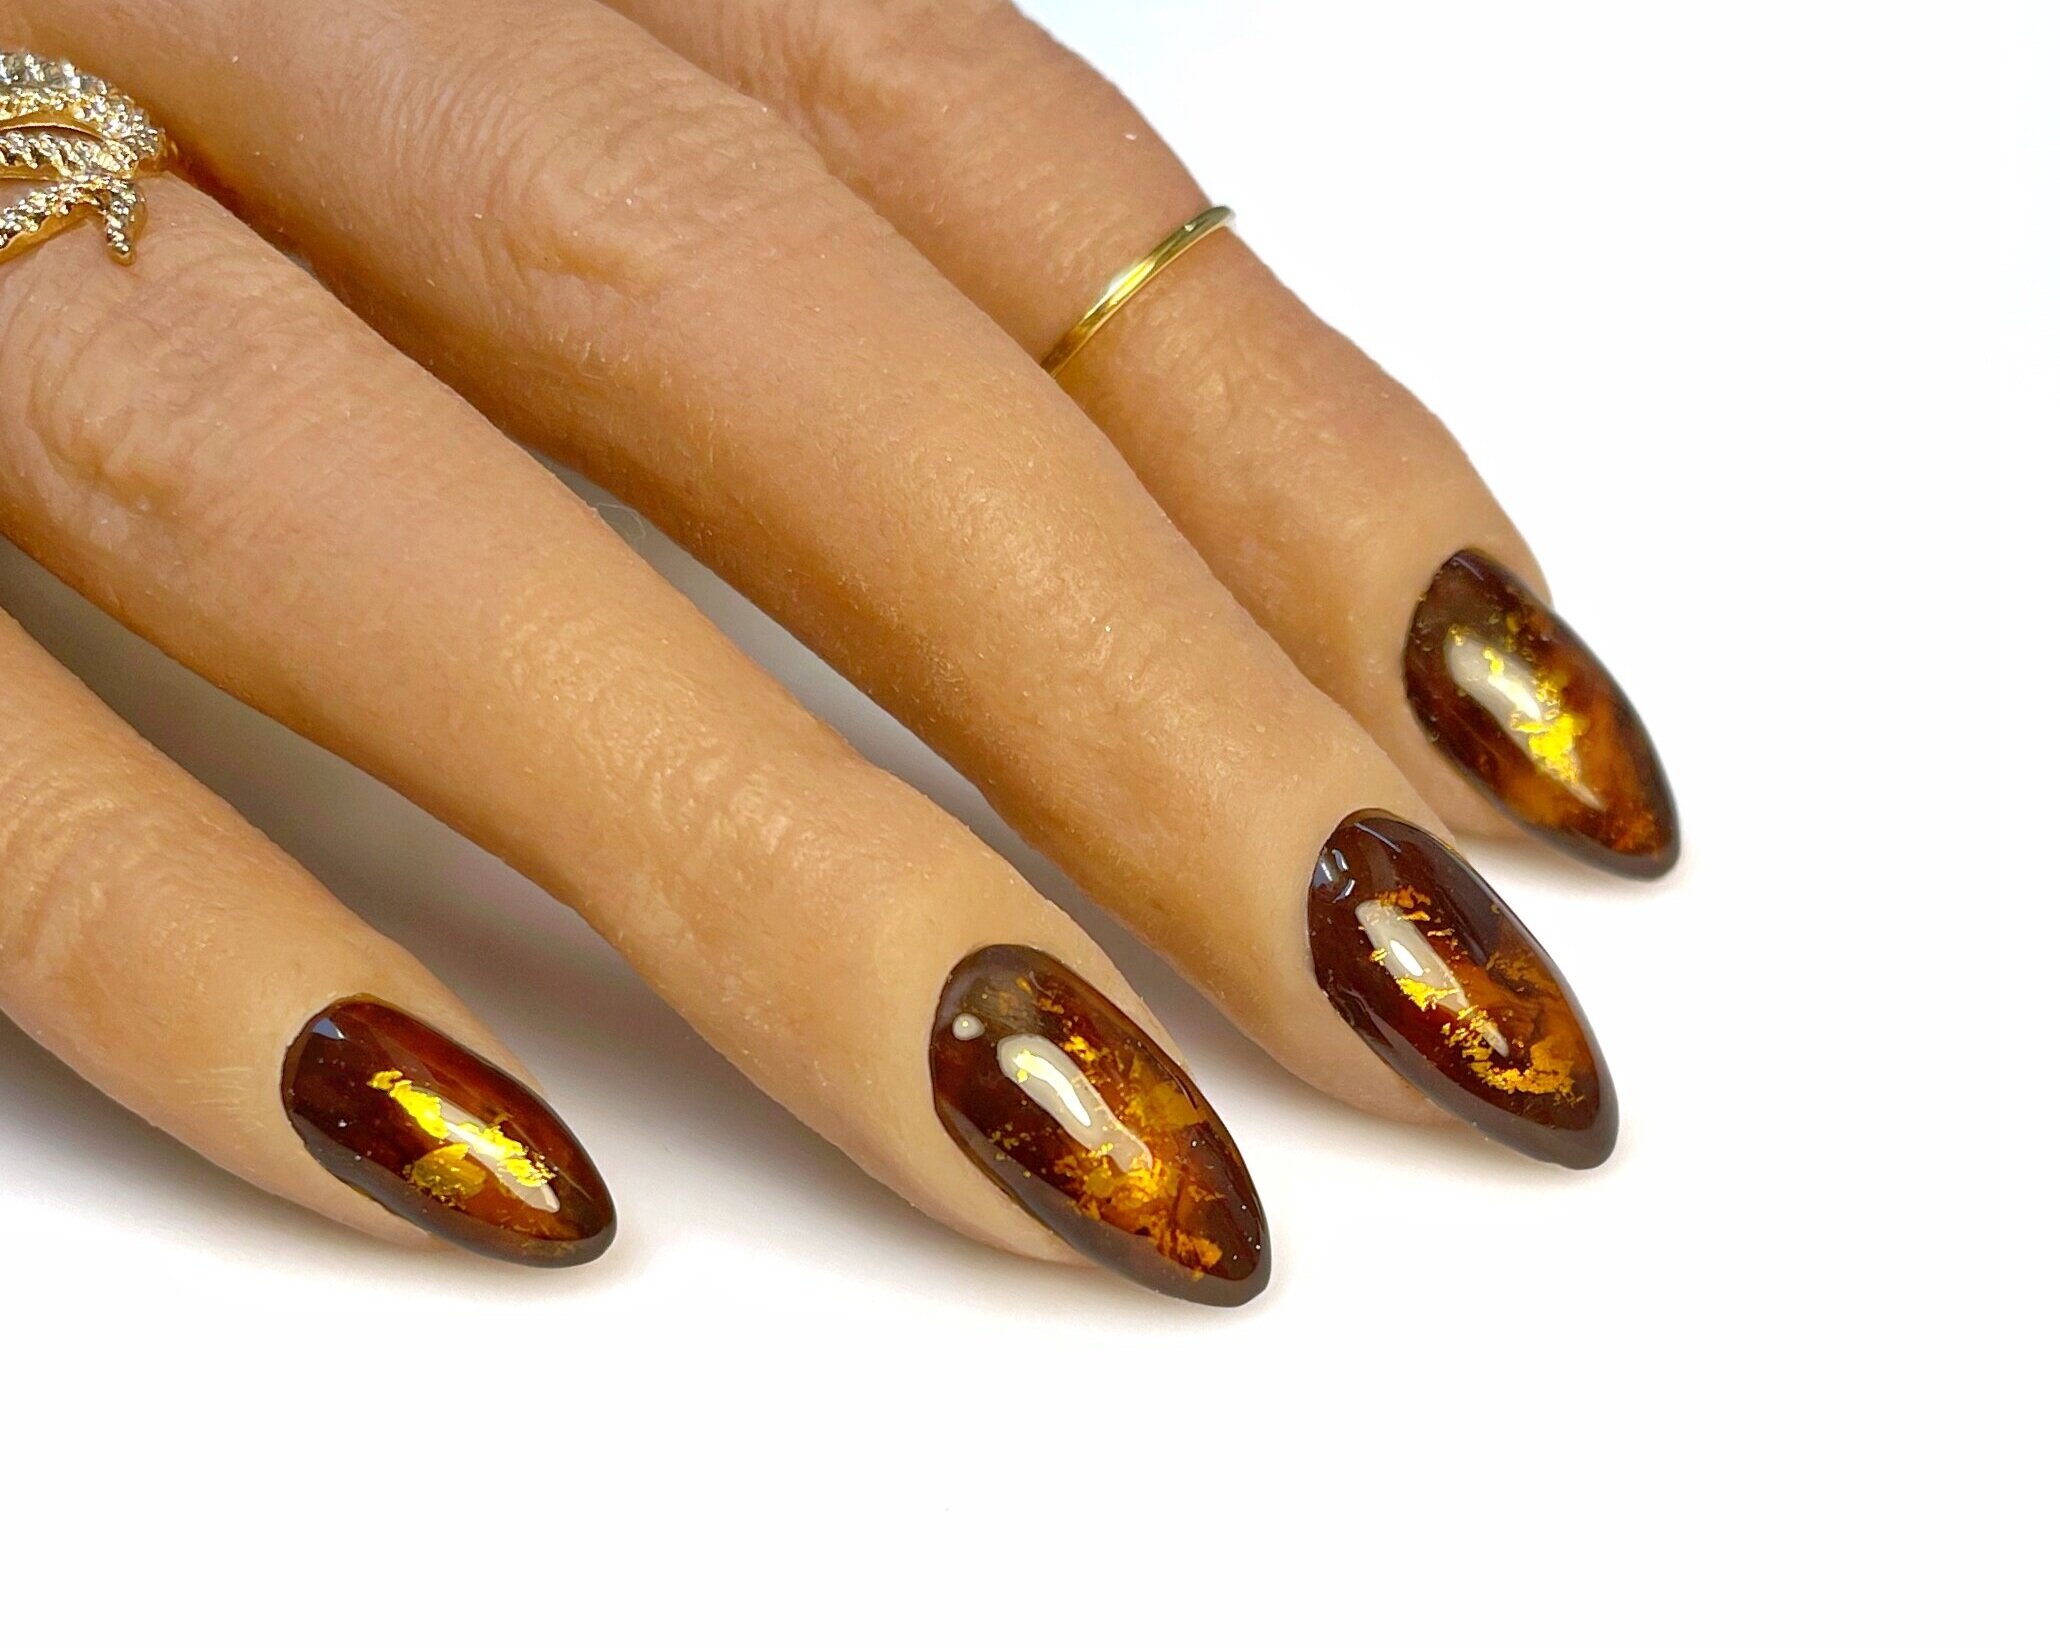
BUT ALSO, as I was scrolling the ‘gram (as one does) I cam across this glorious confection from Korea by way of Canada distributor Nail Formula: the Show Me Solitude Series Episode One gel. Now, ya’ll KNOW I love a weird speciality gel, but the weird speciality gels that look like stone, ceramic or terrazzo texture. those ones are extra special. When I saw this, I gasped, grabbed my credit card and ordered immediately, $15 shipping and all. That's how you know it’s true love, when you are willing to pay shipping.
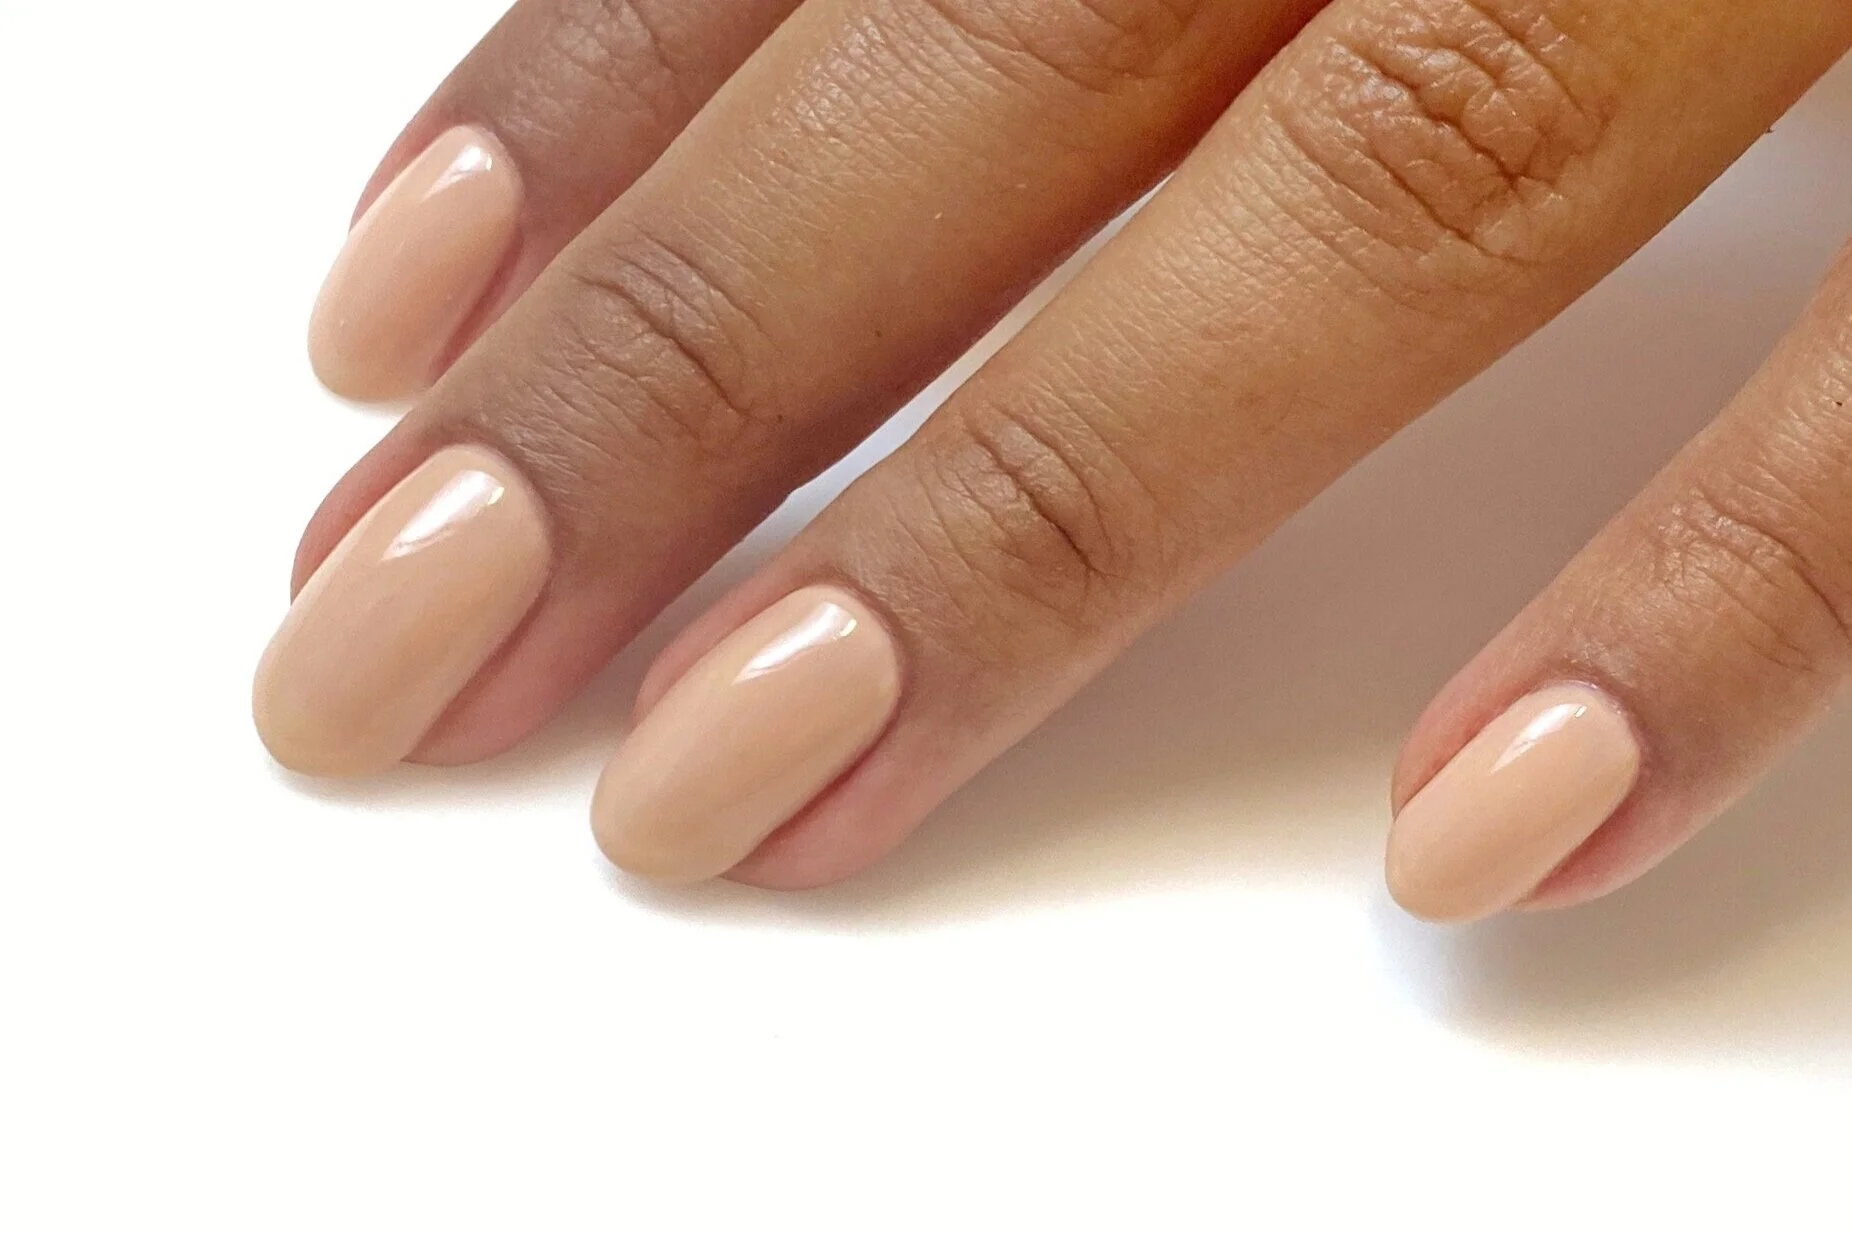
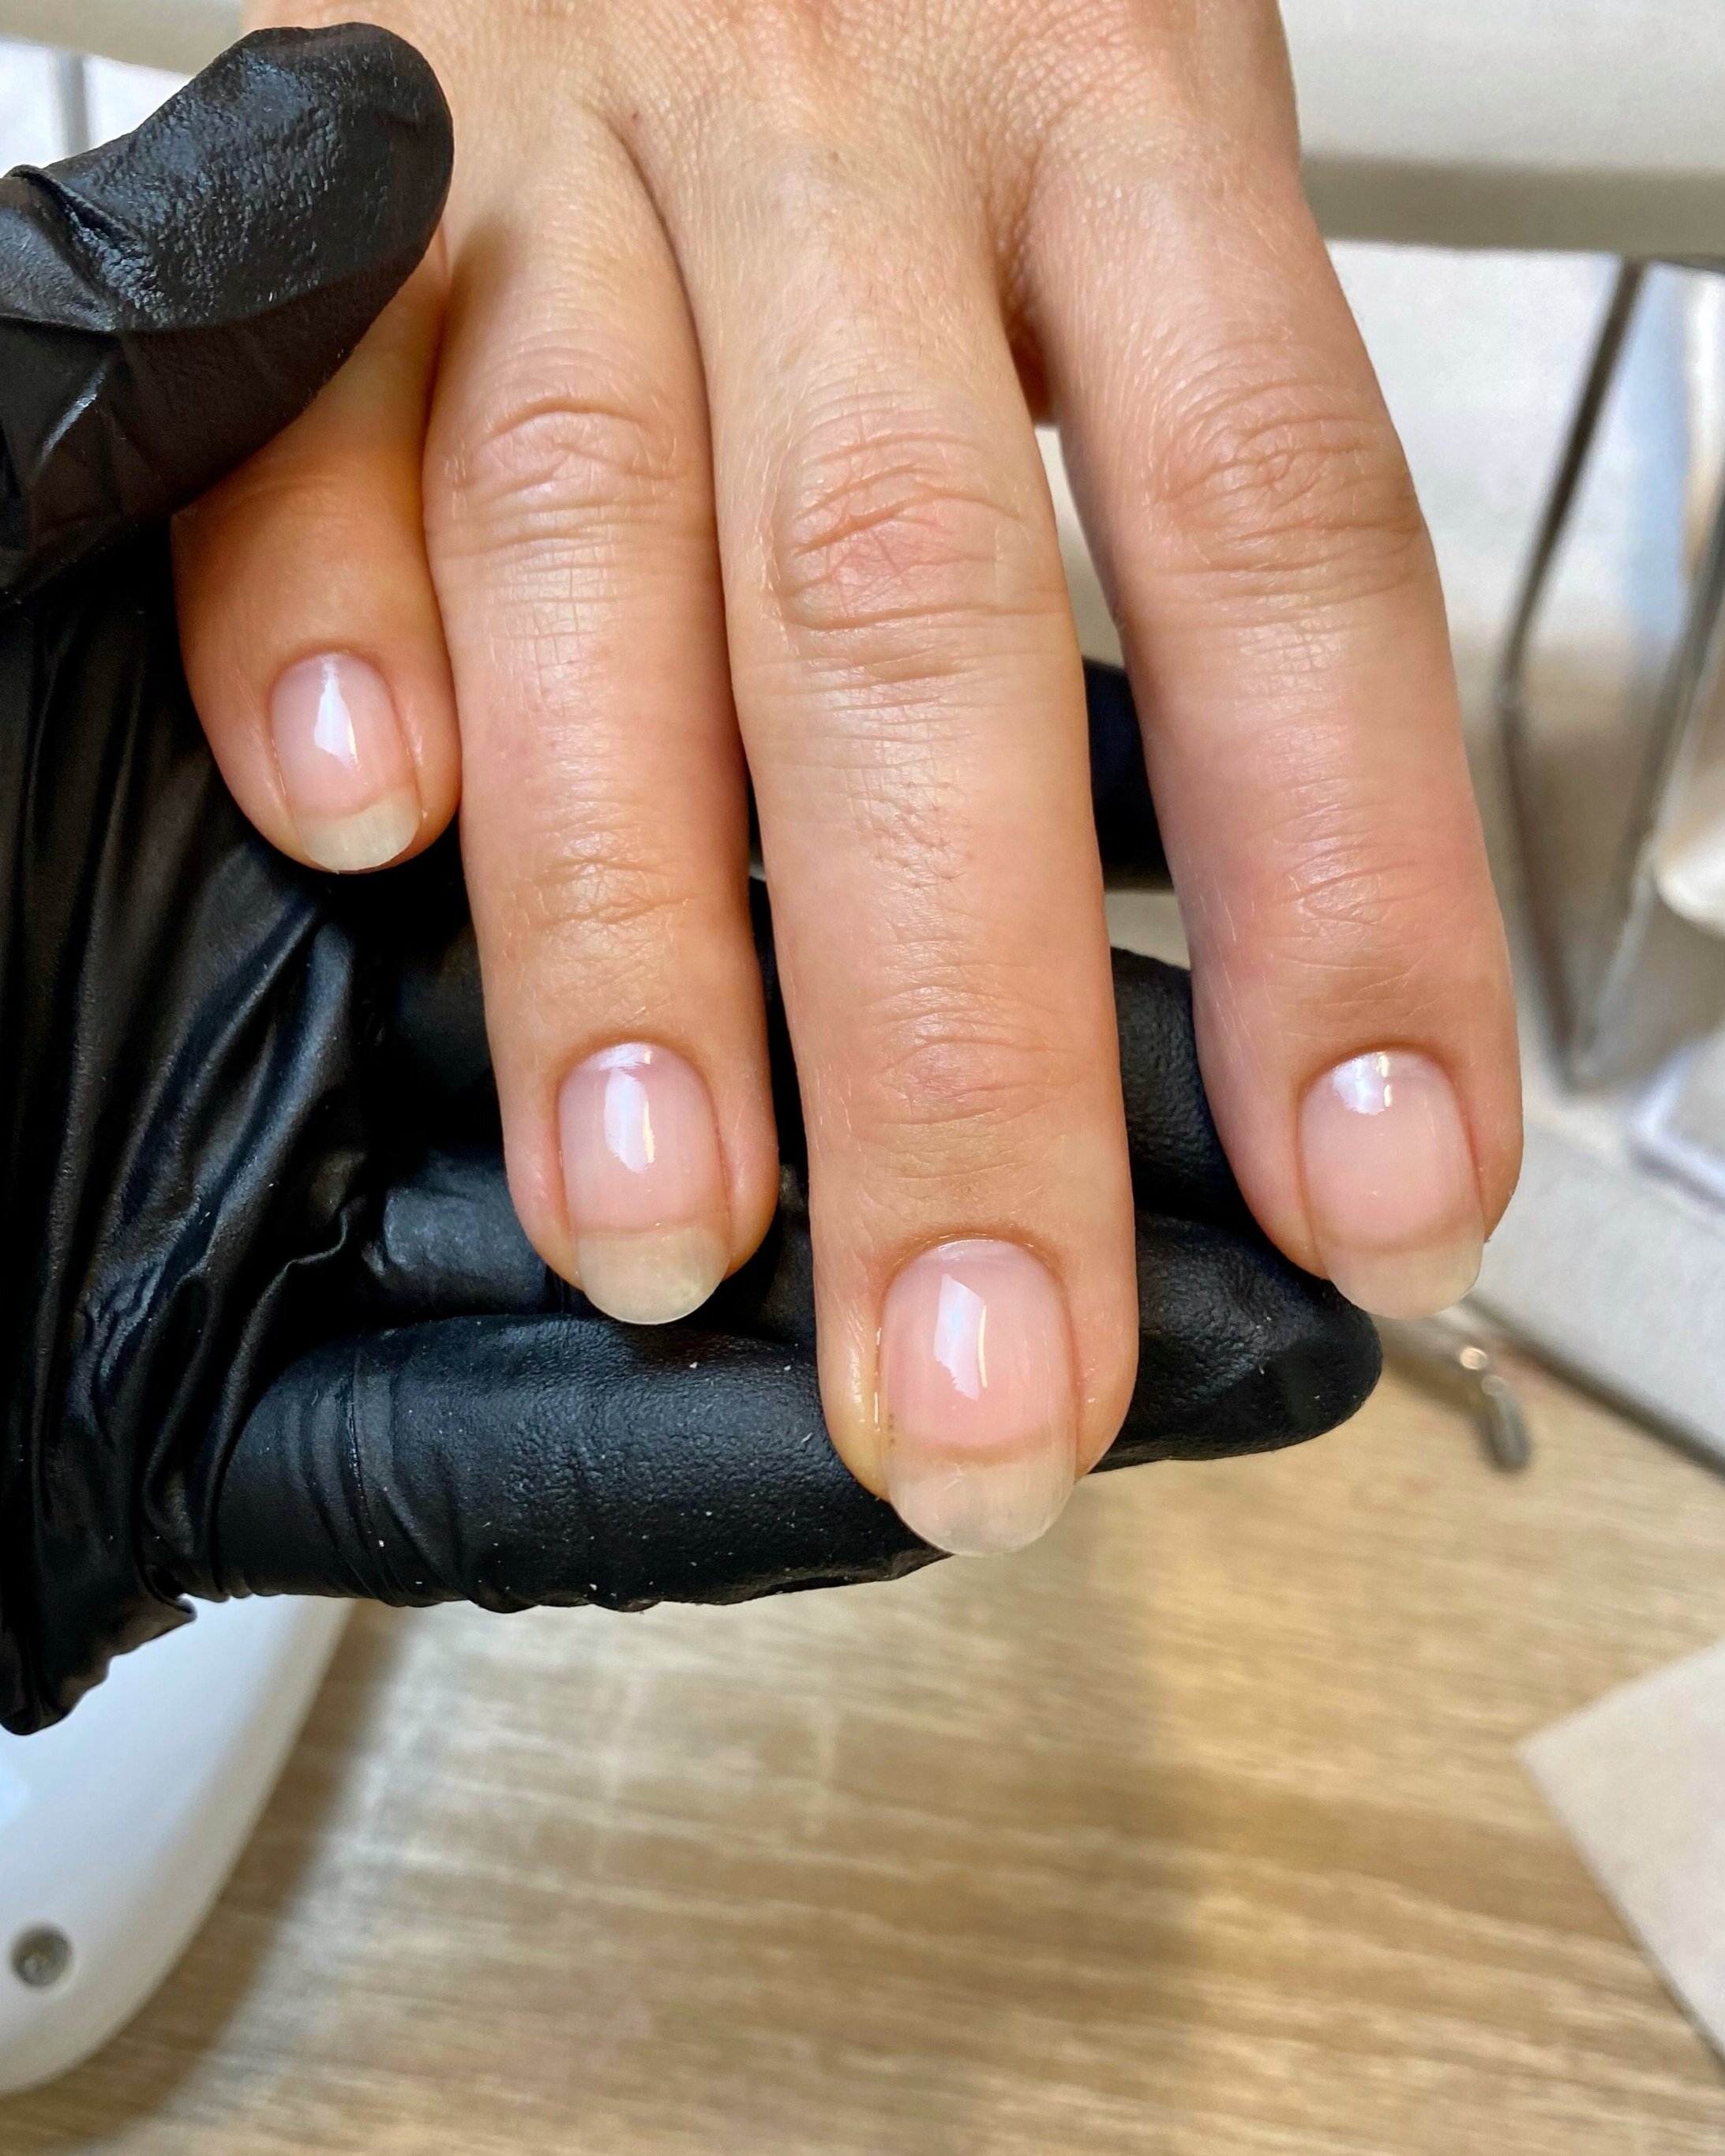
Step 1: Apply a single layer of Kokoist Color Gel in E-78 Nudist Beach, this is going to help create a subtly uniformity for the backdrop of the design. Cure.
For the watercolor design. we’ll be working in wet layers, meaning that you aren’t going to cure until all colors are placed and blended.
Step 2: Apply swishes of Kokoist Color Gel in E-91 White Gradation on all nails. Do not cure.
Step 3: Apply swishes of Kokoist Color Gel in E-245S Carrot Bread Pudding, wiping off your brush between swipes and gently blending the edges of the colors. Do not cure.
Step 4: Apply swishes of Kokoist Color Gel in E-246S Fig Bread Pudding, wiping off your brush between swipes and gently blending the edges of the colors. Do not cure.
Step 5: Apply swishes of Kokoist Color Gel in E-243S Pistachio Bread Pudding, being careful not to over-blend this shade (because if you do it’ll just turn brown).
Step 6: Let the colors sit and mingle for a few seconds and then cure
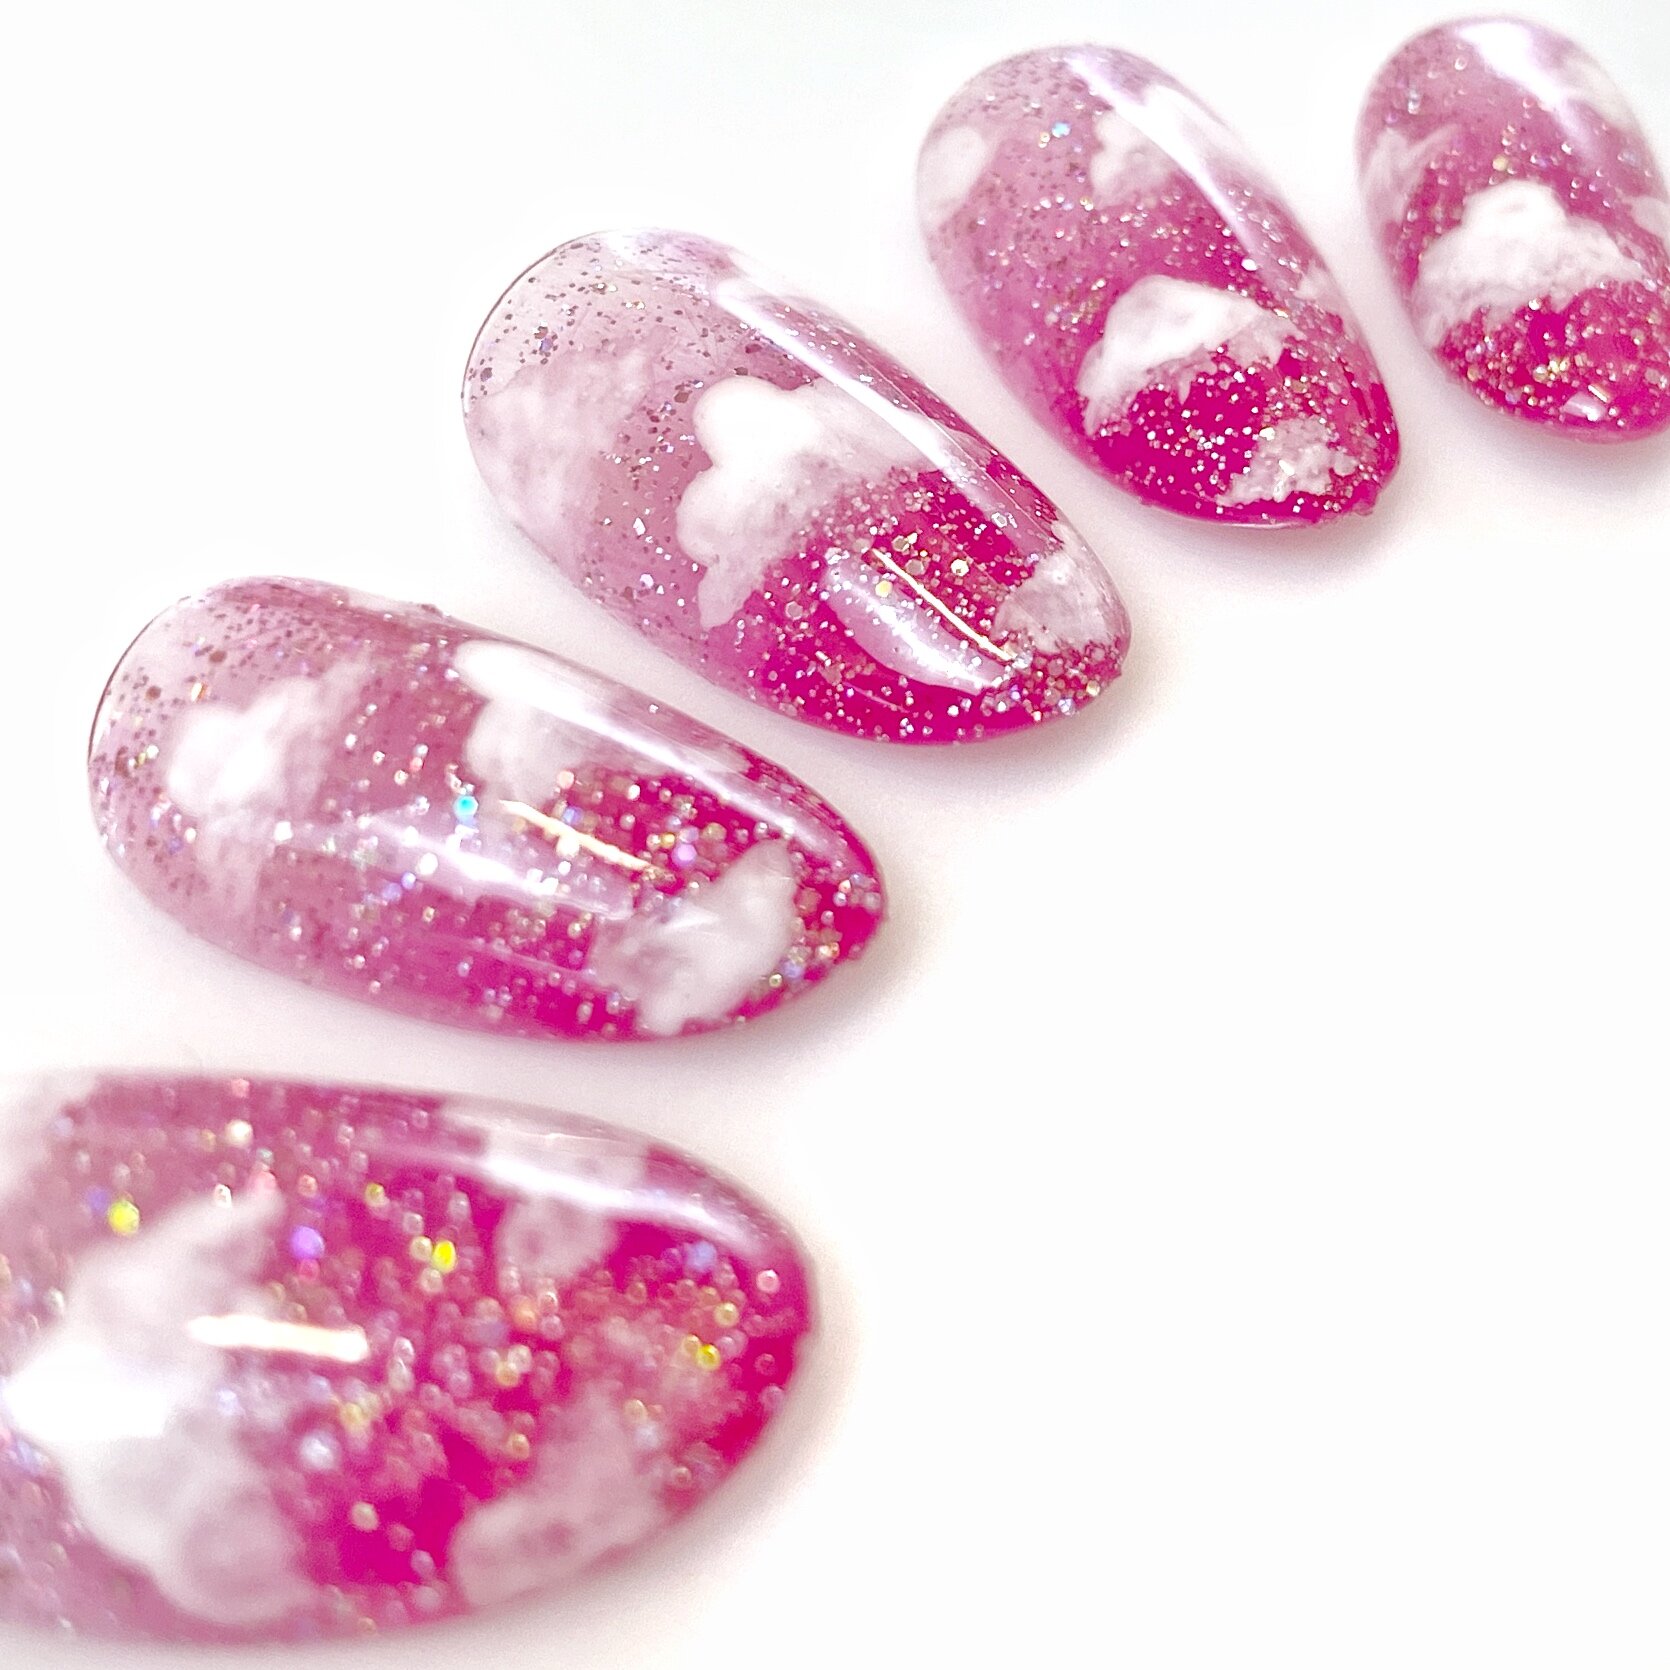
Step 7: Apply a thin layer of Show Me Solitude Series Episode 1 (what a name, right?) being careful to check for any jagged edges and gently pushing the particles around to achieve your desired look. Cure.
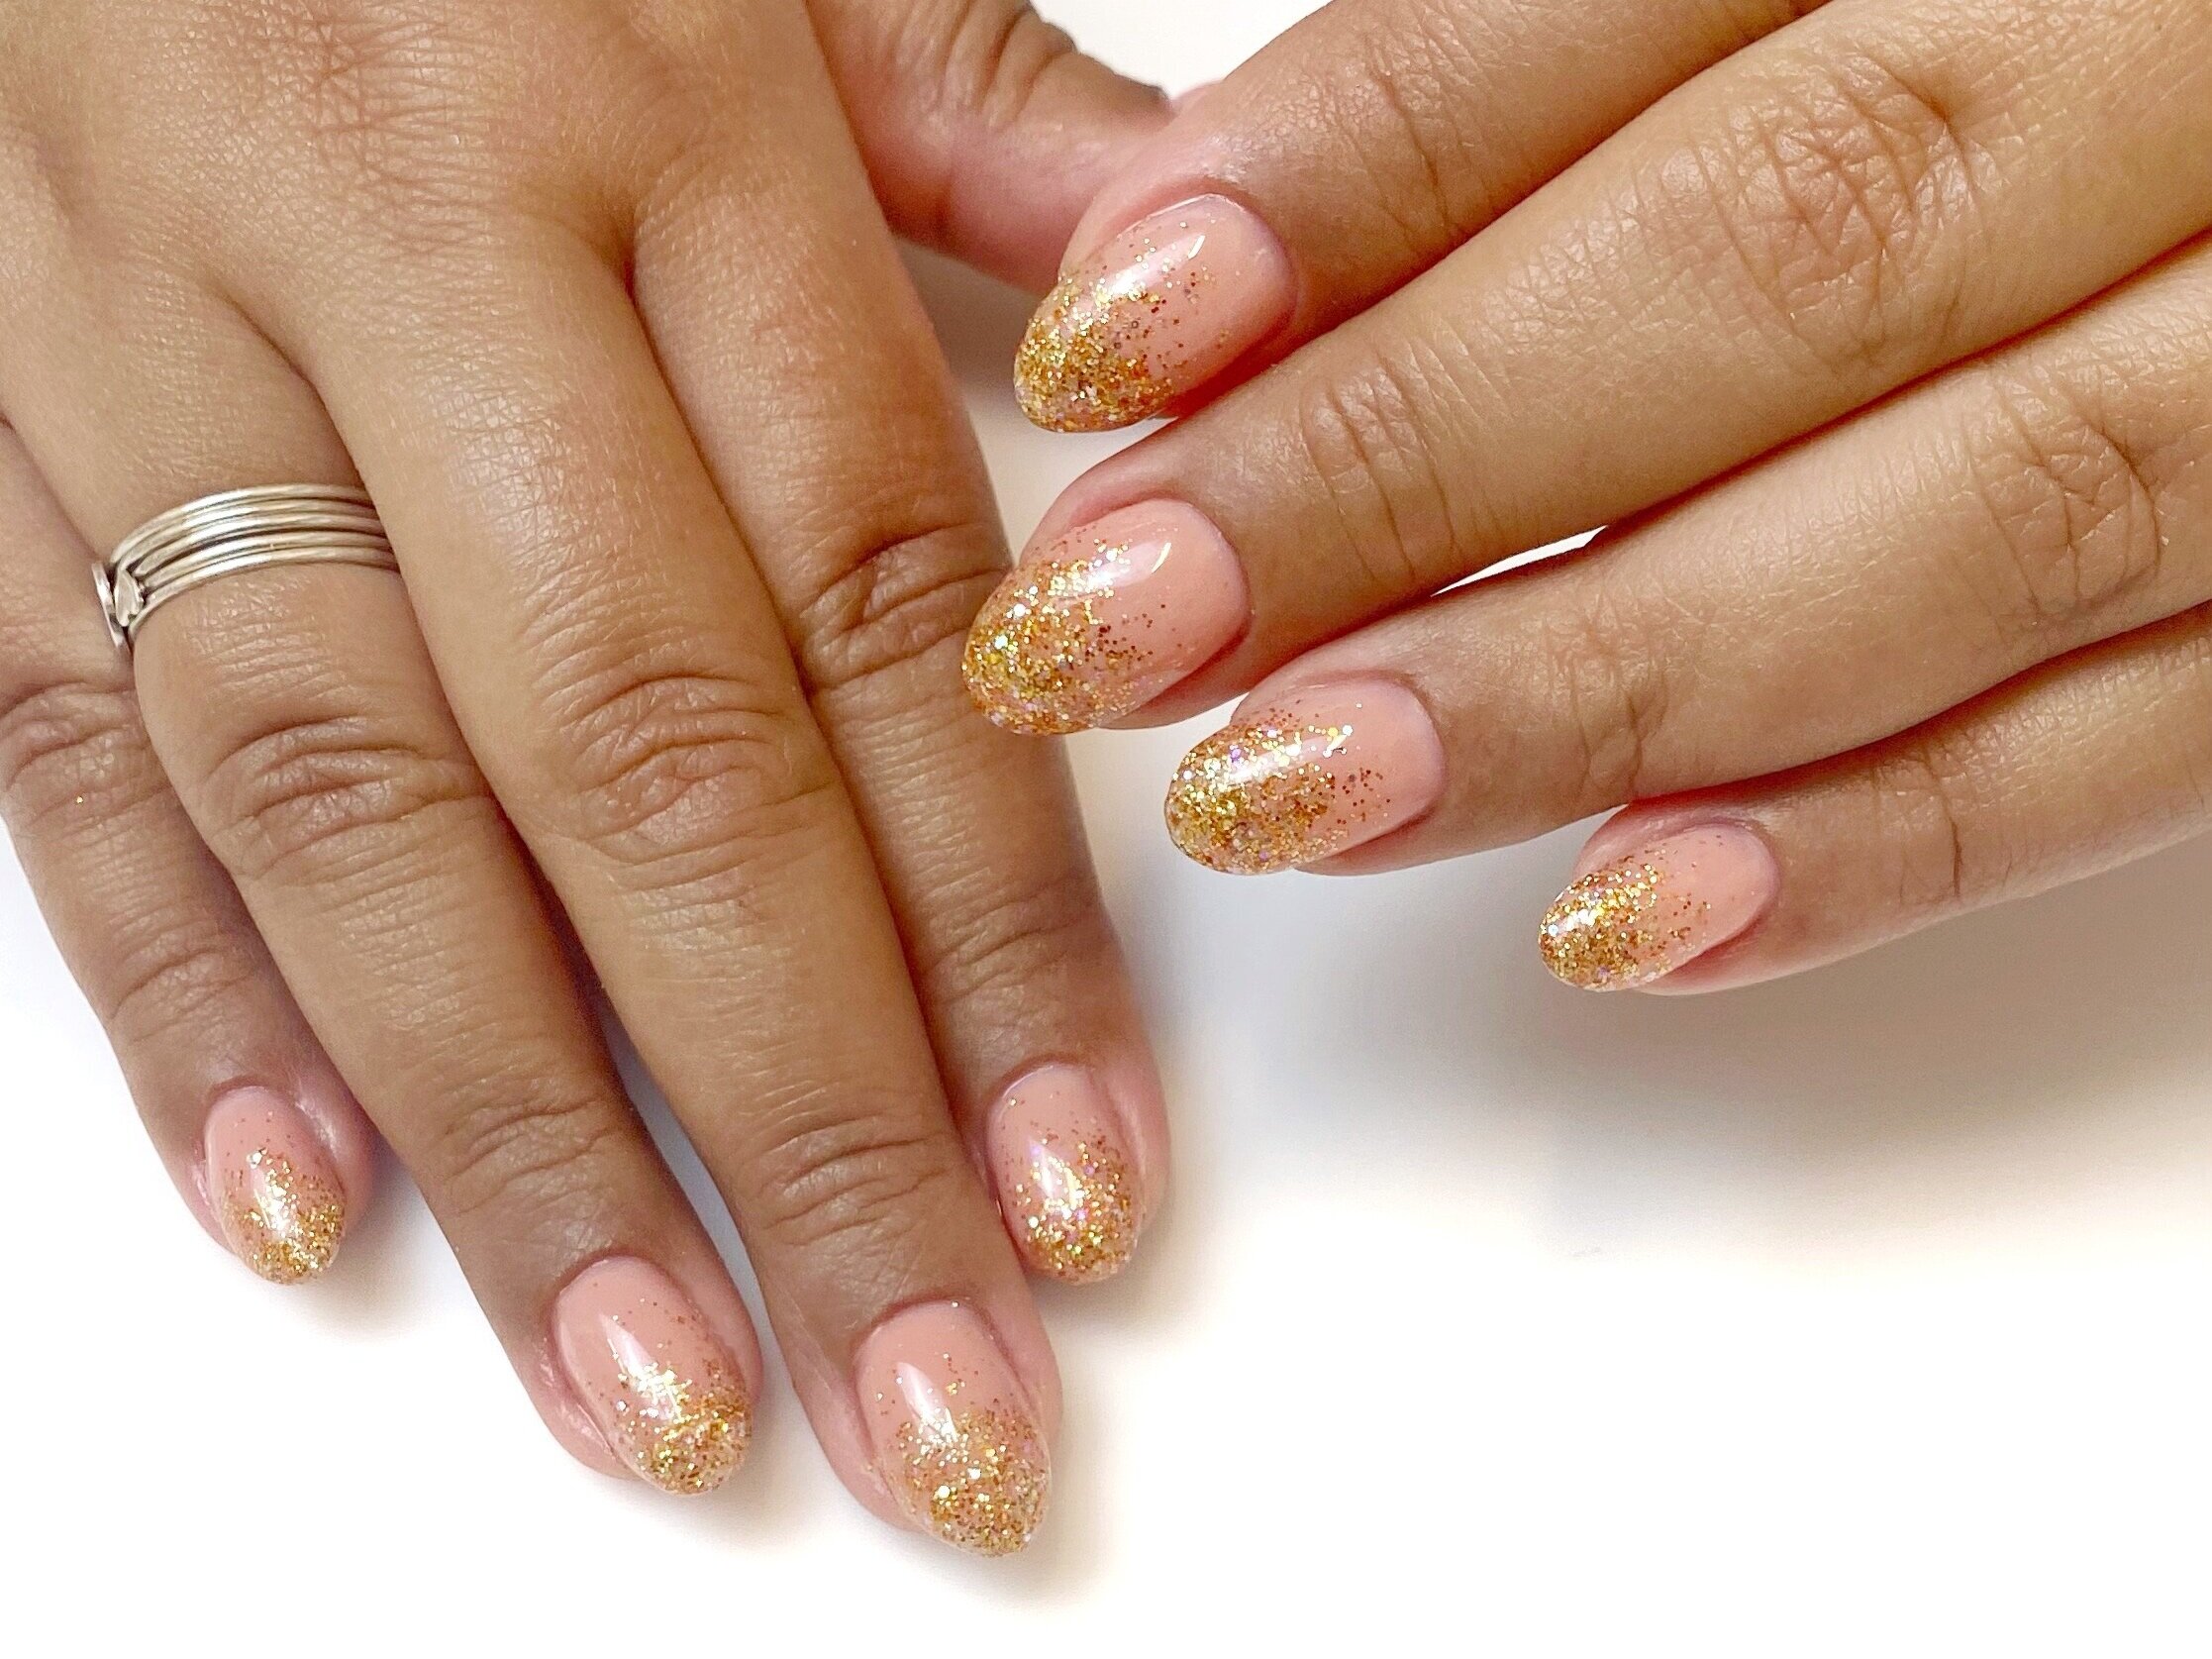
Step 8: Using a textured gold frame charm (if I’m honest, I’m not sure where I got mine from as I tend to pick up charms from everywhere, but safe assumption either Ali Express or Clou), apply Ageha Charm On No-Wipe Gel and place on the nail. Be sure to check for balance and try to angle the charm to lay as flush as possible to the nail. Flash cure to hold in place.
Step 9: Apply a small dollop of the charm gel to the inside of the charm and gently place some shell pieces and a smaller gold seed style charm. Cure.
Step 10: Apply a layer of Kokoist Art Clear on top of all nails to help create a smooth surface and seal in your charms. Cure. Be sure to feel all the nails and gently file off any jagged pieces/
Step 11: Apply your favorite top coat, I’m using Kokoist Ultra Glossy Non-Wipe Top Coat Gel, which is one of my favorites because it’s a little on the thicker side, so it really helps finish an encapsulated look.
Step 12: Give yourself a high-five and pat on the back and stare at your gorgeous nails. (optional, but recommended).