• PORTFOLIO
  • ABOUT
  • PRESS
  • SALON APPOINTMENTS

Rachel Messick

manicurist

  • PORTFOLIO
  • ABOUT
  • PRESS
  • SALON APPOINTMENTS

Nail Art Tutorial: Abstract Lava Lamp

This post contains gifted product and/or affiliate commission codes/links. Click here for disclosure statement.

Ah yes, the delcious nebulous amorphic nature of the lava lamp. When I was a youth in the 90’s, 70’s nostalgia was in full swing. Claire’s accessories was selling beaded curtains and magic mushroom inspired tie dye candles (that I was NOT allowed to light) and you couldn’t pry daisy motifs and happy face t-shirts out of my ravenous teen hands. Suffice it to say, having a lava lamp was a major indicator of coolness.

View this post on Instagram

A post shared by Rachel Messick | Manicurist (@rachel.messick)

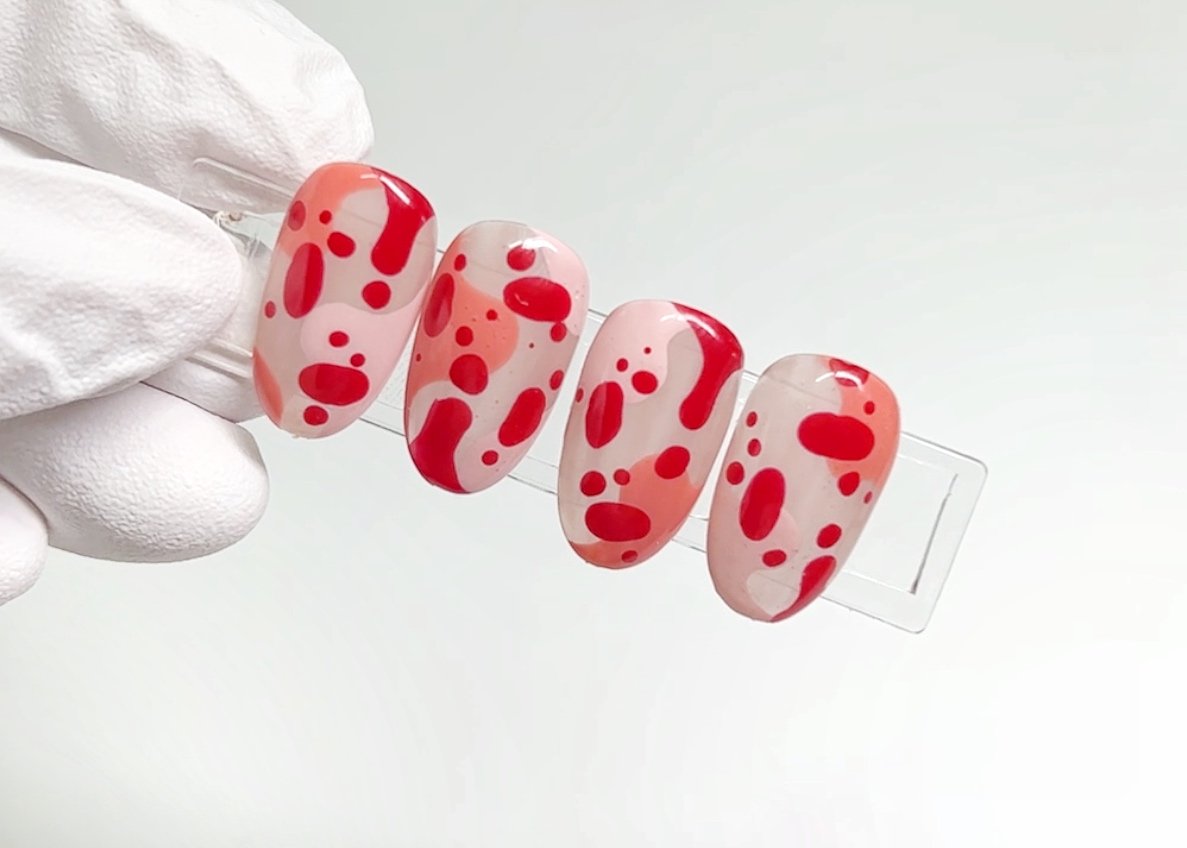
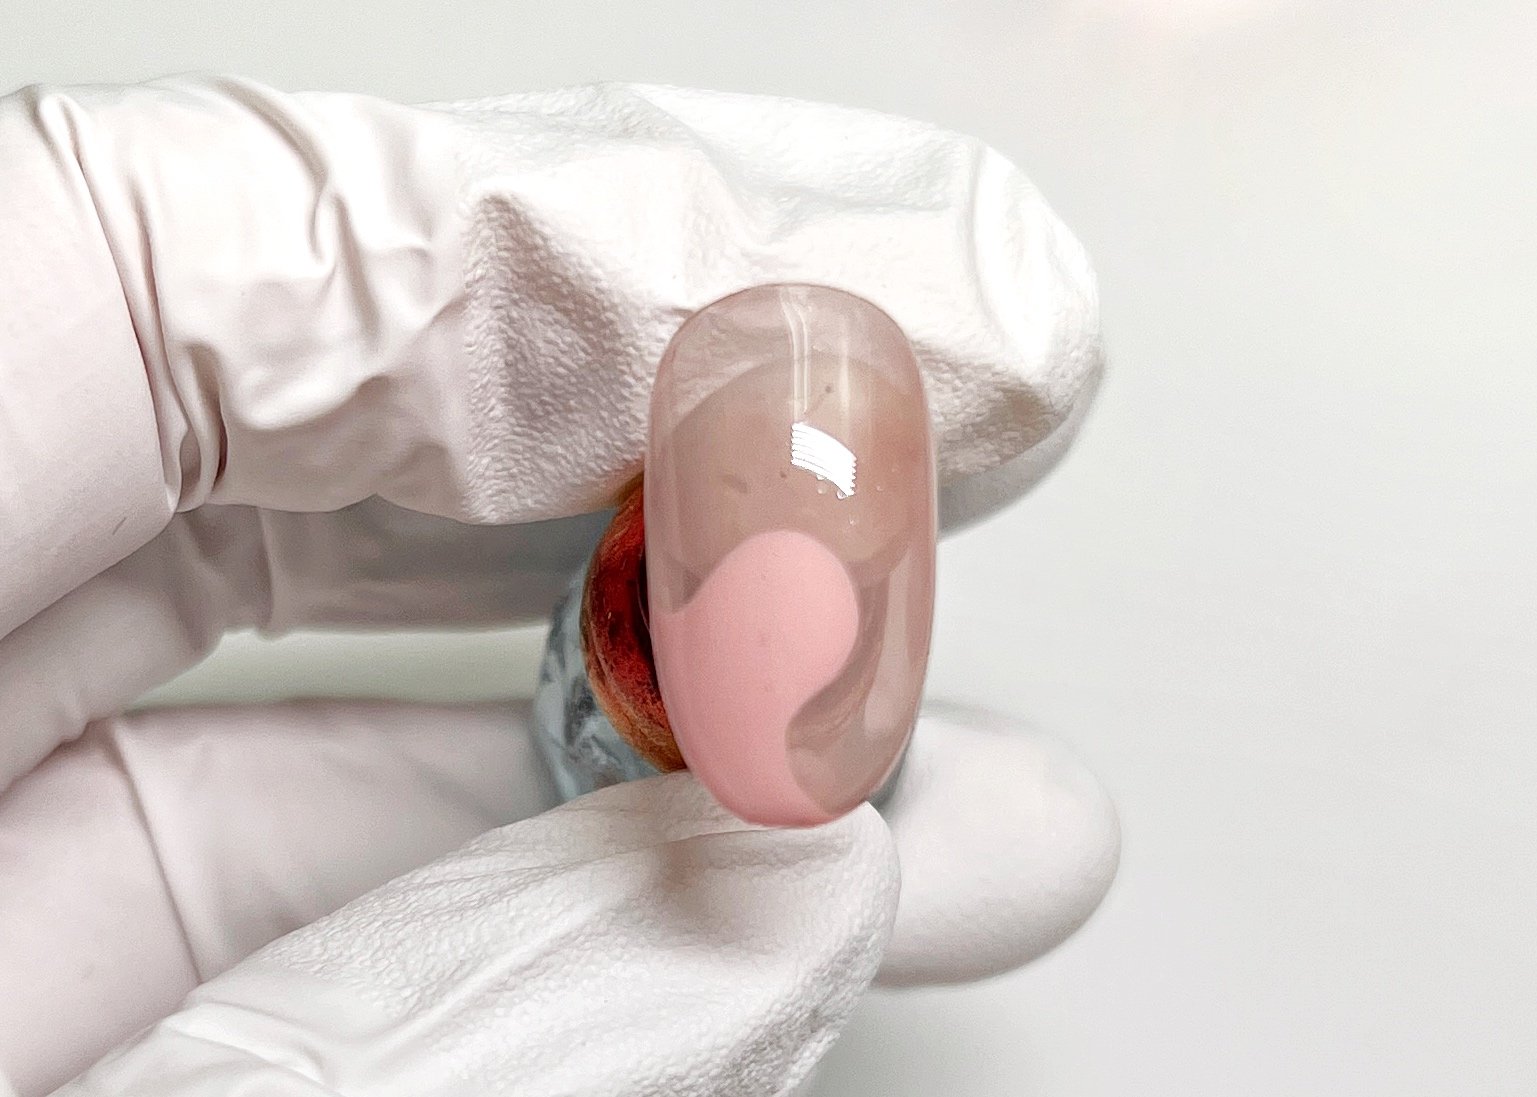
While there are definitely more on-the-nose lava lamp manicures out there, I’m more of a fan of a nod-and-wink approach to inspiration. What better way to modernize the lava lamp vibe than to throw in some #aestheticgirl details and a valentine’s adjacent color palette.

IMG_2043.jpg
IMG_2044.jpg
IMG_2045.jpg
IMG_2048.jpg

Step-by-Step:

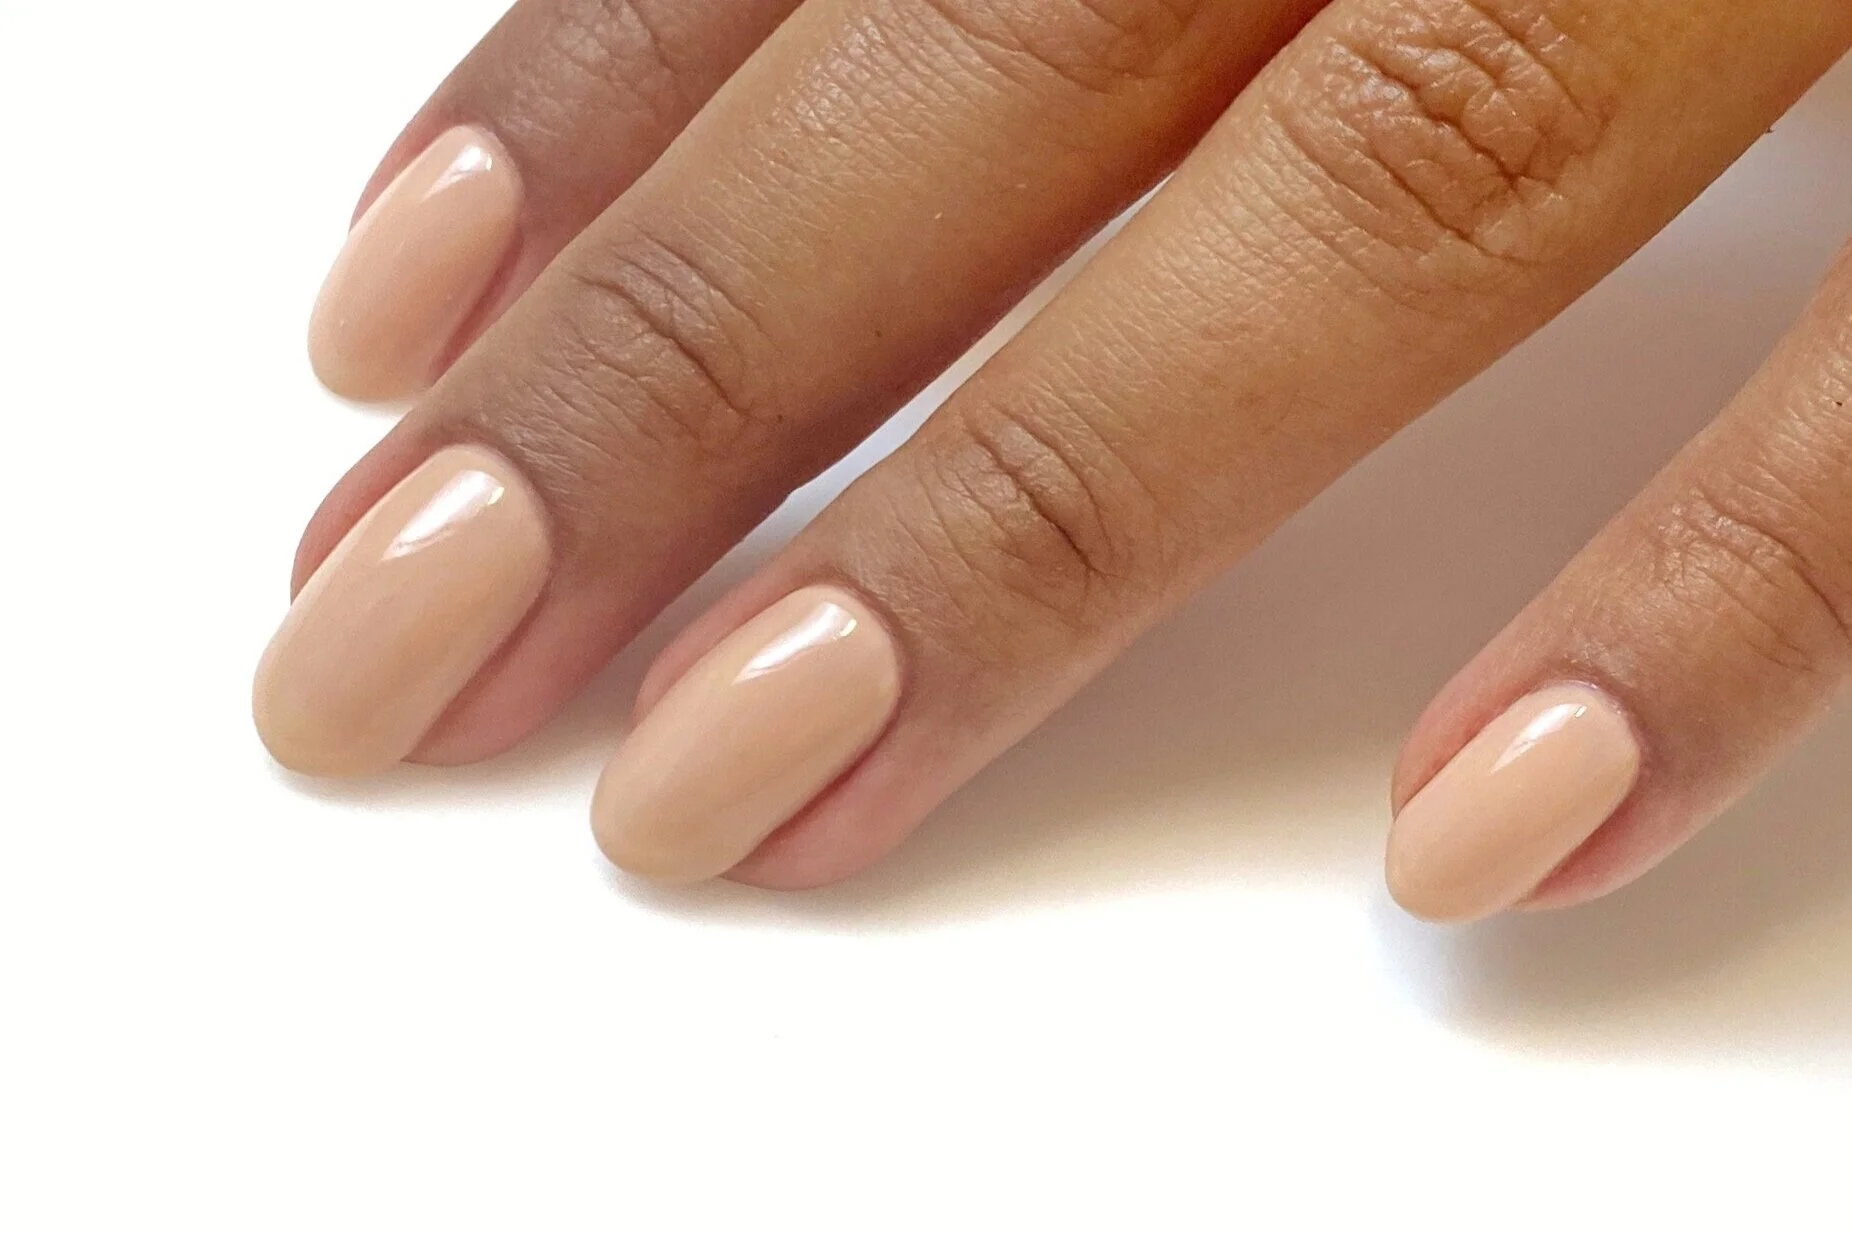
  • First things first, you’ll want to lay down two coats of E-175S Boysenberry Candy using you rapplication brush of choice (I’m using a Thin Round brush) curing between coats.

  • Using a detail brush create a larger abstract blob-shape with E-127 Strawberry Latte, cure.

  • Using the same techniue add another abstract blob of F Gel Color Gel #2 (a dusty coral), cure. Be careful going too thick with super pigmented bottled gels, they self-level really beautifully but it’s also easy to create a layer so thick it can’t properly cure.

  • It’s ok to cure as you go with this next part, or if you like to live on-the edge and do it all at once- lmay the odds be ever in your favor. Using a dotting tool, start placing your larger oval-ish blobs first using F Gel Color Gel #53. This will help you ensure that you don’t overcrowd the nail and loose the floating lava lamp effect. Cure.

  • Now that you’ve placed the larger dots, go in and add additional dot detail. Cure.

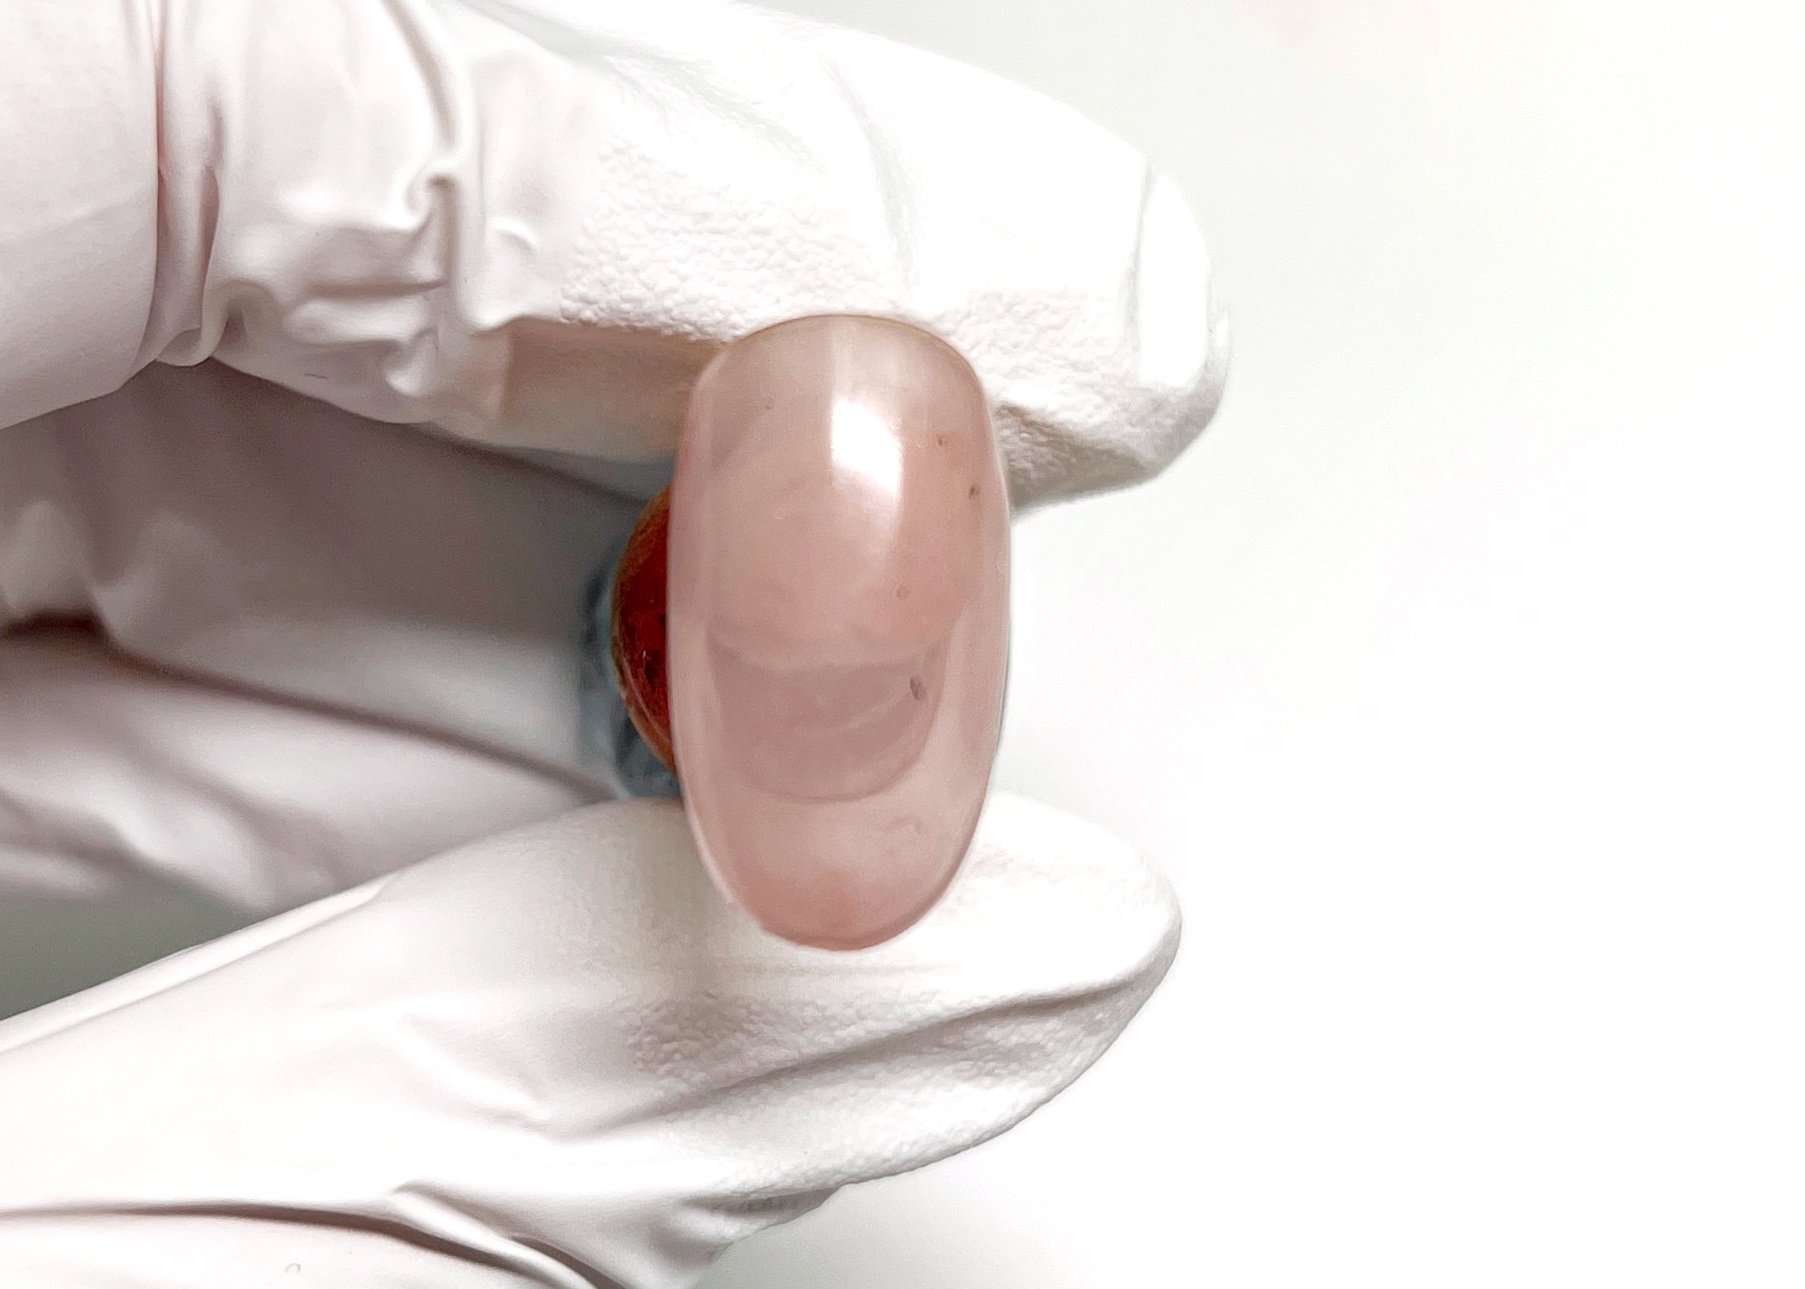
  • Whenever I’m working with a raised design, I’ll always apply my top coat a bit more strategically. I always top coat on nail at a time. Using the Ultra Glossy Non-Wipe Top Coat Gel (say that 5 times fast, geez) I’ll scrub in a thin slip layer, ensuring that all the nooks and crannies are acocunted for. While that layer is wet, add a thicker layer of top gel and float it down the nail. Keep an eye on the line-of-light (the reflection of your table light) and watch it start to self level, be patient. Once the self leveling as starting you can start to attack problem areas- usually it’s going to be a little speed bump near the free-edge. Usually flipping the nail updise down for a few seconds and then dragging the product from the free edge to the apex does the trick (you can see me do it in the video).

  • Let your no-wipe top coat cool down for about 10 seconds, wipe it with a little alcohol (I use 70% or 99%) and then shine it up with some acetone. Turns out we should have been wiping these no-wipe top coats the whole time.

Use code RACHEL10 to save at Kokoist, Zillabeau (F Gel), My Nail Stuff, Hae Nails and Gellyfit.

These are affiliate links, meaning, at no additional cost to you I may recieve a commission if you choose to purchase using my links and/or discount code. Click for disclosure statement.
categories: Pro Tutorial, Musings, DIY
Sunday 02.05.23
Posted by Rachel Messick
 

Double Moss Arte Review: Palette Ring & Primero Brush Set

IMG_9055 2.jpg

I’ve been following Betina Goldstein for years now- you probably have too. She’s kind of the queen of the gorgeous DIY manicure videos along with a crazy long list of celeb clients. Long before I put down the makeup brush and picked up the nail file, I was following her on insta. She’s got an effortlessly chic aesthetic, perfect hands and her beautiful videos are absolutely swoon-worthy. She’s also as sweet as pie and gives me those classy cool vibes- like, I firmly believe she is somebody who can wear all white, eat tacos and not spill anything and I’m here for it.

I’m always looking for ways to elevate my nail kit and the Primero Brush Set was calling to me. I tend to gravitate towards products created by working manicurists. It’s clear from the craftsmanship that she put a lot of thought and refinement into her creations. The majority of my work on set is with traditional polish and the field of brushes for traditional polish is always a little, how to put it softly, TACKY. Lots of glitz, the weird handles with beads in them, cheap imports, plastic and lots of bright bright colors.

IMG_9043 2.jpg
IMG_9037 3.jpg

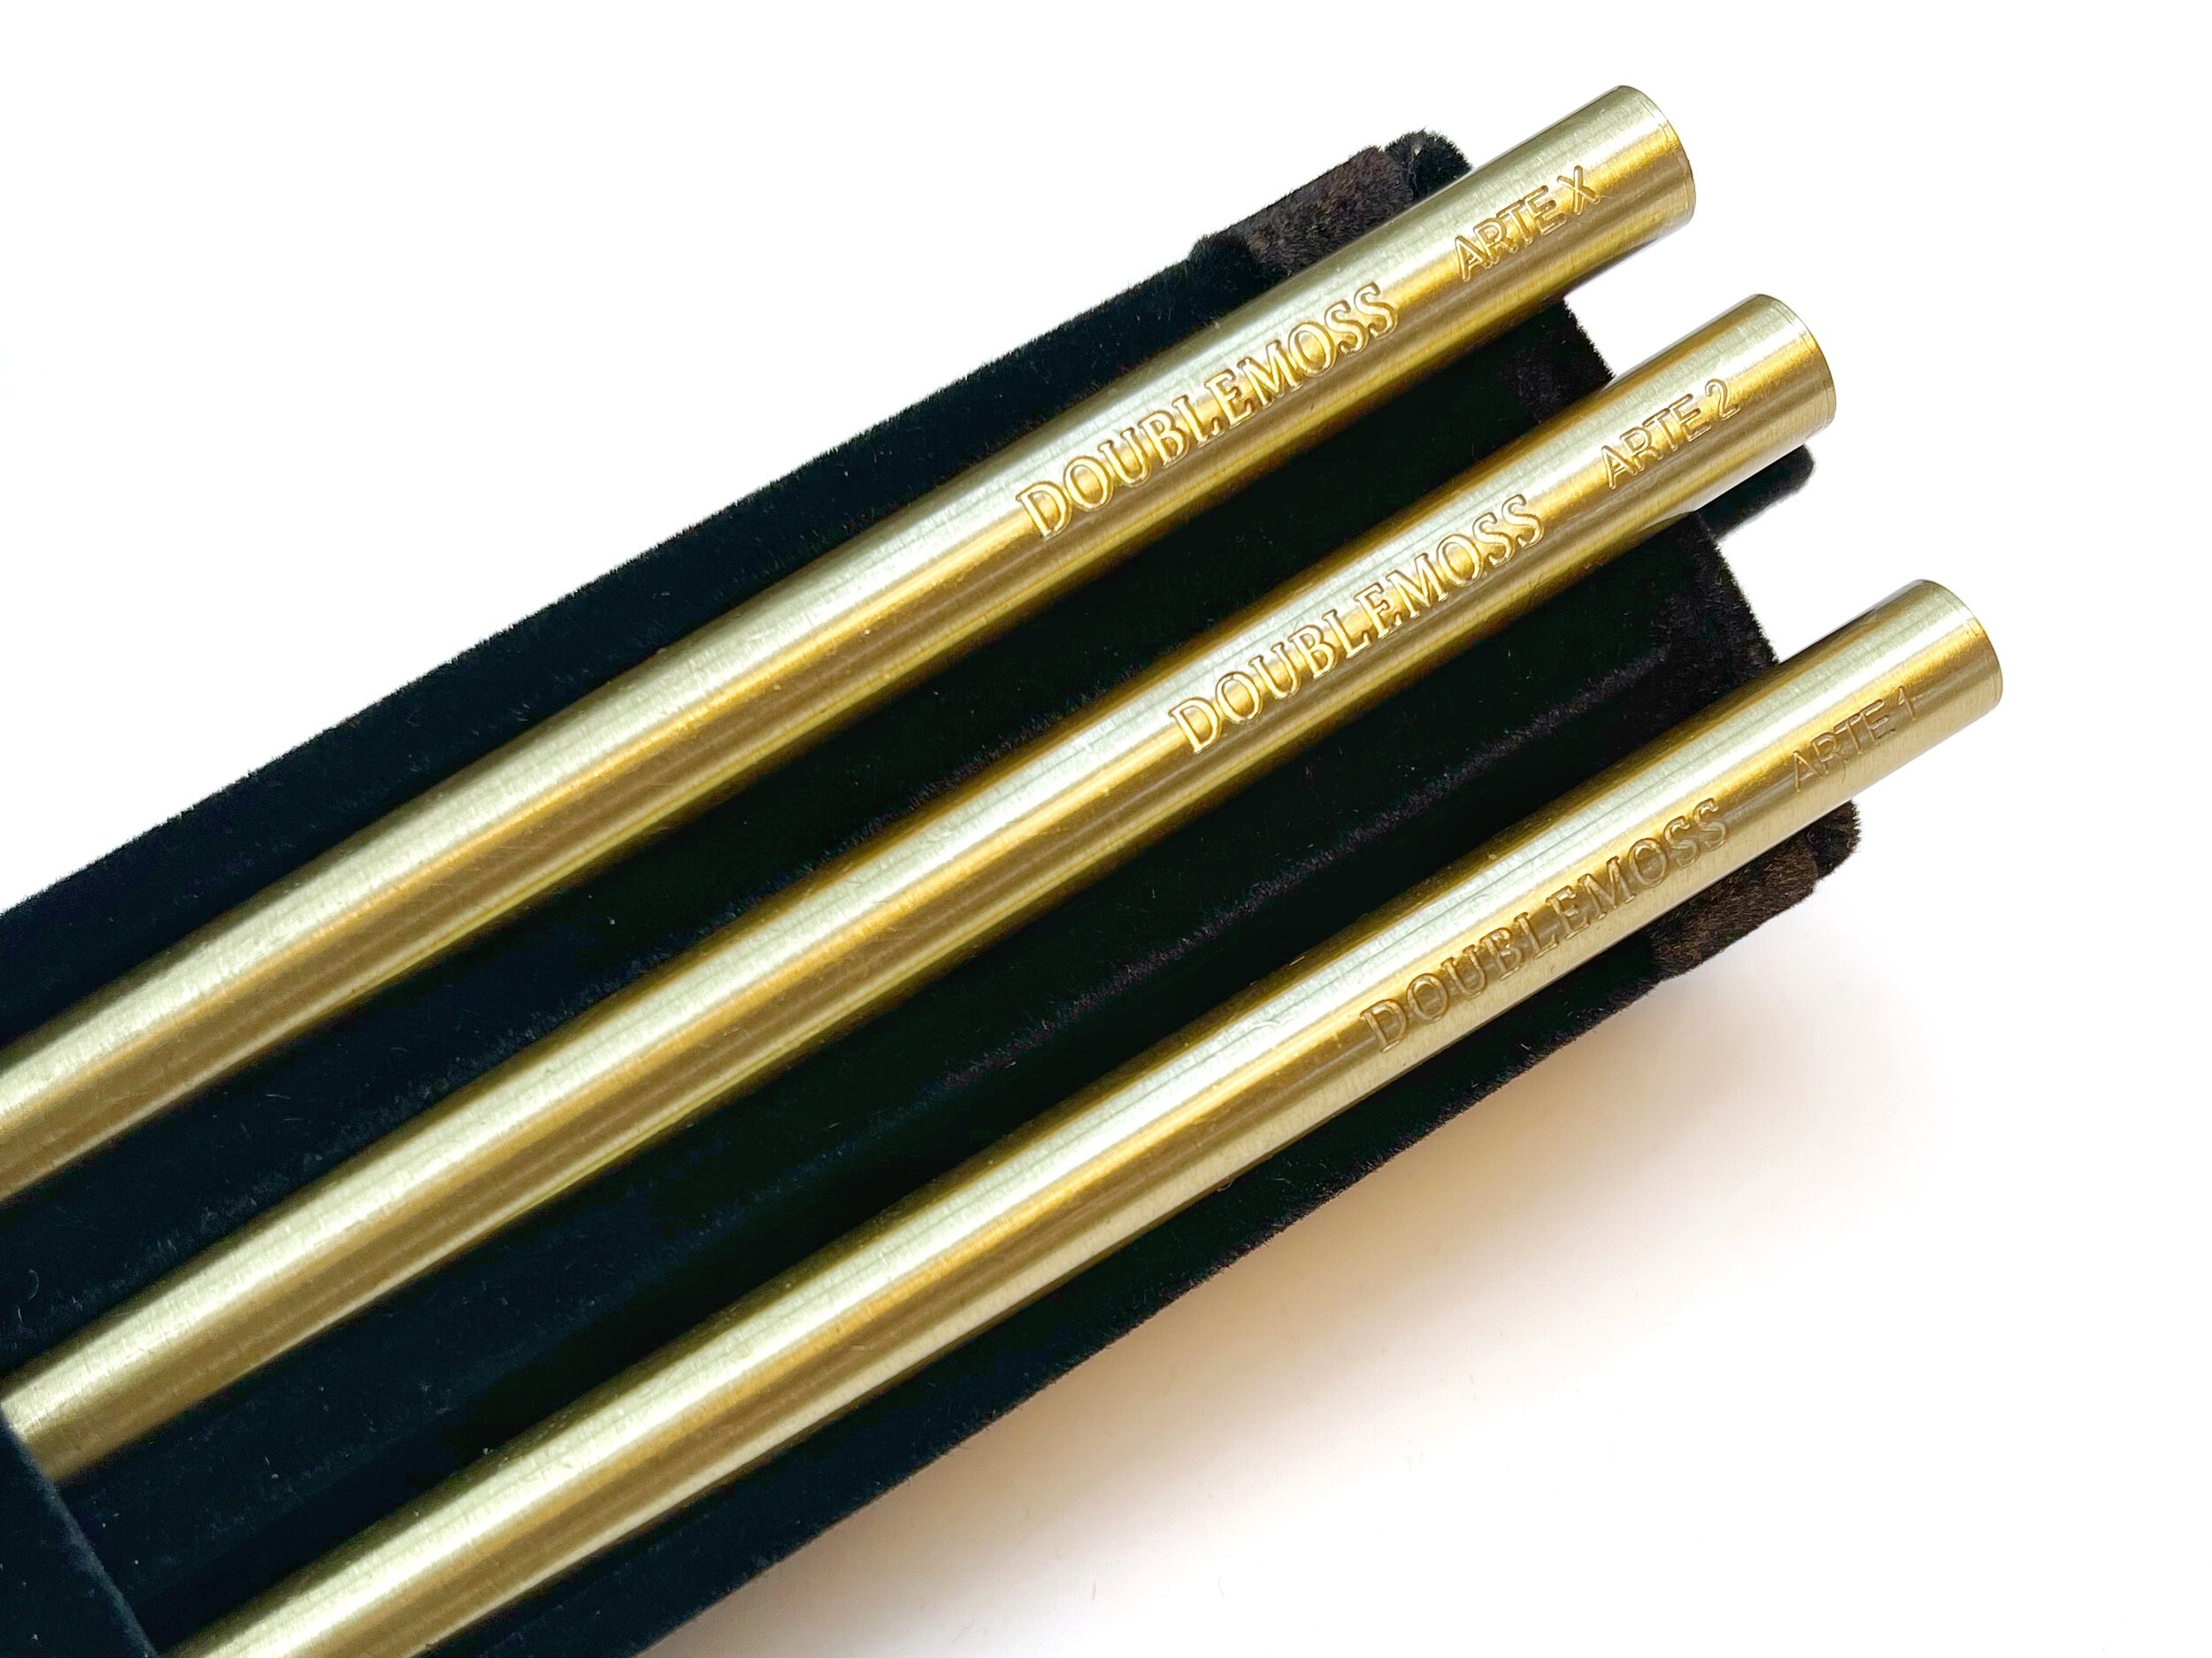
What stood out to me most was the design. They are made of brass (which is gorgeous but most importantly, acetone resistant) and have caps that screw on and off.- which is a literal godsend since I’m the Queen of crushed and bent bristles. The weight in hand is lovely and very easy to work with, like a fancy pen. They came in a gorgeous velvet storage case that can be used to set my station as well for extra wow factor.From a functionality standpoint you can easily transition from thin to thick lines with a bit of pressure, my most used brush by far is Arte 2 (here’s a video of me using it in a tutorial), but Arte X comes in clutch for cuticle clean up and finessing lines. In general, as an artist, I prefer longer bristles so while I haven’t reached for Arte 1 as often, I could see it being great for fine detail work.

The palette ring is as gorgeous as it is functional- I find that I work best with it on my left thumb (if you’re a lefty, you’ll be better with it on your right). Super easy to clean and to be honest, fashionable enough to wear as a statement piece on its own.

IMG_9044 2.jpg
tags: brushes, gift guide
categories: DIY, Product Review
Wednesday 10.20.21
Posted by Rachel Messick
 

Dark Marble

IMG_9306.JPG

We’re on cruise control straight into Spooky Season. If you’re looking for something Halloween-y that’s not like skulls and blood, this look is for YOU. I love the way the mica flakes pop through the jelly black, creating an oil-slick rainbow when the light hit’s it just right.

Step 1: After you cure your base gel, gently press Green Rainbow Mica Flakes and Blue Rainbow Mica Flakes into the sticky inhibition layer, encapsulate with a thin layer of art gel, cure.

Step 2: Apply two coats of E-206S Black Martini, curing between coats.

Step 3: Apply a thin player of Pre-Art gel, cure.

Step 4: Apply diagonal dots of Black Bleeding Ink, give it about 10-20 seconds to dry out a little and then using the Pointed brush with alcohol (be sure it’s not too saturated) gently pat the ink so that it dissipates in to a marble-ish pattern. Let dry completely and add a thin layer of Pre-Art Gel, cure.

Step 5: Repeat step 4, but place it on the other side of the nail.

Step 6: Apply No-Wipe Top Gel and cure.

You can save 10% on your Kokoist USA purchase when you use code RACHEL10. This is an affiliate link, disclosure statement available here.

categories: Pro Tutorial, DIY
Wednesday 10.13.21
Posted by Rachel Messick
 

Pumpkin Spice Leopard DIY

IMG_8913.jpg

It’s halloween time, y’all! Are you ready to make some magic with a fun spooky-color-themed leopard DIY? Sweet! Me too!

Let’s wrap a bit about the products I’m using. For those that have been following me for a while, you know I’m primarily a gel nail artist, however, when I’m working on set (or on my mother, who is not a fan of gel) I use traditional nail polish about 99% of the time. While a lot of brands have my heart, the only lacquer service I offer in my studio is Dazzle Dry. Dazzle Dry checks all the boxes that my clients care about (vegan, cruelty-free, non-toxic, made in the US) but all the green marketing buzzwords in the world are meaningless if the performance isn’t there. I’ll tell you right now, Dazzle Dry DELIVERS. Easily lasting 2+ weeks on clients and fully dries in 5 minutes. Is it sorcery? Witchcraft? Science? All of the above.

You can absolutely do this look with any polish, the dry time will just take a bit longer.


Step 1: Prep your nails. Remove all product, groom your cuticles, moisturize and use a cotton ball with some acetone or alcohol to remove any oils from your nail plate before starting.

Step 2: Once the nail is clean apply your base coat and let it dry. If you’re using the Dazzle Dry system, follow the instructions and apply two coats of base making sure that it dries matte between coats.

Step 3: One to two coats of Amber Glow, allowing lacquer to fully dry between coats

Step 4: Add offset large spots of Citrus Streak (in the video, mine are a little thick so there was some pooling, so err a bit more conservatively than I did) and allow to dry, apply a second coat on top if needed, allow to dry completely.

Step 5: using a palette and Doublemoss Arte #2 brush and Black Stamping Lacquer, start adding black spot detail around the Citrus Streak blobs. I like to alternate between large and small, allow to dry completely. I choose the Black Stampling Lacquer because the dry time is slower, so it gives me more time to hand paint.

Step 6: Add additional black dot detail to some of the negative space of the design, allow to dry completely.

Step 7: Apply Top Coat and allow to dry completely

Step 8: TRICK OR TREAT VIBES COMPLETE


See my disclosure statement here.


tags: Dazzle Dry, Halloween
categories: DIY
Friday 10.08.21
Posted by Rachel Messick
 

Cuticle Confidential: Home Maintenance

After the third round of quarantine in California, I’ve come to the realization that we are just not talking to clients enough about cuticle care and maintenance. Here are some basic habits to get into to get the most out of your mani or if you’re not into getting your nails done, this will help your nails look nice and help prevent snags and hang nails. Let’s start with the basics.

IMG_6785.jpg

Did you know that your cuticle is ONLY the non-living tissue that attaches to your nail plate? The longer it’s left unmanaged, the more dead tissue and protein can attach to the nail plate and if you let it go too long, you may find that living tissue can start to overlap as well. When the living tissue starts to grow where it aught not be (on the nail) it can make cuticle clean up a much longer process and can make you more prone to bleeding. Your cuticles aren’t just there to be a nuisance, they are an outgrowth of the tissue that’s intense to protect your nail matrix (the big boss brain of the nail) from infection- when we don’t take care of our nails and the surrounding skin, the body will try to overcorrect.

View this post on Instagram

A post shared by Rachel Messick | Manicurist (@rachel.messick)

When we think of at-home cuticle care, we’re going to focus on three practices: softening and pushing the cuticles and committing to a cuticle oil regimen.

For most people, the most convenient way to soften cuticles is to take nice relaxing shower or bath and if you’ve got gel, polish or enhancements on your nails- this is the only way I recommend you soften your cuticles.

If you’re nails are bare you can soak them in warm soapy water for a few minutes as well and your cuticles are super stuck or overgrown, after soaking you can apply a bit of cuticle remover as well- be sure to grab something gentle (Orly Cutique is a great and easy to access option).

Once your skin is softened (and if you’re using cuticle remover, you’ll want to keep it on for this part) using an angled cuticle pusher or orange wood stick, gently push the excess tissue off of your nail plate. Be mindful of your pressure, we just want to remove the dead excess tissue and the tissue that is stuck to your nail. If you’ve used a cuticle softened, nows the time to rinse.

Gentle safety cuticle pusher available in my online shop.

Gentle safety cuticle pusher available in my online shop.

I don’t recommend nipping your cuticles at home, an improper cut can lead to at best an awful hangnail, most likely callouses and thick skin from over-nipping and at worst a gnarly infection (especially if you’re not able to properly disinfect your tools). That being said, if you insist on nipping your own cuticles, you only want to nip the whitish dead tissue- if you bleed or it feels tender, you’ve got too far.

This is the MOST IMPORTANT step of the whole process and something you should be doing multiple times a day. Truly, you can’t do it too much or too often. Cuticle oil will help condition the nail plate and the living tissue around the nail. I advise clients to align their cuticle care regimen with their day and night skincare routine, but I also recommend keeping an easy to apply pen or roller of oil in your car cup-holder for quick red-light or stop sign maintenance.

Convenient cuticle oil pen for on-the-go conditioning.

Convenient cuticle oil pen for on-the-go conditioning.


tags: nail health, cuticle care
categories: DIY
Monday 02.15.21
Posted by Rachel Messick
Comments: 2
 

Model Bag Must-Haves

This post contains affiliate links, see my disclosure statement here.

Model: Ashley Nedd, Photo: Caitlin Fisher, Manicure: Rachel Messick

Model: Ashley Nedd, Photo: Caitlin Fisher, Manicure: Rachel Messick

I worked as a make-up artist for a really long time before I ever picked up a bottle of polish (professionally) and ventured into manicuring. The amount of times that I (as a makeup artist) was expected to paint and maintain nails was honestly astounding- especially considering I had zero experience and could barely paint my own nails (there is AMPLE and cringey photographic evidence of this in my personal Instagram). 

Now that I’m on the nail side of the looking glass, I get to hear all of the horror stories from my model friends about being ditched at the end of the day with press-ons and no clue how to remove them or a sculpted 2 inch acrylic extensions that have been pried off with dental floss and throbbing nails (these are both real life stories, FYI). I also see the relief from photographers when they know they aren’t going to have to photoshop a fill on 4-week old white gel manicures (seriously though, it’s ALWAYS white manis). Trust me, I’ve had my share of learning experiences on set as well- so I’m not here to bash anybody. I’m here to share my absolute must-haves so that your nails aren’t the distraction of the shoot. 

First Things First, the best advice I can give, from a manicurist perspective is to keep your nails clean and tidy and if you want to do gel, be sure it’s something that can be soaked off relatively easily and stick with simple nudes or clear. Dip and acrylic are both incredibly time consuming to remove and hard gel cannot be soaked off. Honestly, though, if you know you have busy seasons- just avoid anything other than nail polish or easily removable press-ons. 

I’ve separated the list into two categories: things to have on hand at home and things to add to your travel bag. 

IMG_5935.jpg

 Things to have at home: 

 100% Pure Acetone: If it’s on your nails and removable, it’s coming off with Acetone. Buy a big bottle, store in a cool dry place. 

Nail Clippers: If you find yourself with long nails that you’d like to remove, you’ll want to clip the length down as much as possible before you try to soak them off. Trust me, it will make your life MUCH easier. 

 Removal Wraps/Foil: For wrapping and soaking off gel, acrylic, dip, press-ons, etc… 

Cotton: For product removal and saturating in acetone, removing nail polish, etc… 

High Quality Nail File 100/180: Use the more coarse side to file through product as much as possible before you soak off and the finer side to shape your natural nail.

Nail Clippers: These are optional on set, but essential at home. If you find yourself with long nails, you’ll want to cut the length down BEFORE you file and soak. It’ll save you a lot of time and energy. 

 Conair Warming Mitts (Optional): Warmth helps acetone work faster, so if you’re settling in for a soak off, pop your hands in the mitts and turn up the heat- it’ll cut time off significantly. For a more low-tech option, you can also wrap your hands in warm towels instead- you’ll just have to reheat them when they get cool.

image.jpg


Things To Travel With:

Press-On Tabs: My personal favorite are the Dashing Diva Virtual Bond tabs. They are super-strong, easy to remove and they won’t pop off while you’re changing outfits. Truly, they are the only tabs I’ve used that will stay on for multiple days if prepped properly- should you choose to keep your nails on. 

Nail Guards: These are also by Dashing Diva and they are SO underrated and I love them so much. You place them on your nail before you apply an enhancement (press-on, acrylic, gel, basically anything that’s not nail polish). Once you’re ready to take them off, you simply soak in warm water and gently pop off the enhancement with an orangewood stick. No damage to your natural nails. 

 Cuticle Pusher: This is something you should have at home and in your travel bag. Use this to gently push cuticles back before applying any product for a cleaner application surface. 

Orange Wood Sticks: These cuties are multi-purpose- you can use them to clean under your nails and also to clean up any wet polish that creeps into your sidewalls (that crease between your nail plate and your finger skin).

Nail Brush: Honestly, we should all have nail brushes in our purses. Use it to scrub your nails and clean underneath. Hygiene, baby, it’s a beautiful thing. 

 Pre-Soaked Alcohol Pads and Polish Remover Pads: I usually pick them up at Target, but you can find them at most drug stores. They are pre-soaked pads wrapped and sealed so you don’t have to deal with any spills. The alcohol pads are great dehydrating the nail plate so that you can apply product after using oils or creams, the polish remover pads are, well, for removing polish. 

High Quality Nail File 100/180: I’m not talking about cheap emery boards, get a nice high-quality file. Grab a few and switch them out once they get dull. The more coarse side is for product removal, the finer side is for shaping your natural nails.

Medium Grit buffer (180/240): This is going to help with any odd surface texture or to smooth rough edges after filing. Use it in moderation, it’s nice to have a smooth nail but don’t do it too often. 

 Cuticle Oil: Grab a cuticle oil pen and use it to hydrate and prep nails before application and after. Just use it all the time, it’s literally a miracle. 

Hand/Body Lotion: My personal favorite to use on set is Body Hero by Glossier. It has a lovely scent and just a HINT of opalescence that’s SUPER flattering on camera.  

Hand Scrub: Hand scrubs are the easiest way to fake supple skin. The grit will exfoliate all the dead and dry skin (because hello, we all have zombie hands now from washing and sanitizing all the time) and they are usually paired with some sort of humectant to infuse moisture and make the hands look extra soft and supple on camera.  

Nude & Clear Polish: Throw them in a plastic baggie before you put them in your bag (just trust me on this), grab your favorite sheer nude (something with enough color to hide imperfections and create a more uniform surface) and a simple clear polish. Some of my favorite universal nudes are: Sugar Daddy by Essie and Nourishing Nude by Orly.

Shiny Buffer (Optional): If you prefer to not wear polish at all, you can always run a shiny buffer over your clean nails to amp up the shine sans additional product.

Quick Dry Top-Coat or Spray (optional): Quick dry spray or top-coat will help your nails dry faster so that you can get dressed without smudging.

Nail Clippers (optional): Just a good idea to have on hand, although if your nails are on the shorter side you can omit this. 

Press-On Nails (optional): Whether it’s custom or drugstore, something quick and simple that can be easily popped on and off. This one is super optional, but it’s nice to have the option when you’re doing creative shoots OR if you happen to be a nail biter. 


Now go forth and model with those fabulous nails! I hope this serves as a starting off point to advocate for yourself and your nail health. Also, don’t share tools on set, and if you are a beauty pro, be sure to not share disposables between clients and that you are properly disinfecting all reusable non-porous tools. 


tags: on set, behind the scenes, tutorial
categories: DIY, Pro Tutorial
Monday 01.11.21
Posted by Rachel Messick
Comments: 1
 

Powered by Squarespace.