• PORTFOLIO
  • ABOUT
  • PRESS
  • SALON APPOINTMENTS

Rachel Messick

manicurist

  • PORTFOLIO
  • ABOUT
  • PRESS
  • SALON APPOINTMENTS

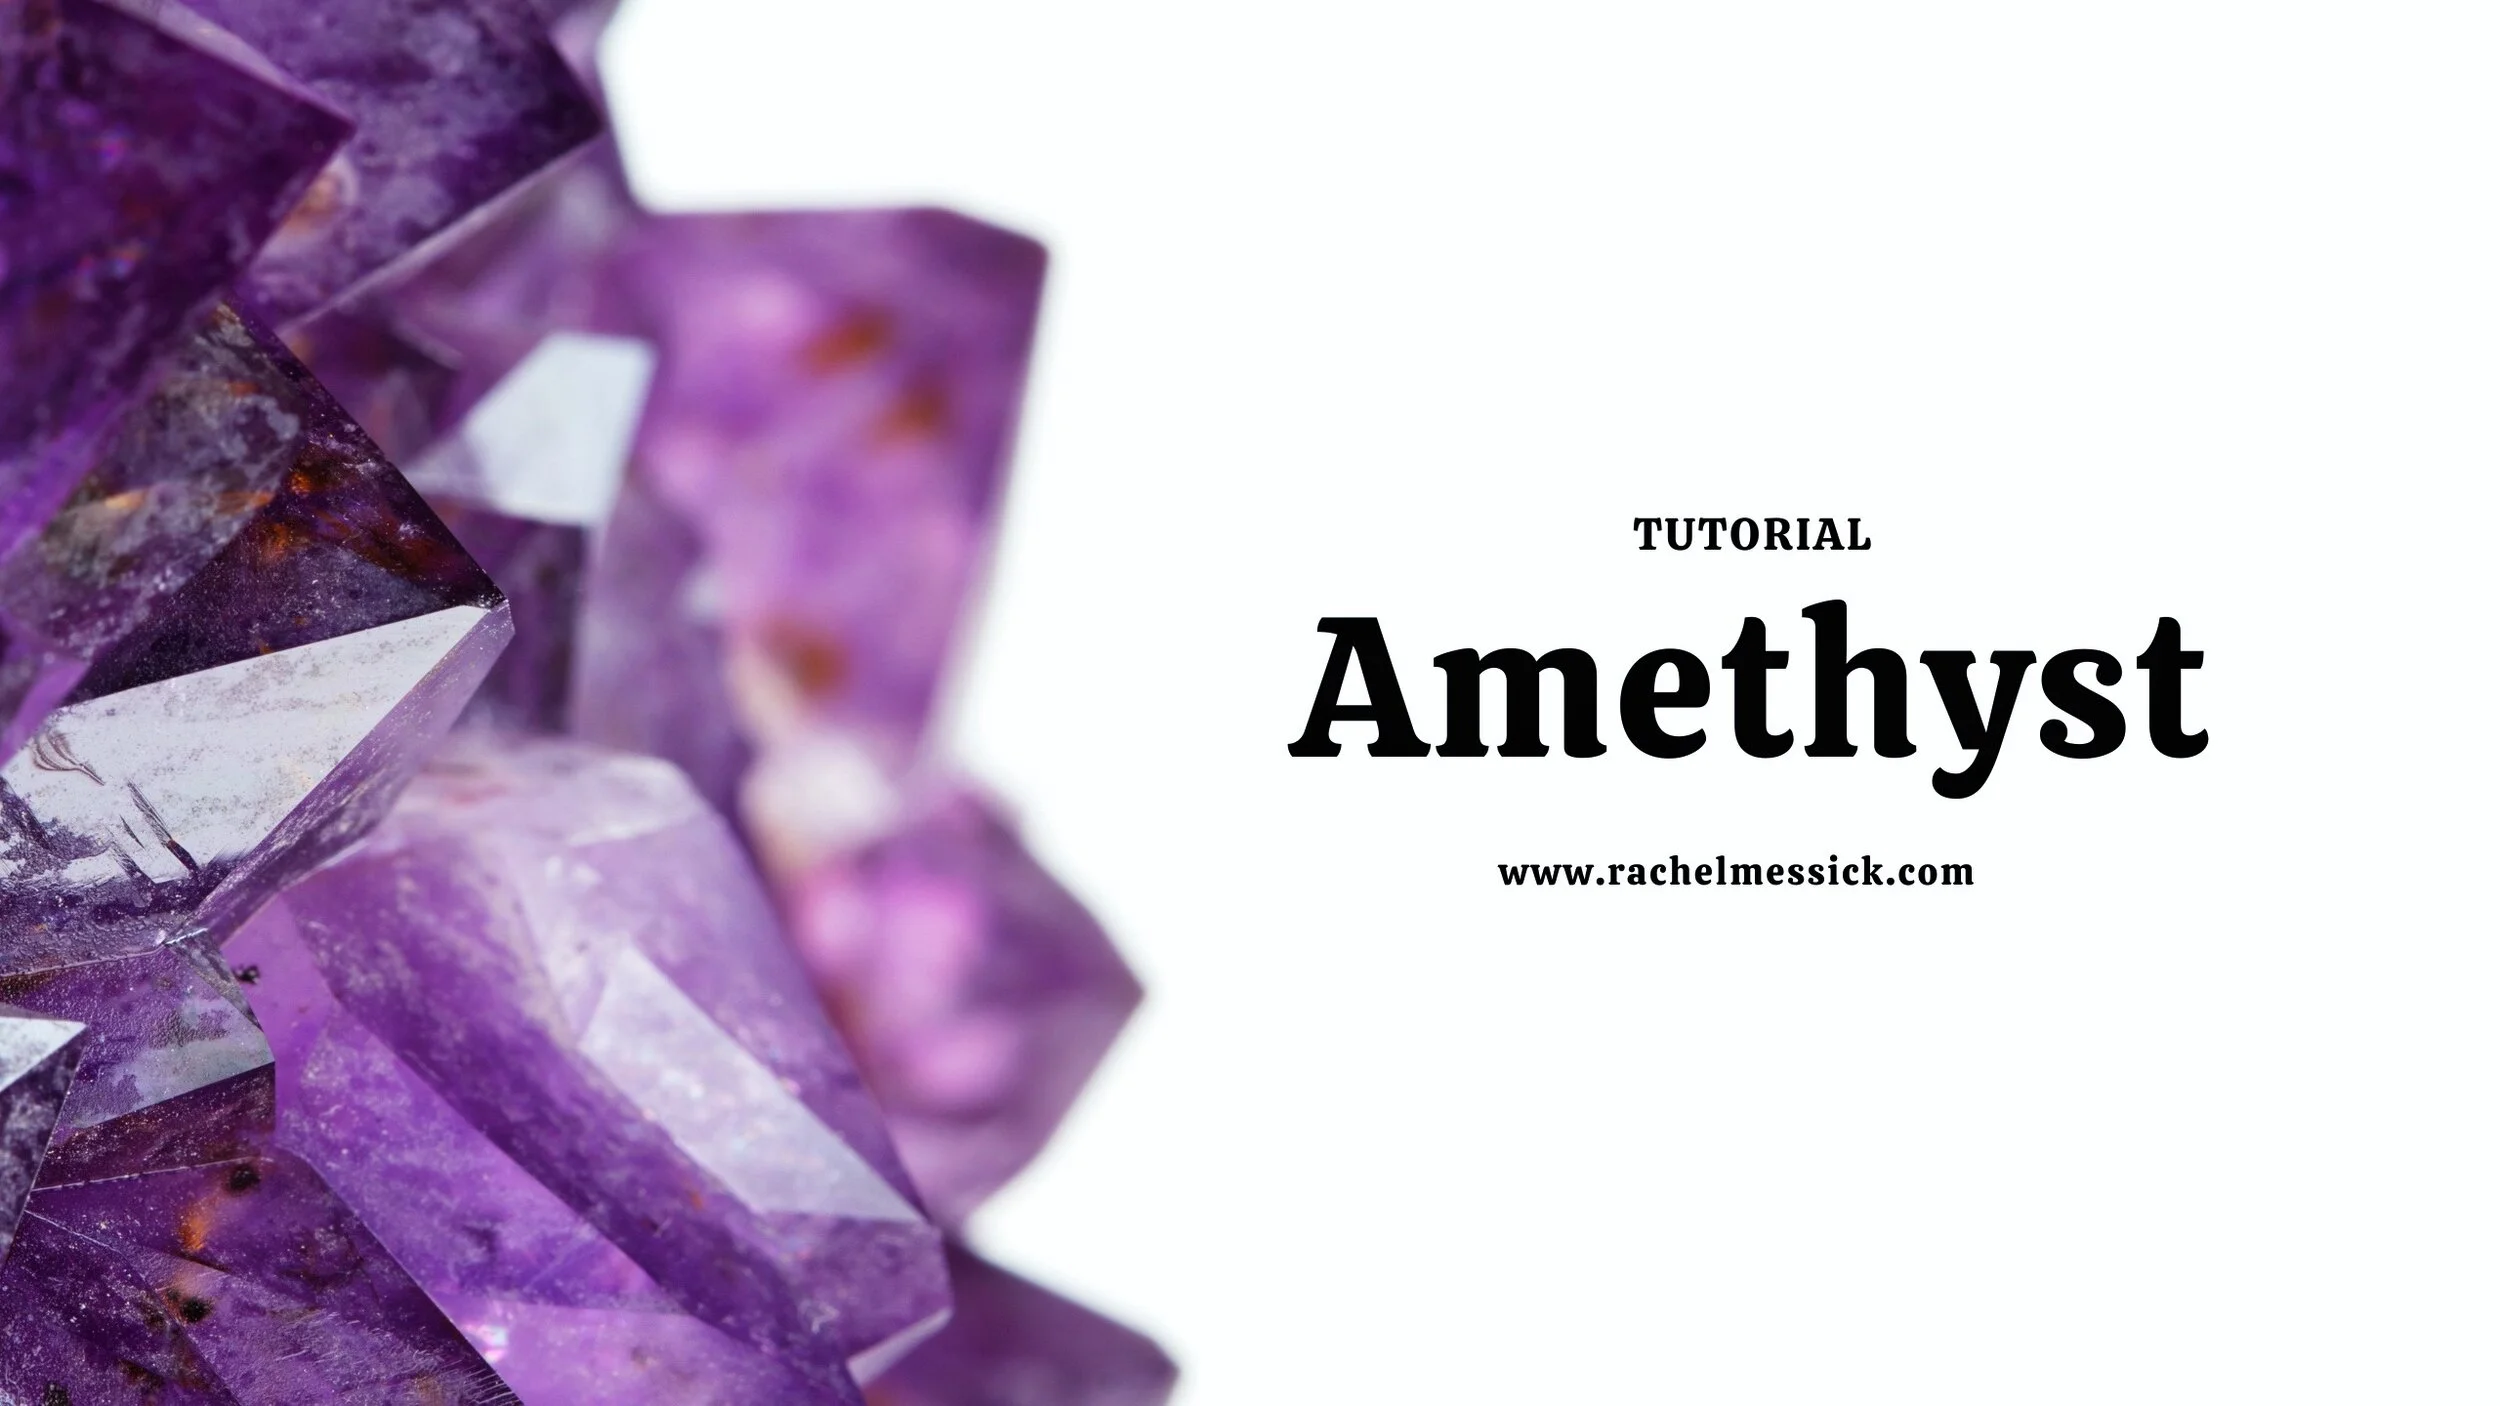
Always Amethyst Nail Art Tutorial

Stone and gem inspired nail art are MAJOR. It’s a trend that seems to continuously reinvent itself month after month. During the Spring and summer, clients want Rose Quartz and Amethyst, Tigers Eye and Black Opals for Halloween and the winter holidays mean opals, jade and marble. The good news is, once you figure out a few different variations in this technique, you can pretty much do anything.

Stone inspired nails are a great entry point into the world of nail art for clients and manicurists alike. Creating stone art (like most of the art I do) is an exercise in thinking through your layers before you start. For this look we’re using a milky semi-sheer lavender base with a shock of a custom purple jelly blend throughout. We add dimension with mica flakes and create stylized veins with a super pigmented white art gel and bring it all together with top layer of sheered out white lavender.

Some notes on the white veins, wipe your brush frequently on your palettes that it doesn’t drag too heavily throughout. Be sure to flash cure or fully cure between completed veins, especially if they are touching or overlapping.

Here are some links to the products I used to create this look:

Presto Color Gel #178

Presto Color Gel #180

Ageha Sharp Liner White

Kokoist E-204S Violet Fizz

Kokoist E-227S Licorice Jelly Beans

Kokoist Rainbow Mica Flakes R-2 Golden Purple

Kokoist Art Clear

Presto #6 Square Brush

Presto #11 Fine Point Brush

Kokoist Ultra Glossy Non Wipe Top Coat Gel

tags: pro tutorial, stone nail art
categories: Pro Tutorial
Monday 06.22.20
Posted by Rachel Messick
 

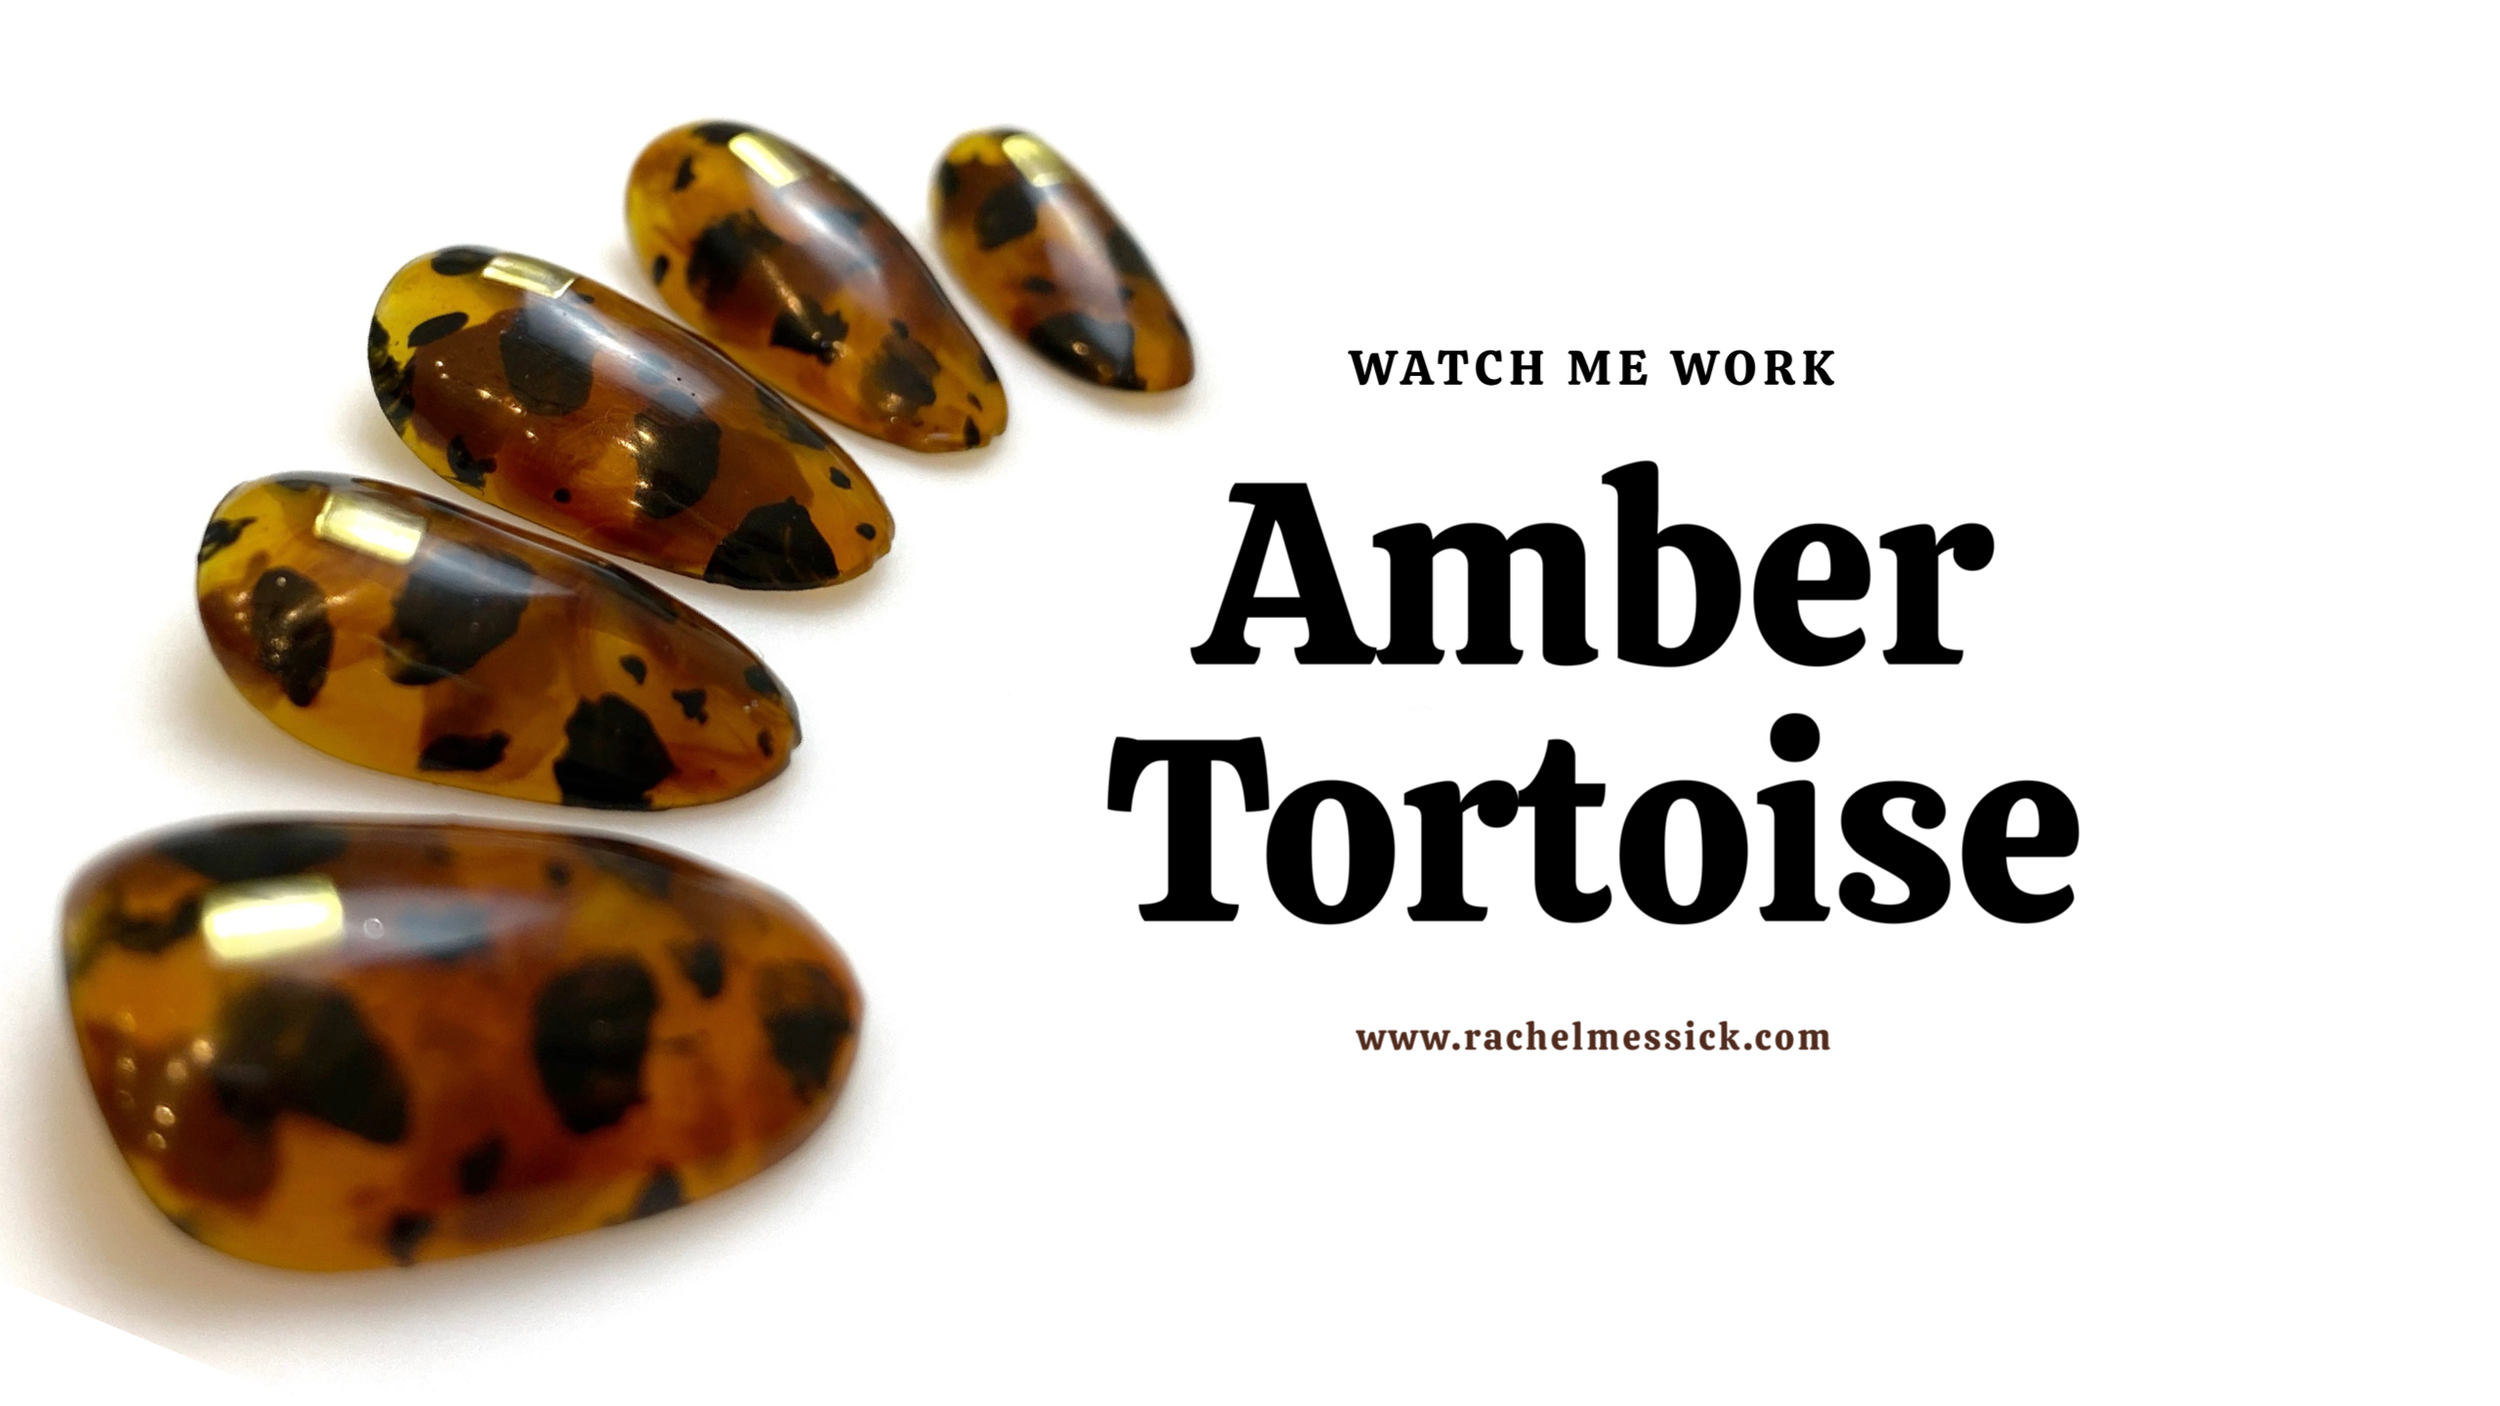
Watch Me Work: Amber Tortoise

Did you ever wonder how these gorge mutli-dimensional tortoise shell nails came to be? Watch me work and see how it all comes together.

View fullsize  Start with a sheer butterscotch shade, do not cure.
View fullsize  While the layer is still wet, add a sheer brown gel and let it settle into a nice amber pattern and then cure.
View fullsize  Add splotches of chocolate brown
View fullsize  Add offset black splotches and black dots, cure.
View fullsize  Add another layer of sheer butterscotch gel, cure.
View fullsize IMG_0437.jpg
tags: tortoise shell, pro tutorial, watch me work
categories: Pro Tutorial
Thursday 06.11.20
Posted by Rachel Messick
 

Blonde Torties Have More Fun

1 2.PNG

All it took was a global pandemic to get me focused on blogging, creating tutorials and editing videos. But the important thing is, I finally got here. It’s still a learning curve FOR SURE, but it’s starting to get a little easier. JUST A LITTLE.

As an artist and a woman, I can be pretty hard on myself. Especially in the world of ultra-glossy, warm-filtered world of social media. For better or worse, that gloss is part of the game and is an expectation. It’s just SO easy to get caught in the cogs of the machine. All of these are just general base feelings and not even factoring a busy schedule in the mix. While I definitely do not view almost three months of mandatory unemployment (California salons shut rapidly during the COVID-19 crisis) as an artistic retreat, it definitely allowed me to explore my art in a way I’ve not had time to do in a while and I gave myself permission to try new things, to fail and to learn.

I’ve been trying to master the blonde tortoise shell technique for about a year. Like, not a full year locked away in a tower like Howard Hughes. But like here and there. on and off, for a solid year. It took several tries to get this combo just right. Turns out the secret sauce was a swish of pale yellow at the base. It added just enough warmth to keep the design blended and nuanced.

It’s also super important to get the right shade of sheer brown, I use #261 (Jewel Umber) by Vetro and it’s pretty much my go-to hero sheer brown shade. It’s got this perfect mix of warm and cool, giving it a chameleon quality that seems to work with everything.


Here’s a breakdown of the products I used in the tutorial:

RiccaGel 186M

Vetro No.19 #261 Jewel Umber

Kokoist E-2 Maxi Black

Kokoist E-2 Maxi BlackKokoist & E-206S Black Martini

Presto Gel #3

Presto Non-Wipe Top Gel

Young Nails Master Gel Brush

Mana Nails x Nail Partner Liner Brush

PREGEL OB-5 Brush

As always, if you have any questions- feel free to leave them in the comments below! If you want to stay in-the-know connect with me on social media (links at the bottom of the page).

tags: tortoise shell, nail art, pro tutorial
categories: Pro Tutorial
Wednesday 05.27.20
Posted by Rachel Messick
 

I'M NOT A REGULAR AUNT, I'M A COOL AUNT

1.PNG

Eighties Paradise is one of the most popular styles in my shop. Originally based off a freestyle design I created for a client. It was inspired by that bygone gauche era of status, indulgence, excess and prosperity. Everybody had a cool aunt. You know the one, the cool condo, the car phone the mauve leather sofa and wicker coffee table. The aunt who totally let you watch Dirty Dancing even though your parents wouldn’t allow it, maybe she took you to get your ears pierced and taught you the most important rule of growing up: it’s better to apologize than ask permission.

While I definitely have cool aunts, I kept envisioning our next-door neighbor, my mom’s friend Rosalind Tallerico when I was creating this set. I was a pretty sheltered kid, so it was always fun to escape to her house and watch cool movies and pretend I was a teenager. She was stylish , tan and had big hair. Her house was ALWAYS perfection because her husband was always on the road for work. I remember getting a perm in her garage, yes I already had curly hair, but I wanted that perm SO BAD. Oh man, the 80’s/Early 90’s WHAT A TIME TO BE ALIVE.

Anyhow, back to the nails…

This look is unique, visually dynamic and also TOTALLY wearable. Even for clients that are a bit gun-shy about nail art will love it.

I filmed myself creating a full set of press-ons so that you'll get to see how I create a balanced and cohesive look on all ten nails. It will also give you insight on my process when it comes to selecting products, purposeful placement and balancing random elements.


I can't wait to see you recreate this look and put your own spin on it.


Feel free to leave any questions in the comments below.

Products used:

Presto Gel JC-3

Kokoist E-127 Strawberry Latte & E-196S Tulip Petals

Orly GelFX Builder-in-a-Bottle

Aprés Non-Wipe Topcoat

Princess Nails Rainbow Mylar

Young Nails Gold Foil

Riccagel Color Gel Brush

Young Nails Gel Sculptor Brush

tags: Tutorial, pro tutorial, mixed media design
categories: Pro Tutorial
Monday 05.11.20
Posted by Rachel Messick
 

Put the Lime In The Coconut In the Ombré

Untitled Design 3.PNG

As the days get longer and the sun shines a little brighter, I had to create a perfect sparkly neon green ombré to welcome SUMMER with open arms! Can you believe it? Wasn’t it December like a week ago?

Gel Ombré can be pretty intimidating and clients LOVE them. I’ve spent hundreds of dollars trying to find a hack (most notably an airbrush and airbrush gel that was a HOT mess) to do them quickly. But there really is something to be said for the old adage that practice matters. If you don’t get this right away, keep practicing and you’ll get it in time. Don’t let a fear of failure keep you from trying.

Whether we are doing our own nails or a clients' nails, our biggest roadblock will always be our own perfectionism. This is one of those looks where you have to not only trust your skill and product knowledge, but you also have to trust the process. We're doing ultra thin layers with highly pigmented gels, it's gonna work out. Promise.  If anything goes awry, just add extra glitter.

Just remember two things: 

  • Use purposeful placement and lay the bulk of the color down conservatively and where you want the most intensity. For an ombre like this, the intensity is going to be closer to the tip of the nail, so you'll notice whenever I go into the green, I work from tip upward.

  •   It's easier to ADD color than to remove it. Work with sheer thin layers and build up to the coverage that you want. It's easier to fix any mistakes that way.


Notes on the products I used:

 I discovered the Medusa gel line through a fellow manicurist and I'm SO impressed with the color pay-off and the product consistency- it's the PERF texture for this kind of art. If you're looking to do a black or white ombre (baby boomer), I recommend checking out Aeropuffing Gel Paste- it's the best I've found for those particularly challenging colors. 


 Products used:

Aprés Soft-Gel Full Cover Tip in Short Round Natural

 Miho Nails Melty Gelato 

Medusa's Nails Green 14 

Daily Charme Dreamy Fairy Dust 

Concelect/Britney Tokyo Square Head Brush 

Latex-Free Makeup Wedge 

Palette Knife 

Palette (this is a quartz coaster I got from Saje)

Make-up Brush, cleaned and free of debris 

BioSeaweed Gel No-Wipe Topcoat


tags: Nail Art, Tutorial, OMbre
categories: Pro Tutorial
Monday 05.11.20
Posted by Rachel Messick
 
Newer / Older

Powered by Squarespace.