Sketchbook Florals | Nail Art Tutorial
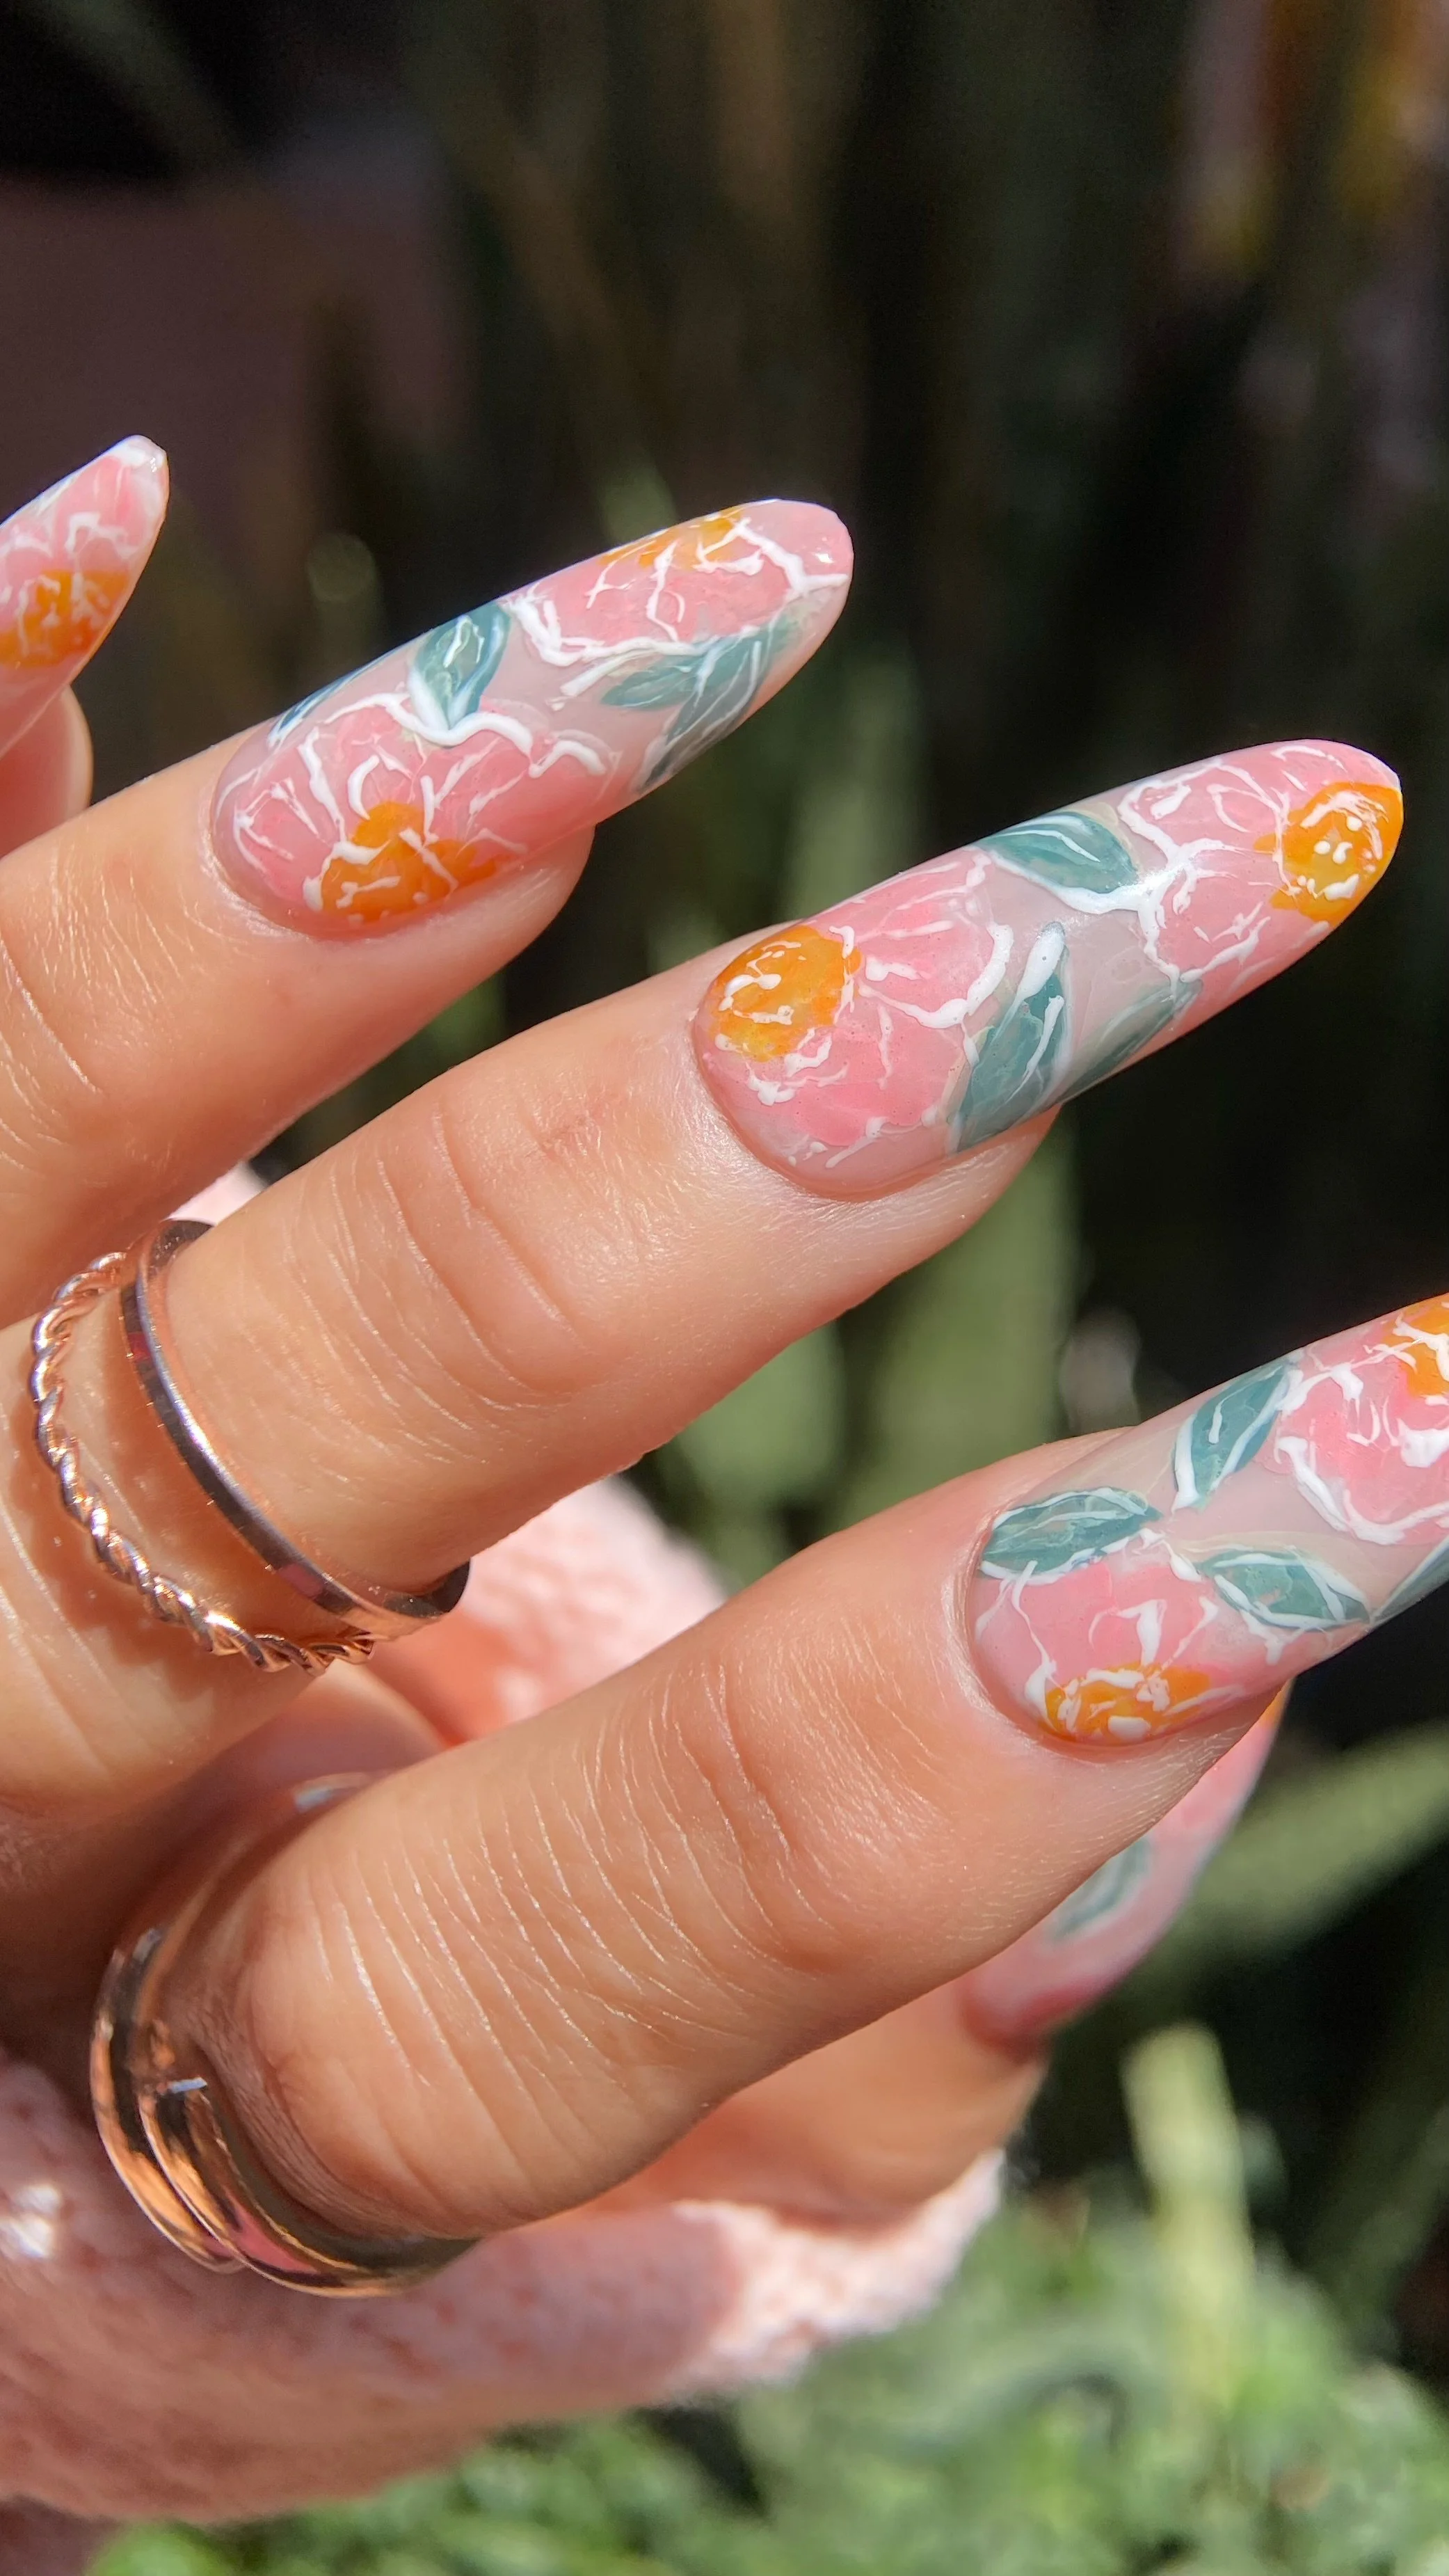
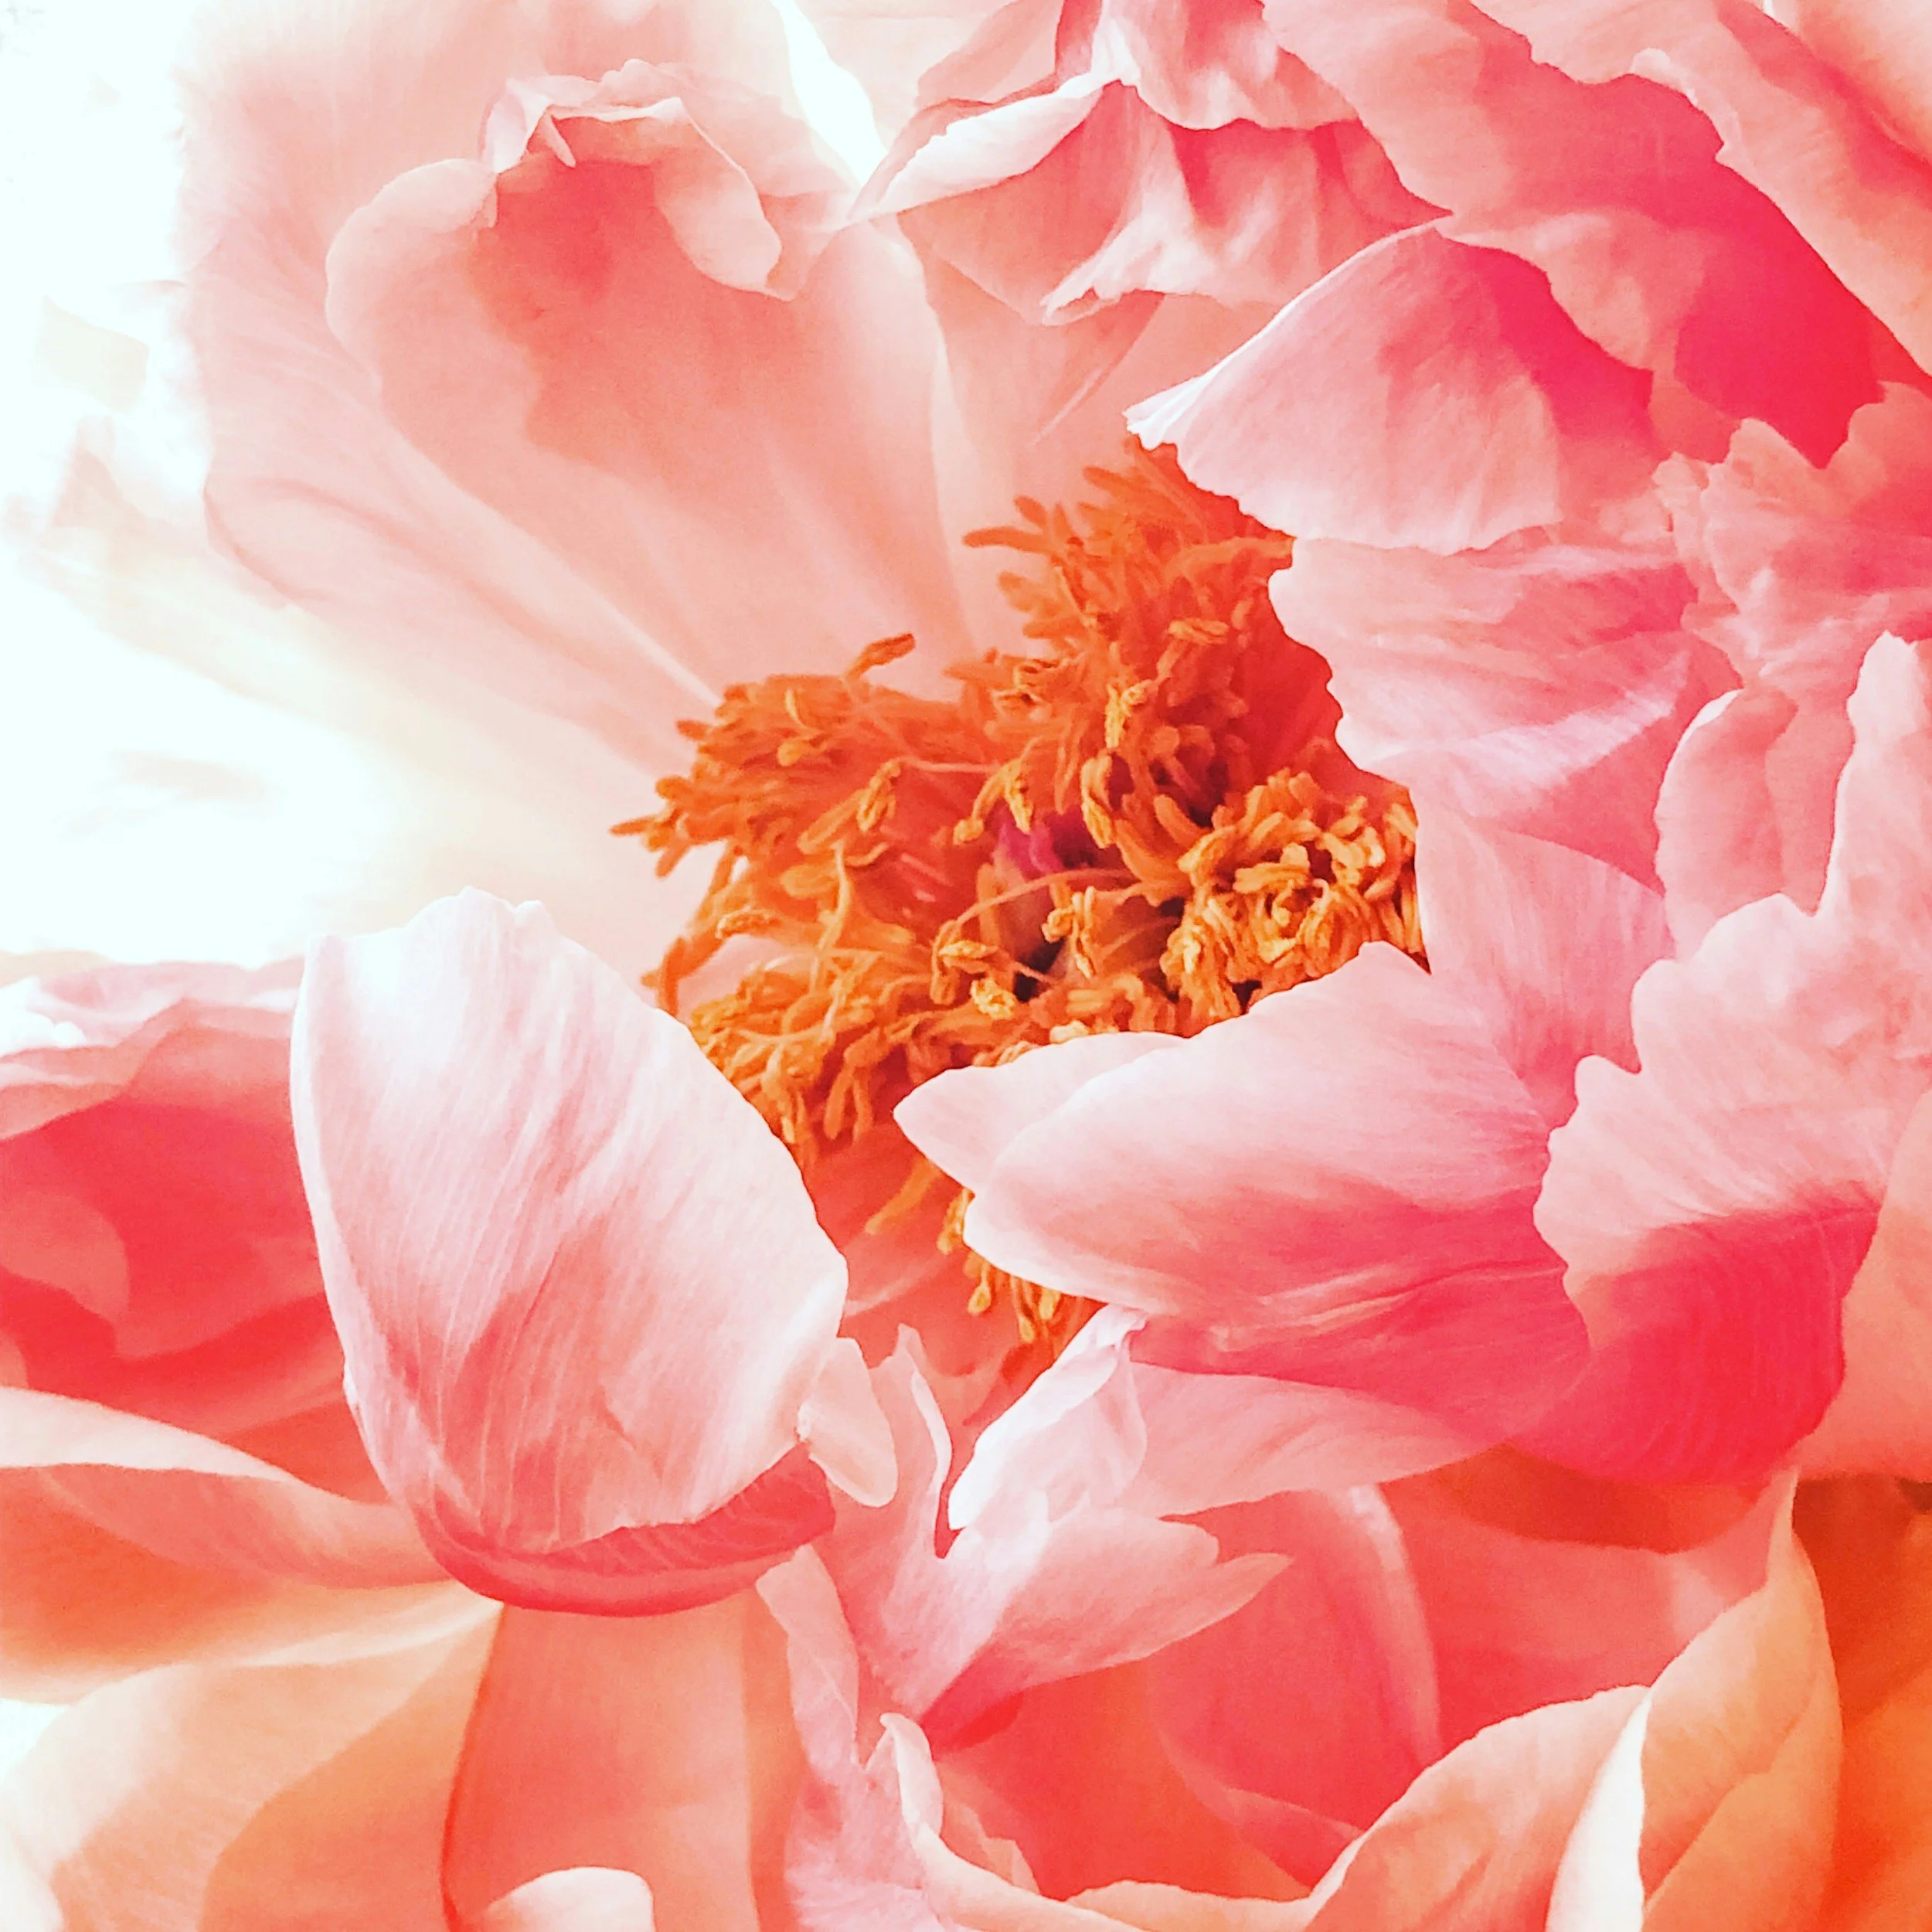
Perfectly imperfect is my kind of style, in art and in life. I love the way the new formula of Kokoist Bleeding Ink flows, and for this look I really wanted to lean into the watercolor vibes of it all. Think artsy, billowy, peony-adjacent blooms with a soft painterly finish.
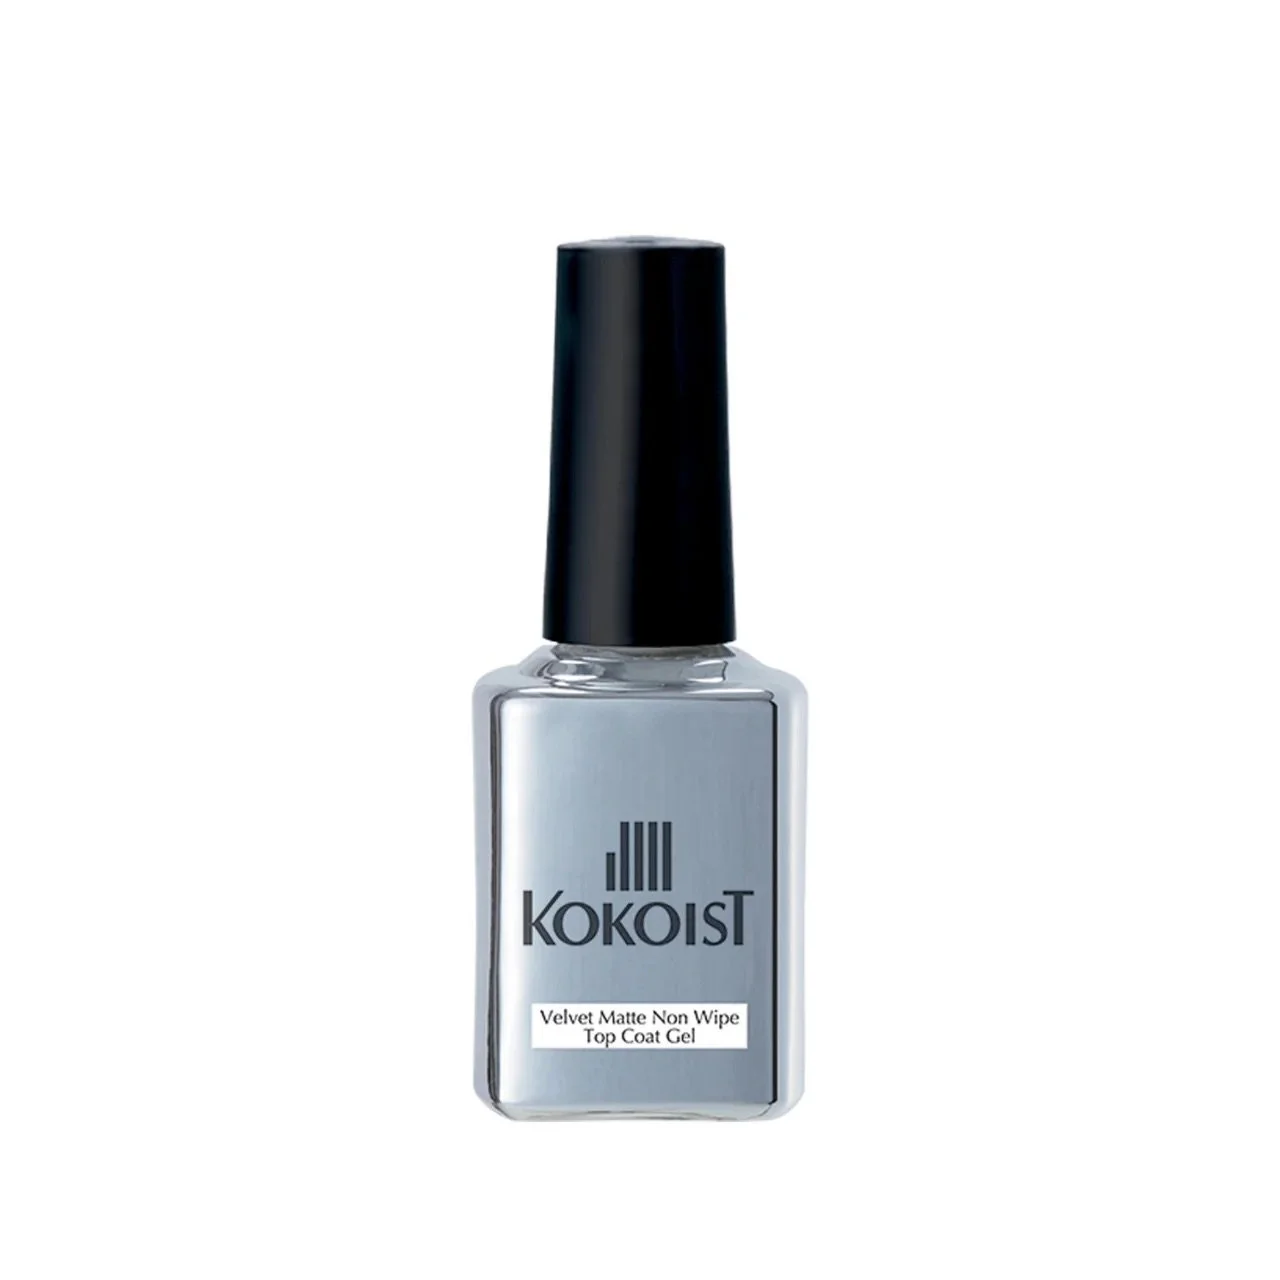
This look utilizes Velvet Matte Non-Wipe Top to give us a bit more working time with the Bleeding Ink and create those dreamy watercolor effects.
For this look, we're combining Bleeding Ink watercolor effects with loose floral painting and sketch-style gel detailing.
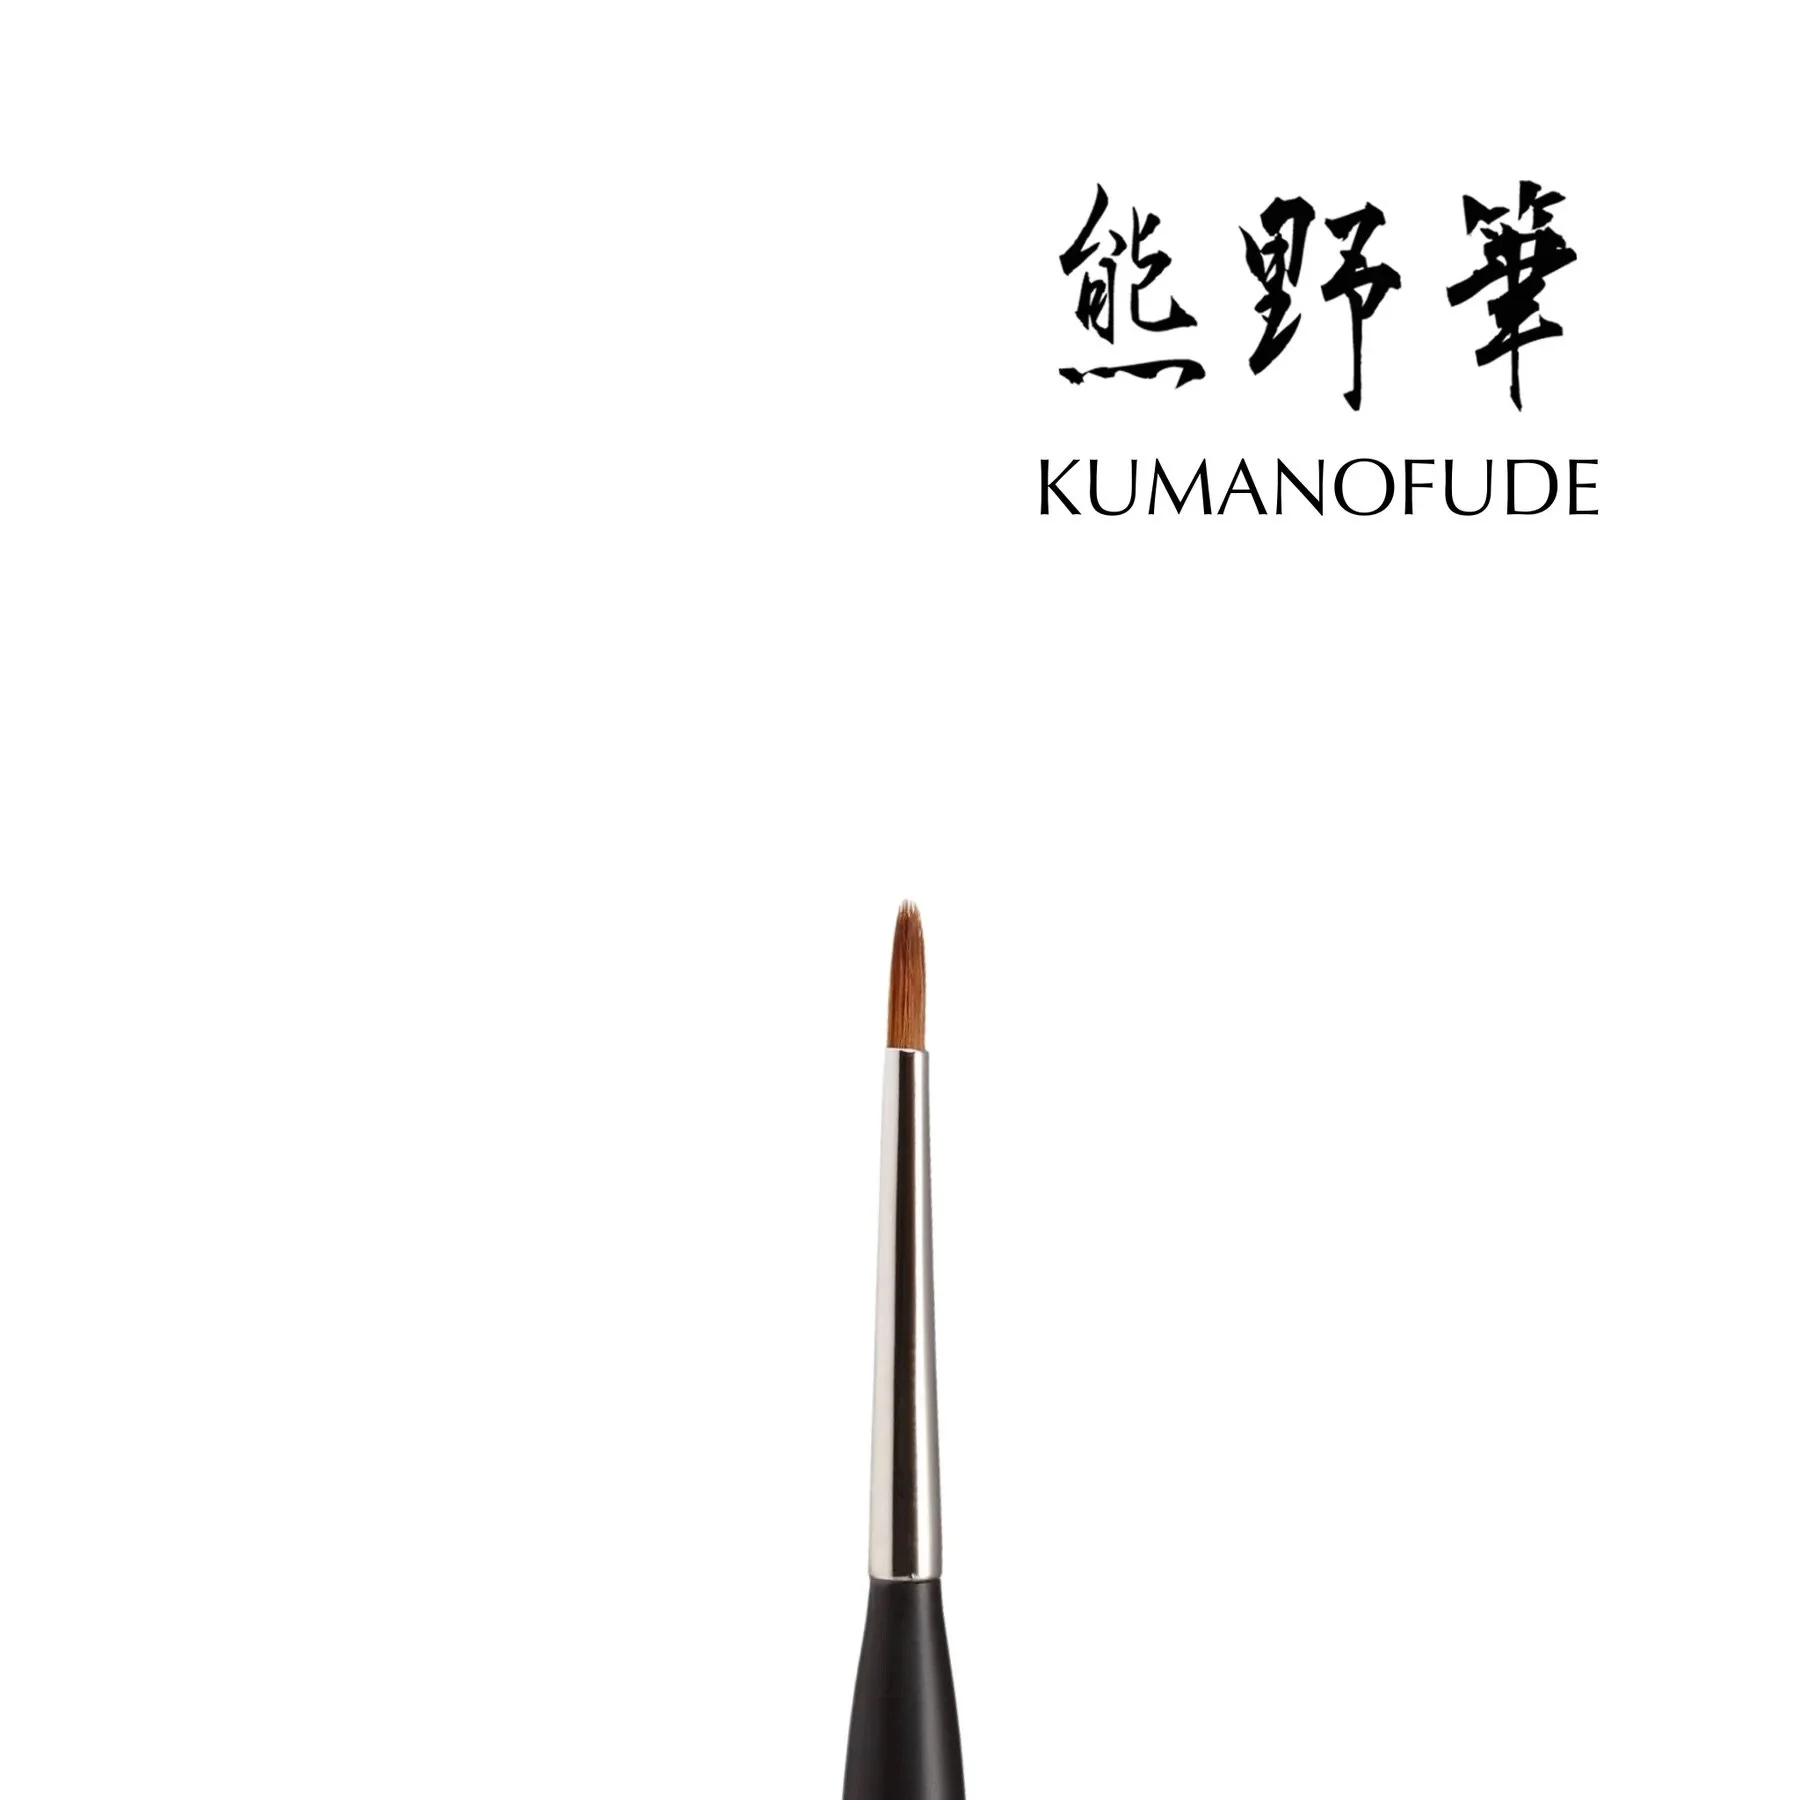
One of the biggest upgrades in the revamped Bleeding Ink collection is the detail brush. Finally *insert prayer hands emoji * a brush that actually makes sense for working with alcohol inks.
If you want to learn more about the Bleeding Ink collection, be sure to check my review and swatches. If you're looking for something moodier and a little more abstract, be sure to check out my Inky Abstract Nail Art Tutorial.
If you're feeling inspired to create some perfectly imperfect florals of your own, you can use code RACHEL10 at KokoistUSA.com to save on your order and support the blog.
Products Used
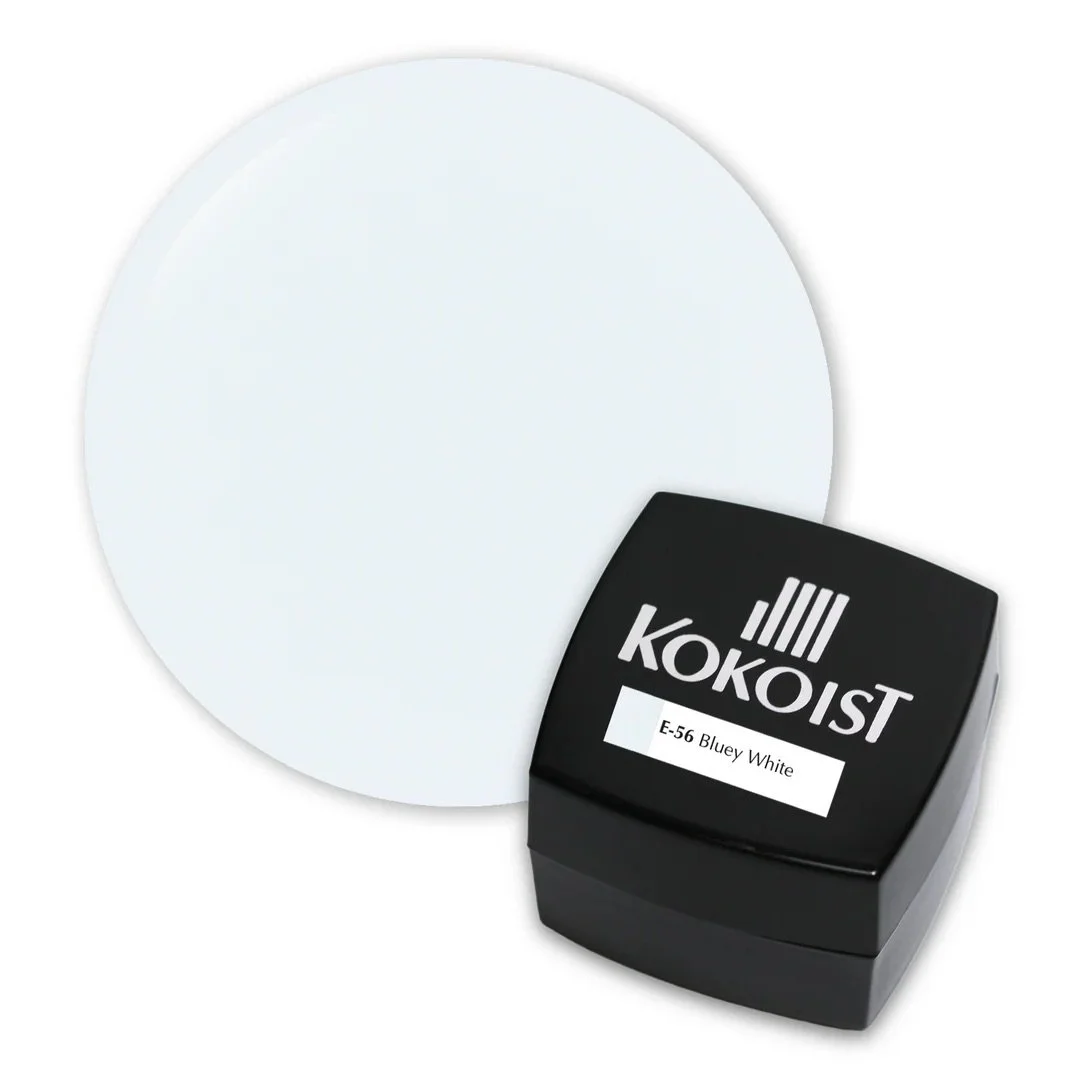
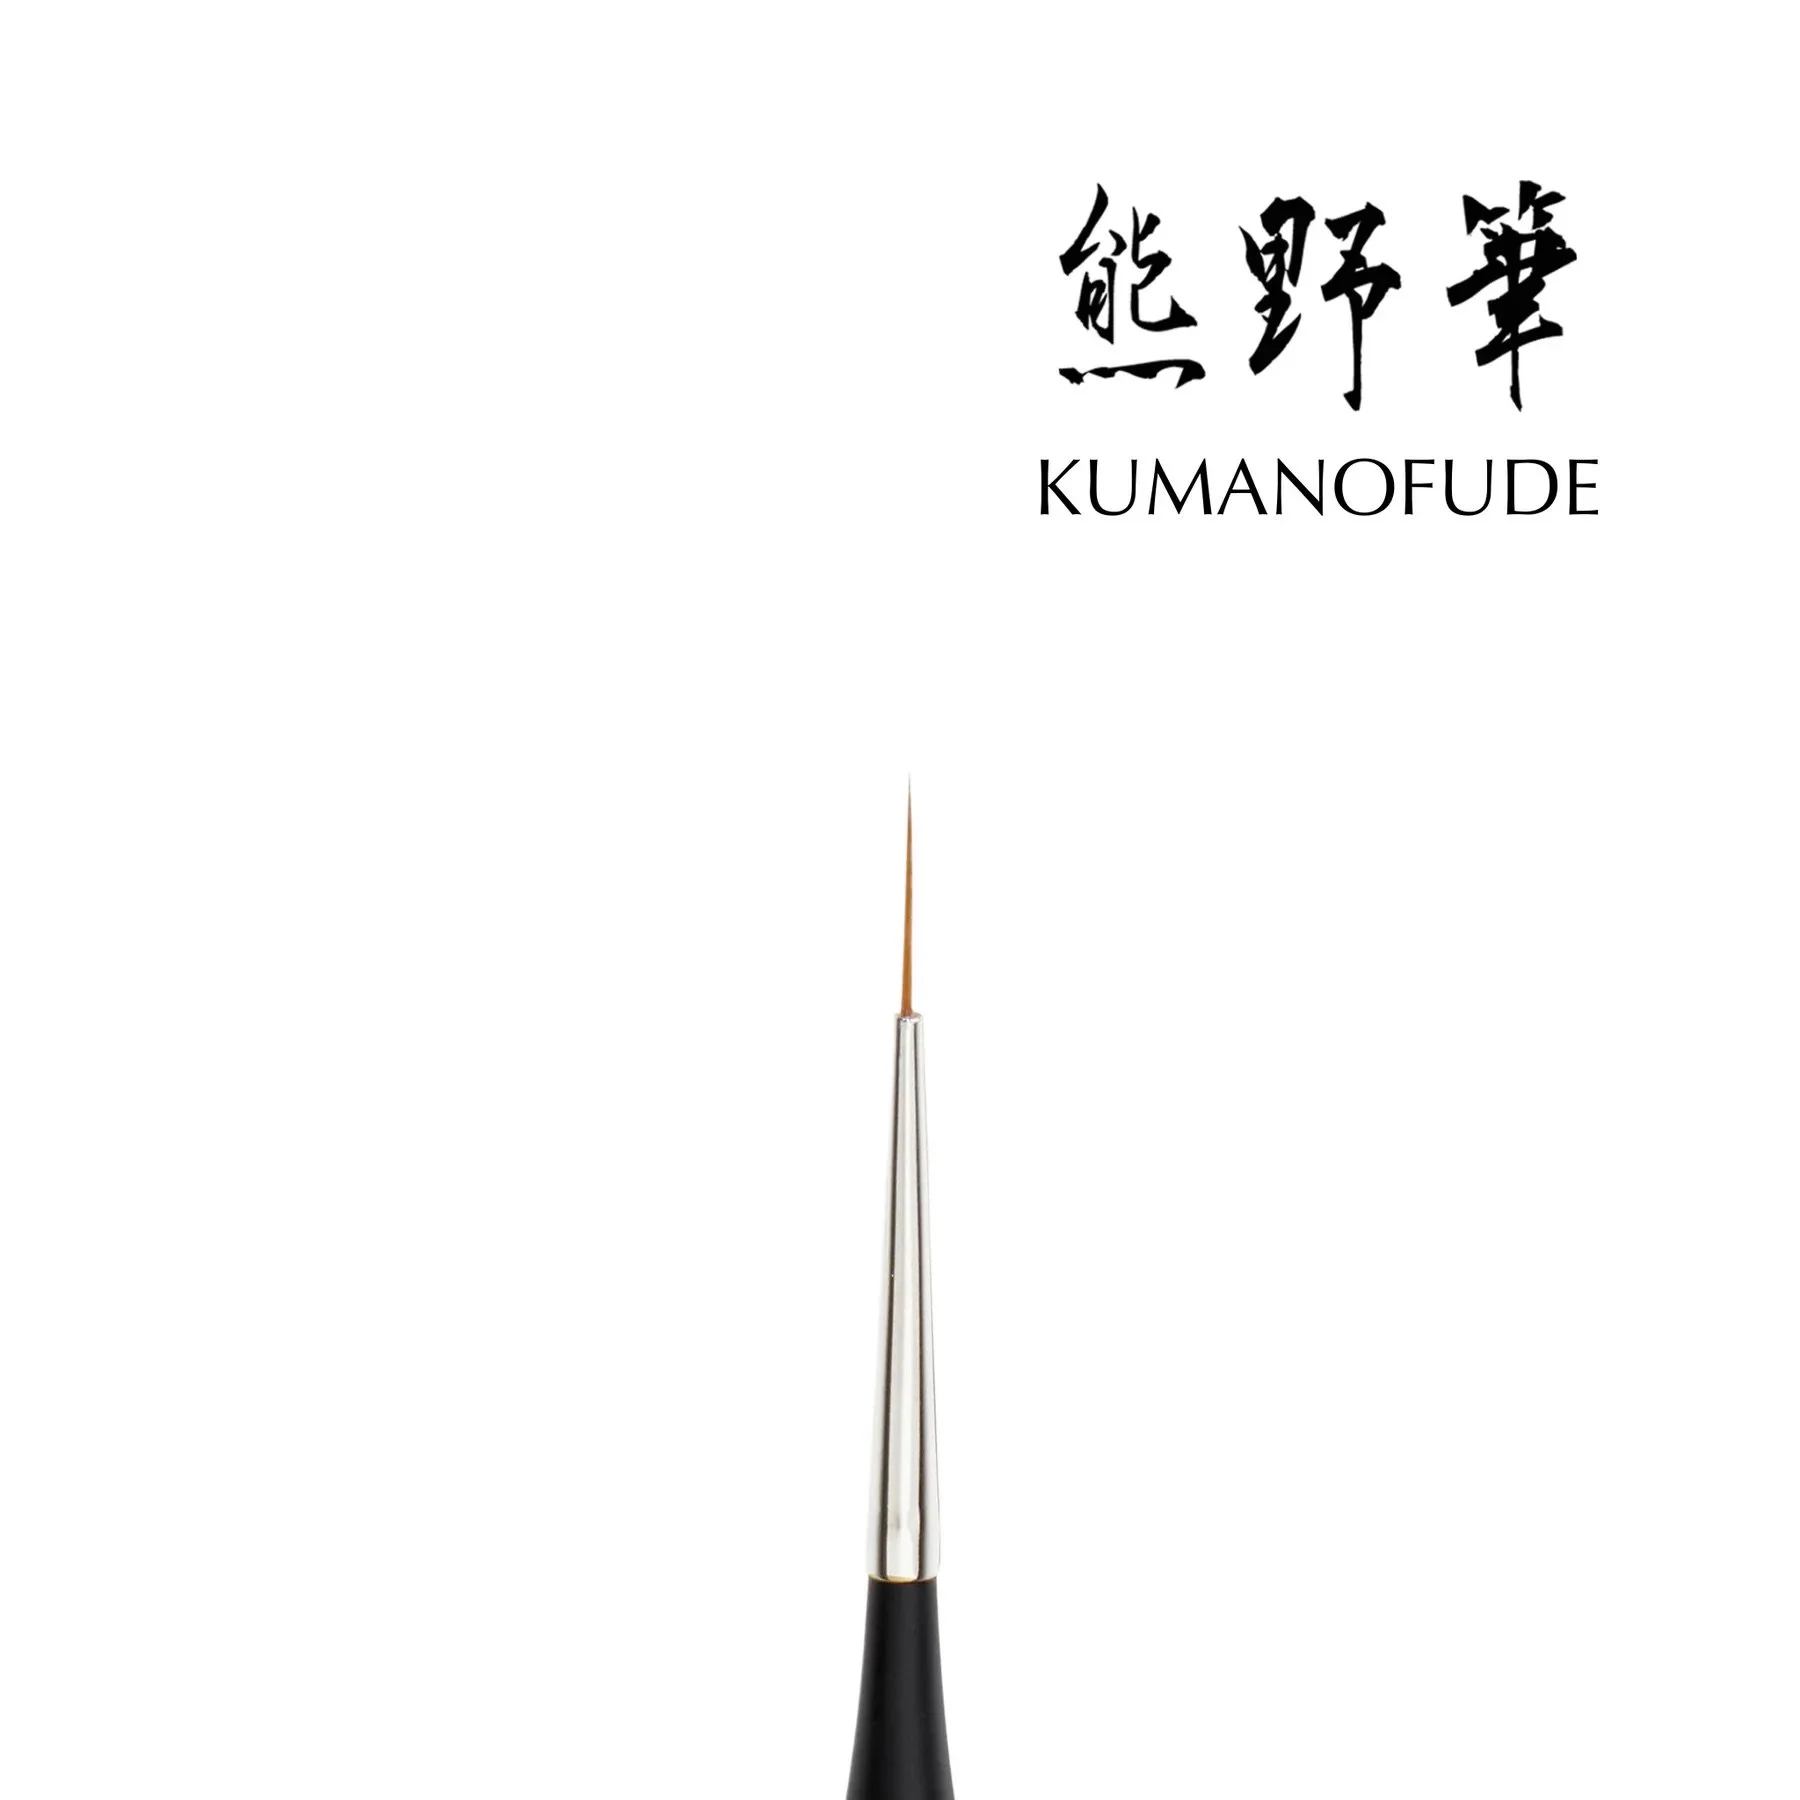
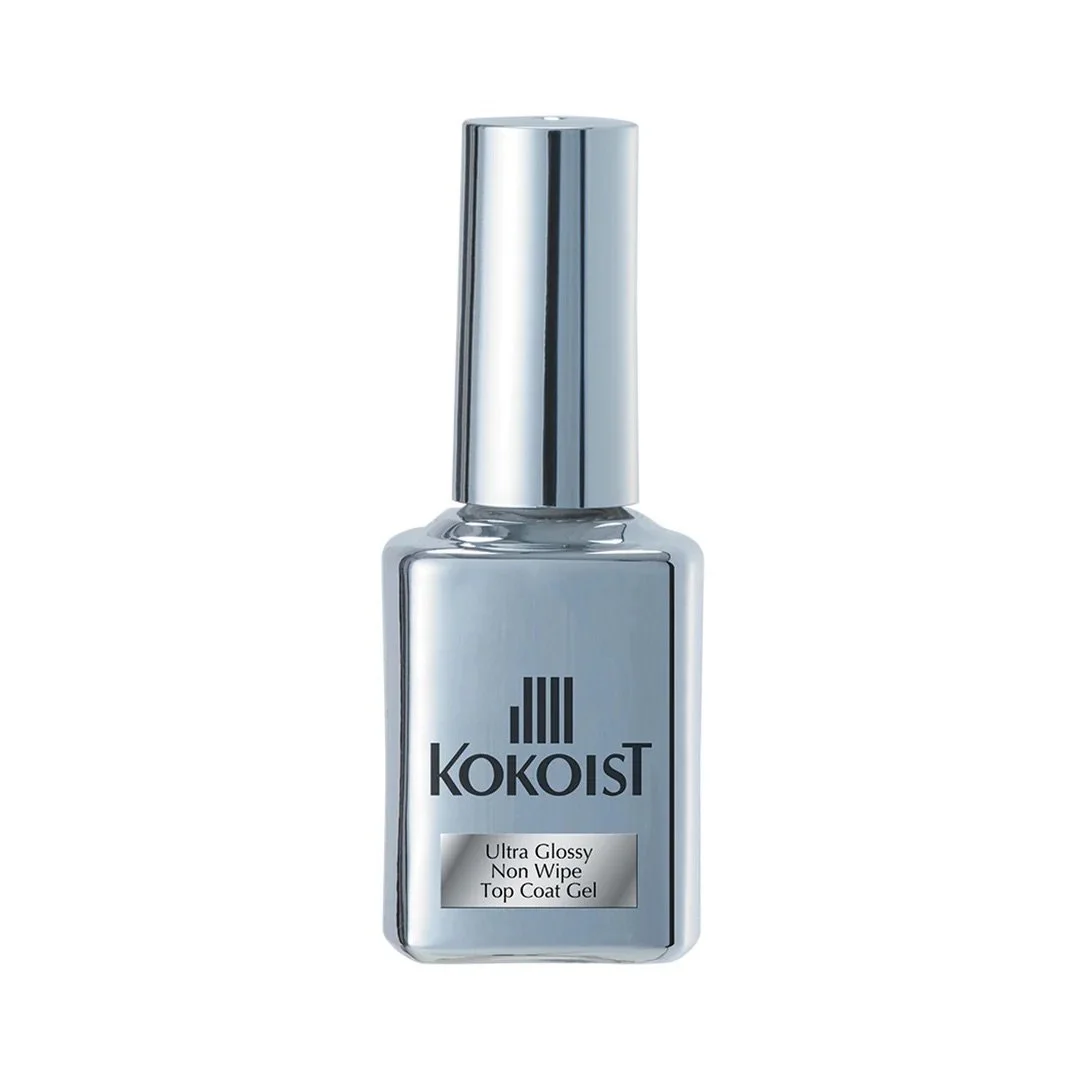
Let’s Get Started
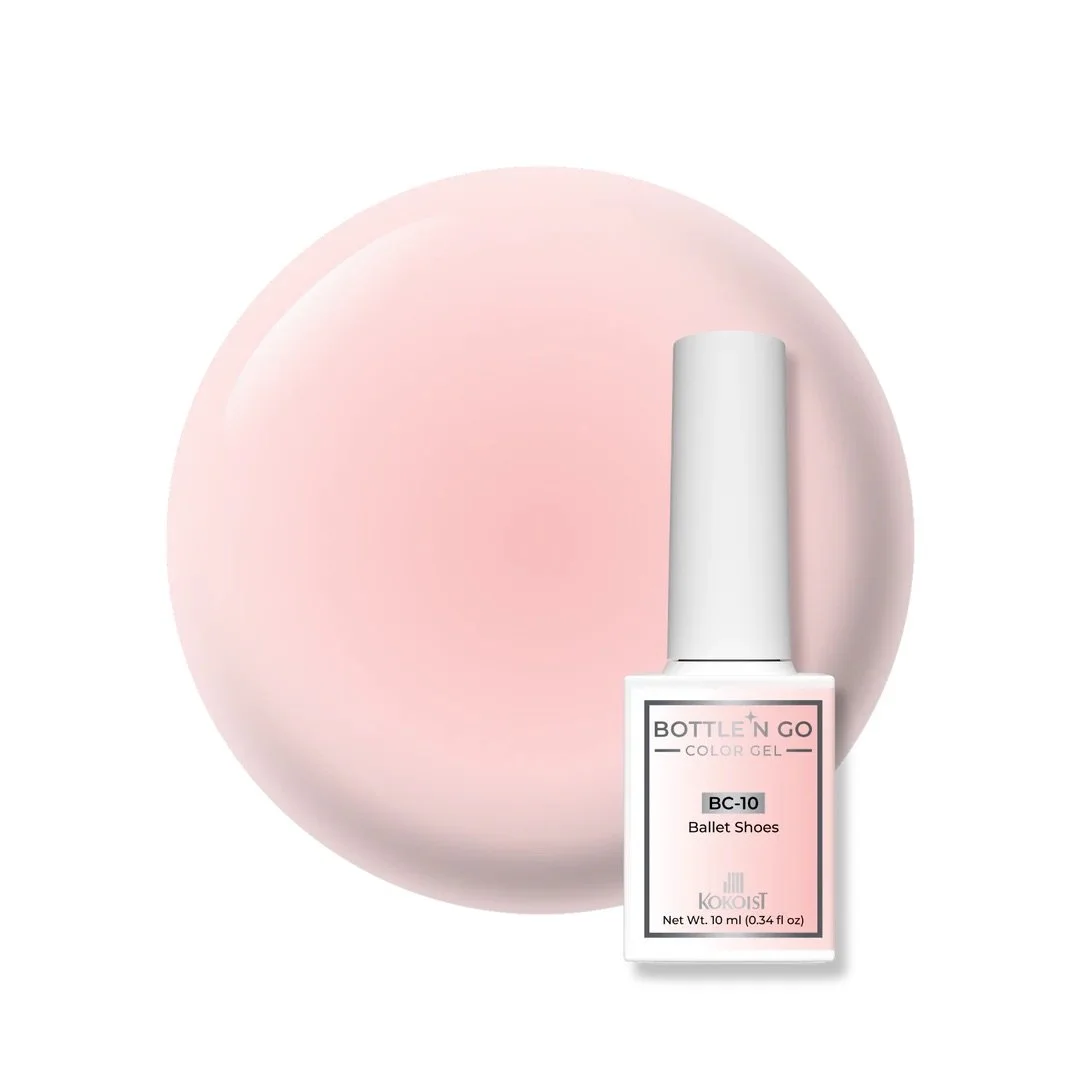
The backdrop to this design is two coats of BC-10 Ballet Shoes, curing after each layer, topped with a coat of Velvet Matte Non-Wipe Top Coat Gel.
Why Velvet Matte?
The matte surface gives us a bit more working time with the Bleeding Ink and helps create those soft watercolor effects.
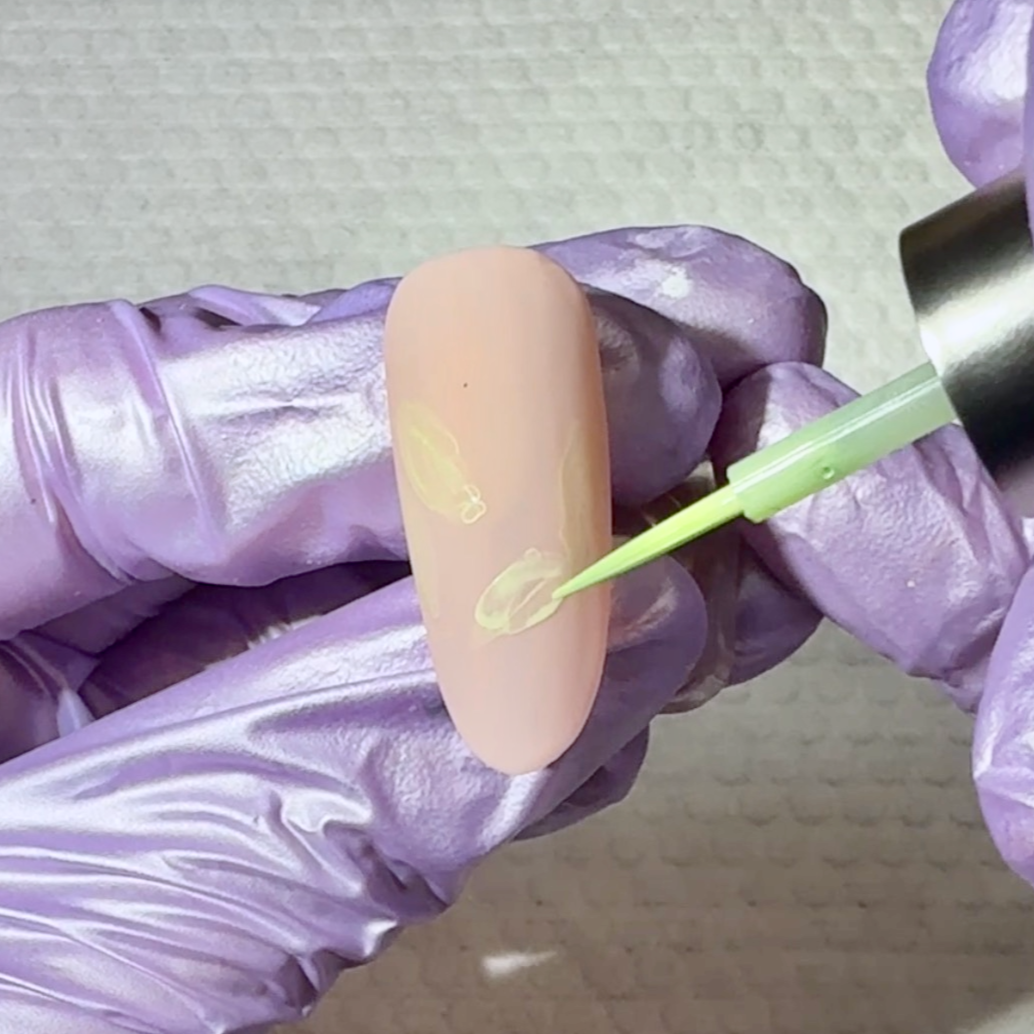
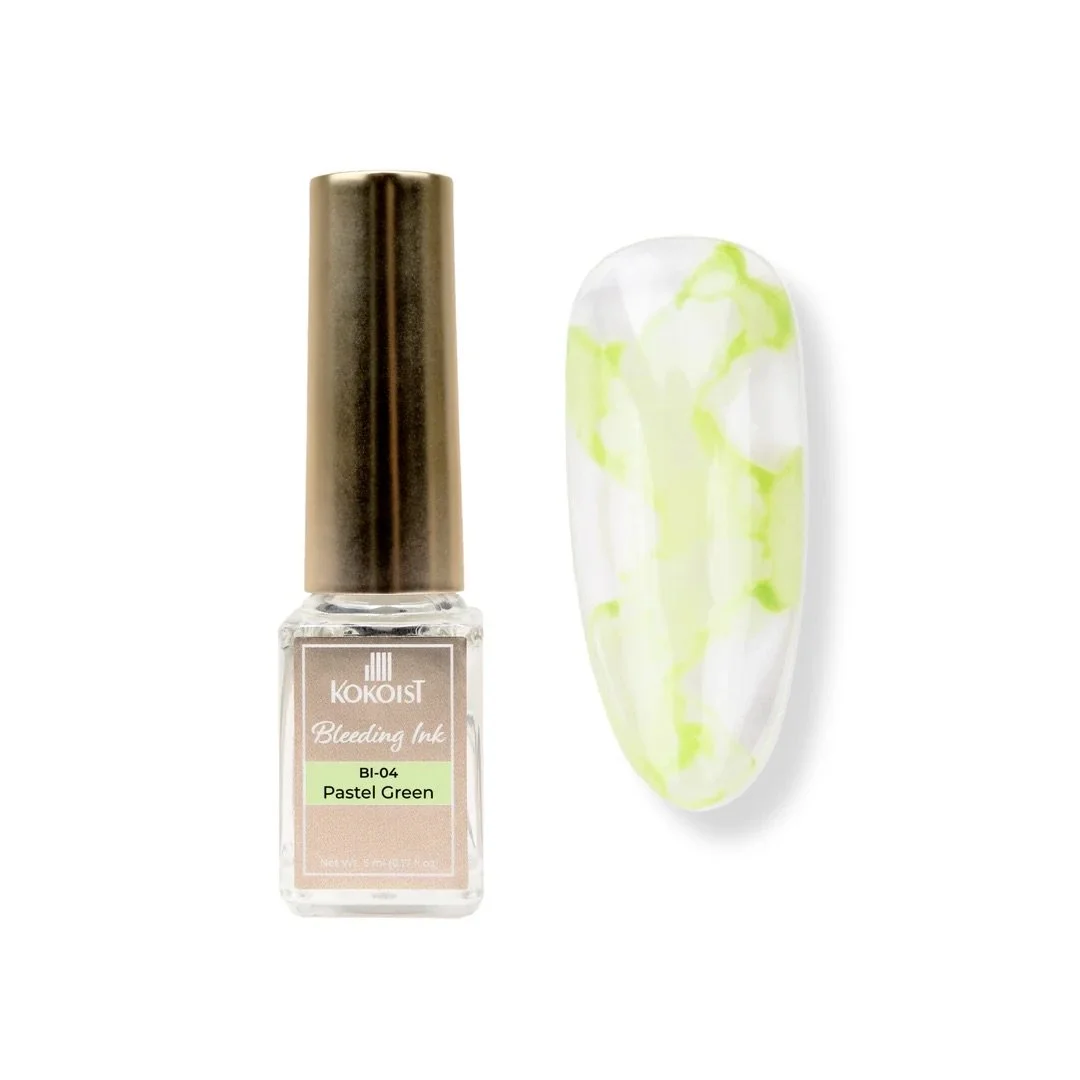
Using BI-04 Pastel Green, paint a few simple leaf shapes, intentionally leaving the upper and lower corners of the nail blank.
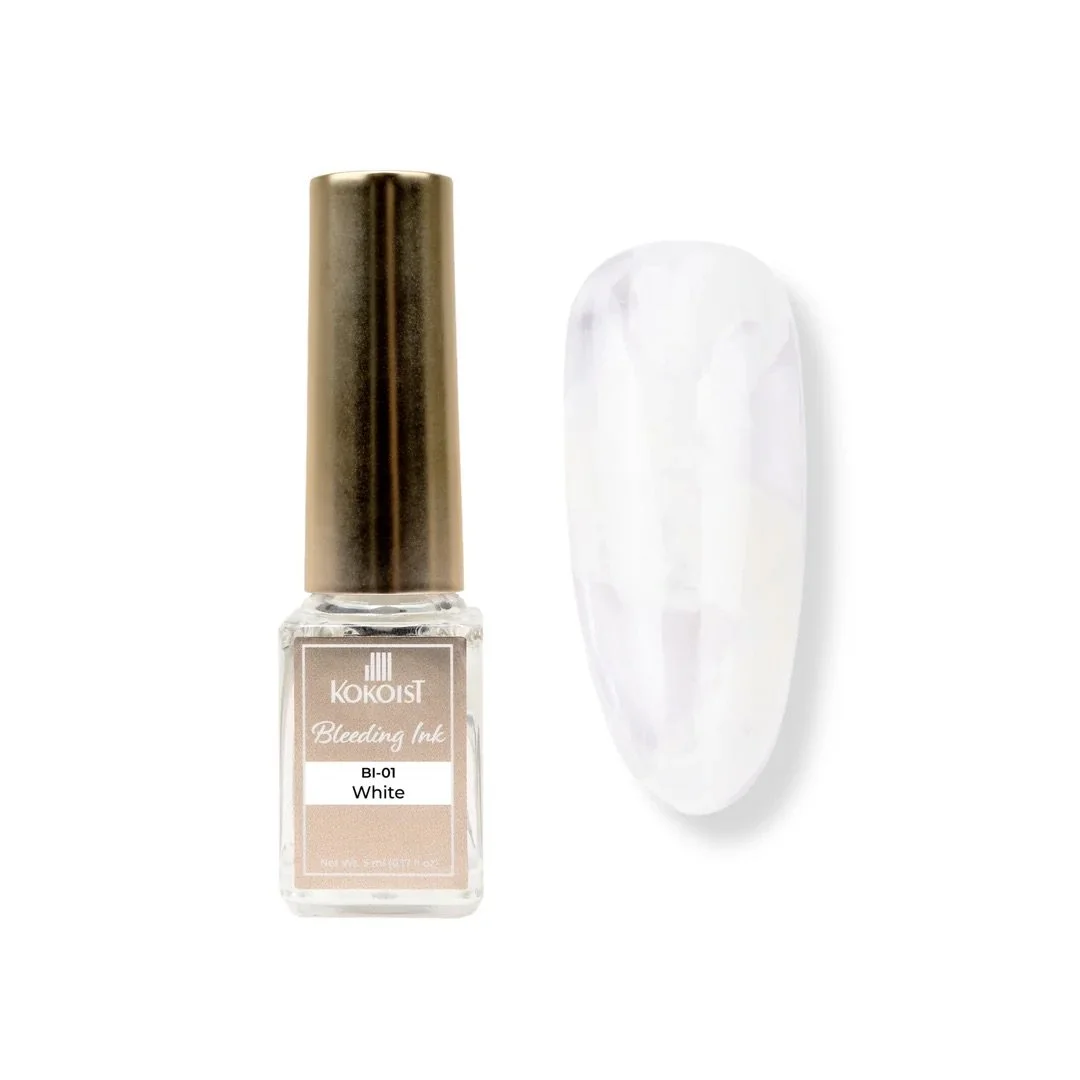
In those blank corners, use BI-01 White to begin building the base for your flowers. You won't see much of it in the finished product, but it makes a big difference when layering the pink and adds dimension to the final look. Let the ink dry for a few seconds between sections to maximize the effect, then allow it to dry completely before moving on.
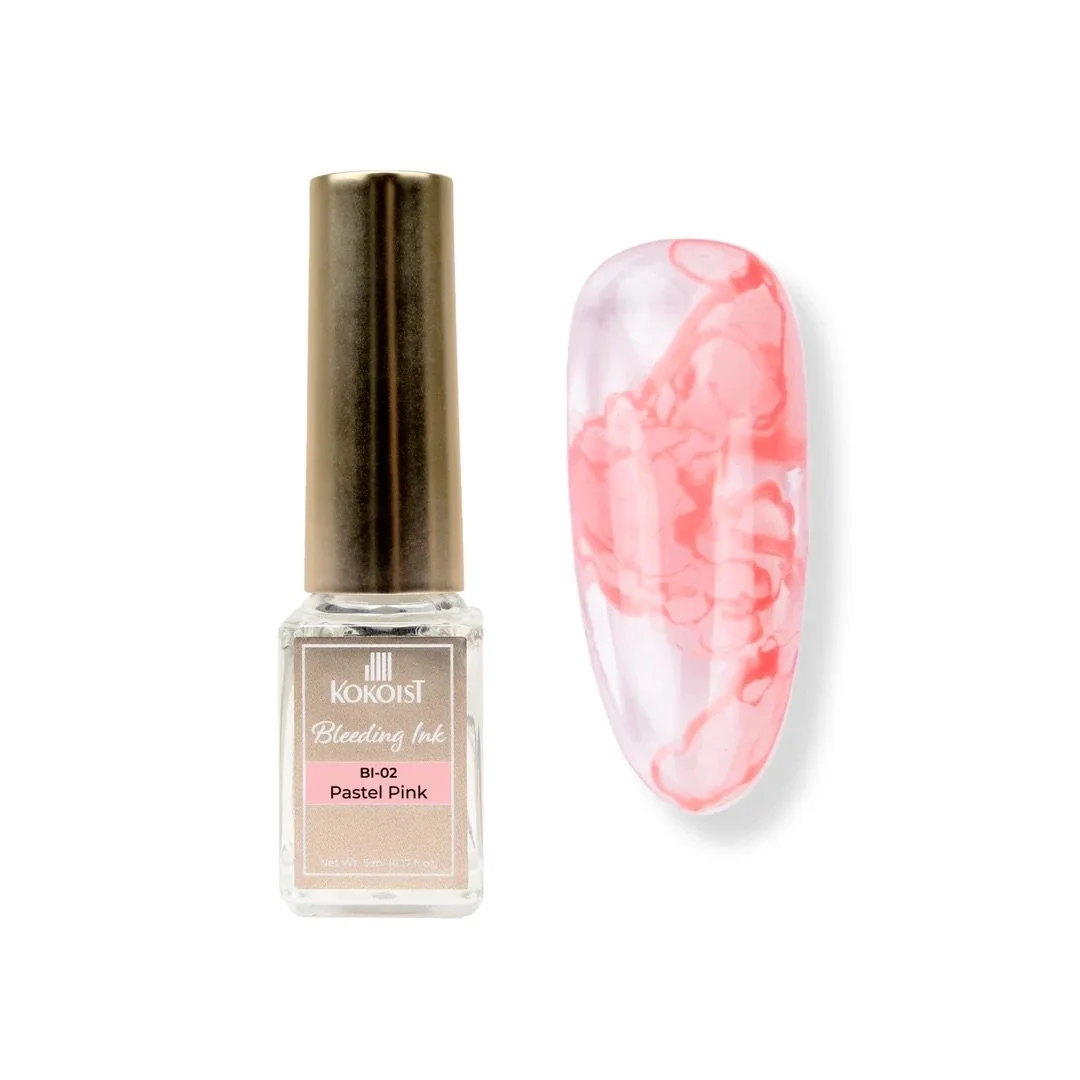
Using BI-02 Pastel Pink, intentionally dab and sweep the color into petal formations, allowing the ink to dry for a few seconds between applications.
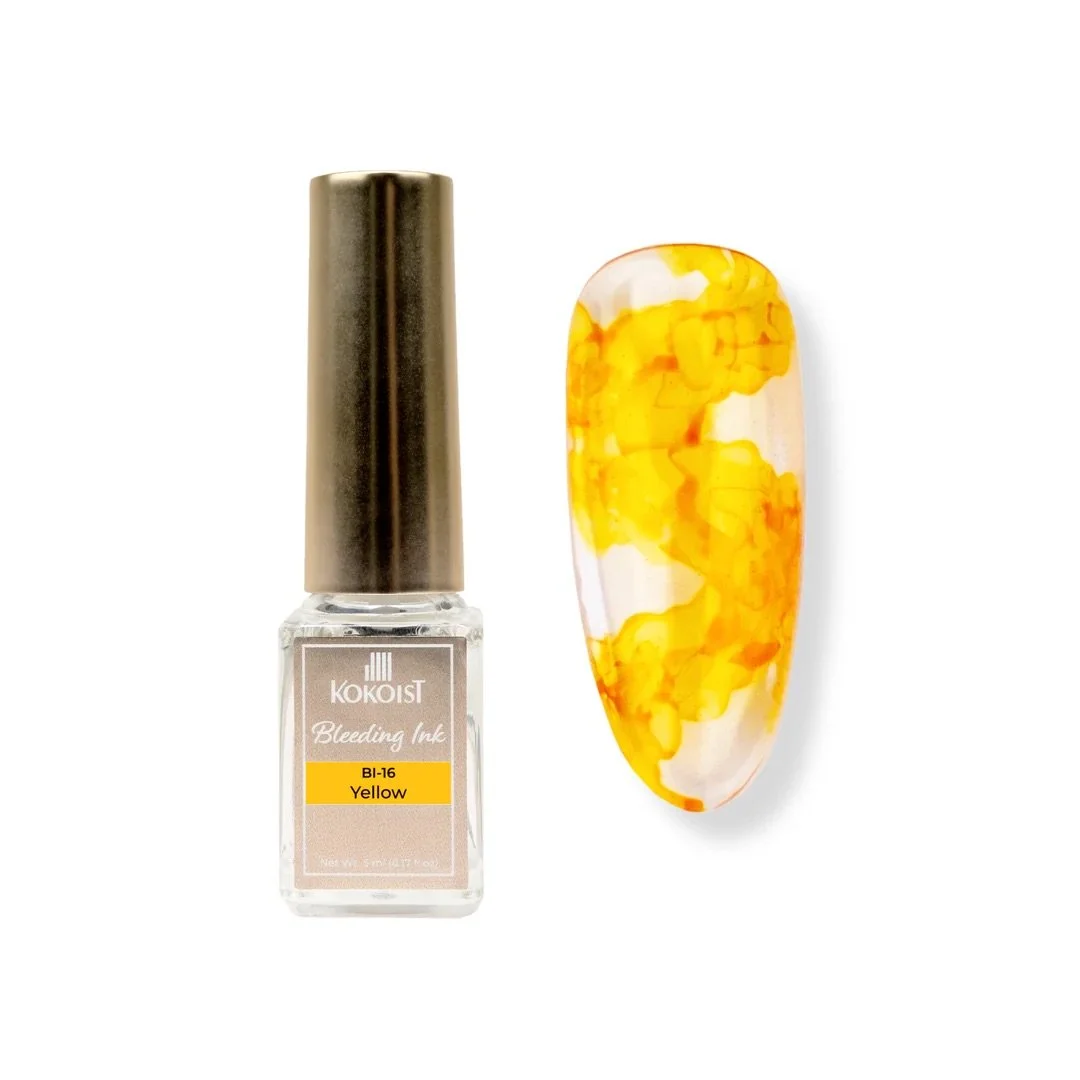
Create the pollen-filled center of the flower using BI-16 Yellow, tapping it into the center of each bloom. I love the way the yellow bleeds into the pink to create a vibrant orange perimeter around the flower center.
Let the Ink Do the Work
Resist the urge to overwork the Bleeding Ink. Some of the prettiest effects happen when you allow the color and alcohol to bloom naturally.
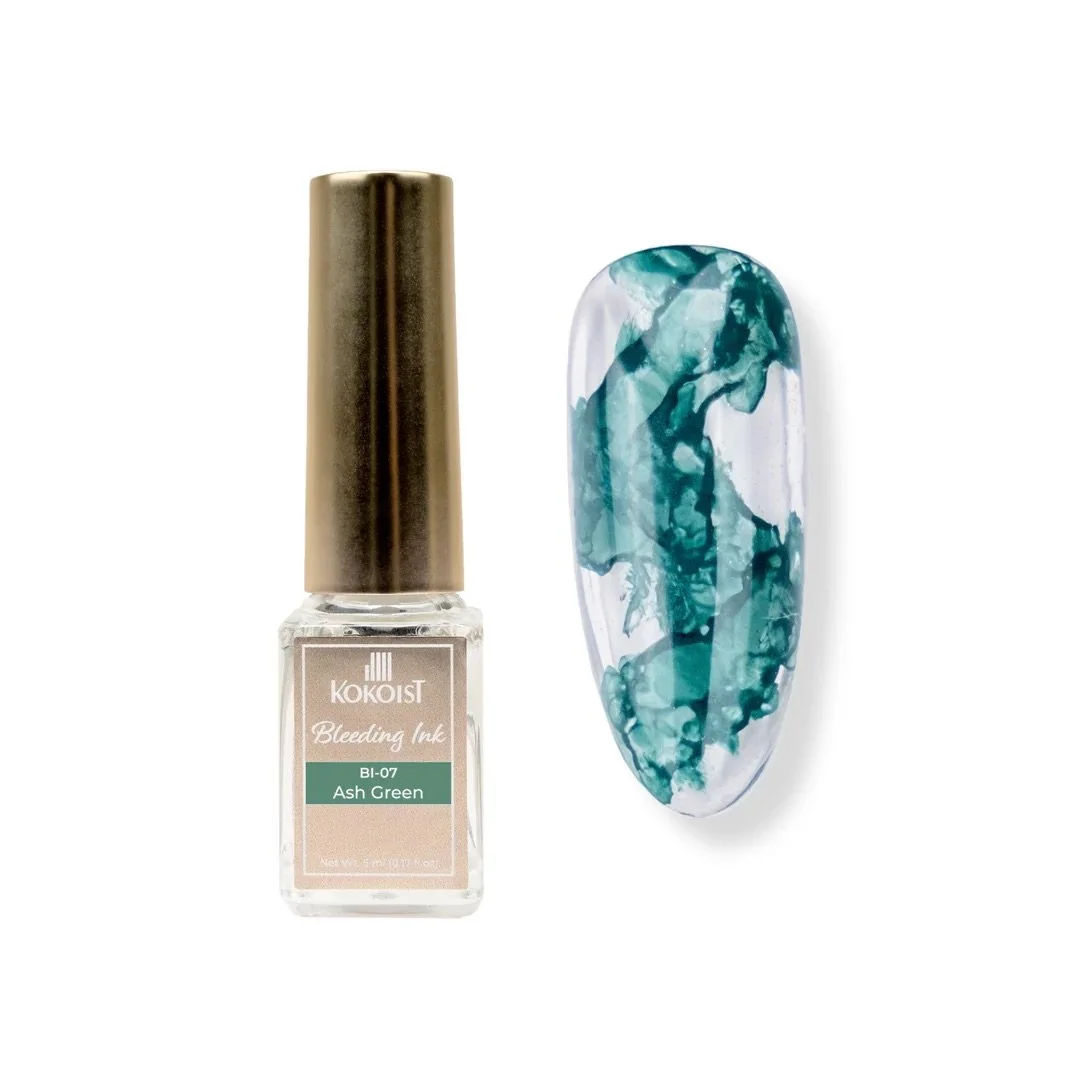
Sketch a soft outline around the leaves we created in Step 1 with BI-07 Ash Green and allow it to dry completely.
Fill a dappen dish with 99% ISO alcohol and lightly dip your Pointed Brush into it, blotting any excess liquid on a lint-free wipe. Continue dipping into the alcohol and blotting between colors to keep everything from becoming muddy.
Using your Pointed Brush, gently dab into each section of the design, allowing the ink and alcohol to bloom and settle for a few seconds between sections.
The Good News of Art Clear
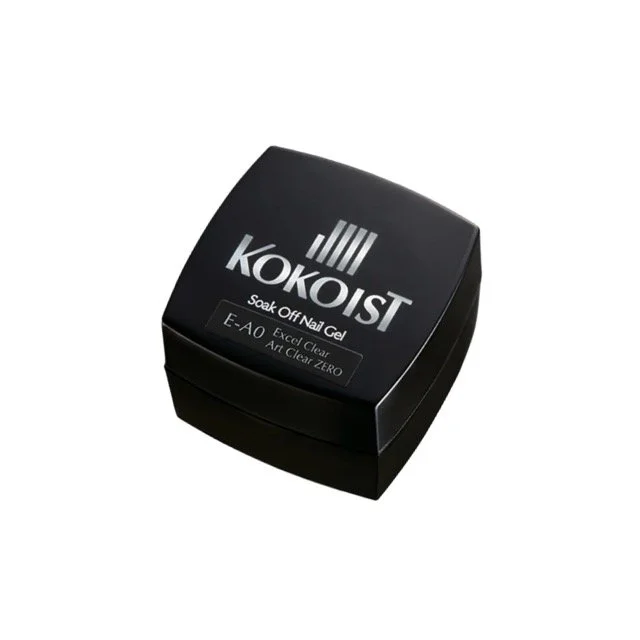
I am frequently preaching the good news of Art Clear. It's a clear version of Kokoist's Excel Color Gel (the cute little pots you know and love), so it's neither a top nor a base gel. It's simply the perfect mixing medium, or in this case, the perfect way to create a stable surface so we can move from our Bleeding Ink layers to gel detailing without putting our perfectly imperfect flowers at risk.
Apply a thin layer and cure before moving on to the next step.
Embrace the Wobble
Perfect lines aren't the goal here. The sketchbook effect comes from loose, imperfect linework that feels hand-drawn.
Using a light touch and a slightly shaky hand, draw the flower and leaf details using ruffle-y motions. Add a few dots in the center of each flower, flash curing as you go and fully curing once all of your detailing is complete.
Top everything off with Ultra Glossy Non-Wipe Top Coat Gel and you've got a gorgeous, glassy Sketchbook Floral manicure.
As always, art is subjective. Play with the technique, keep what works for you, and leave the rest. I can't wait to see what you create.
This post may contain gifted product, sponsored content, affiliate links, and/or affiliate discount codes. I may earn a commission from qualifying purchases made through these links or codes at no additional cost to you. All opinions are my own unless otherwise stated.
Content, photos, and videos may not be copied, downloaded, edited, reproduced, republished, or used for commercial, advertising, or promotional purposes without prior written permission.
For additional information, please review my full disclosure statement at rachelmessick.com/disclosure.
