Inky Abstract | Nail Art Tutorial
I love pulling nail art inspiration from non-nail art sources. While cruising Pinterest, I stumbled upon this inky abstract image and was instantly inspired.
I've been doing nails for a while now, and it's easy to go on autopilot. Fortunately, I'm also a psychotic nail art hoarder, and having just been gifted the Bleeding Ink Collection from Kokoist, this inspiration really got my wheels turning.
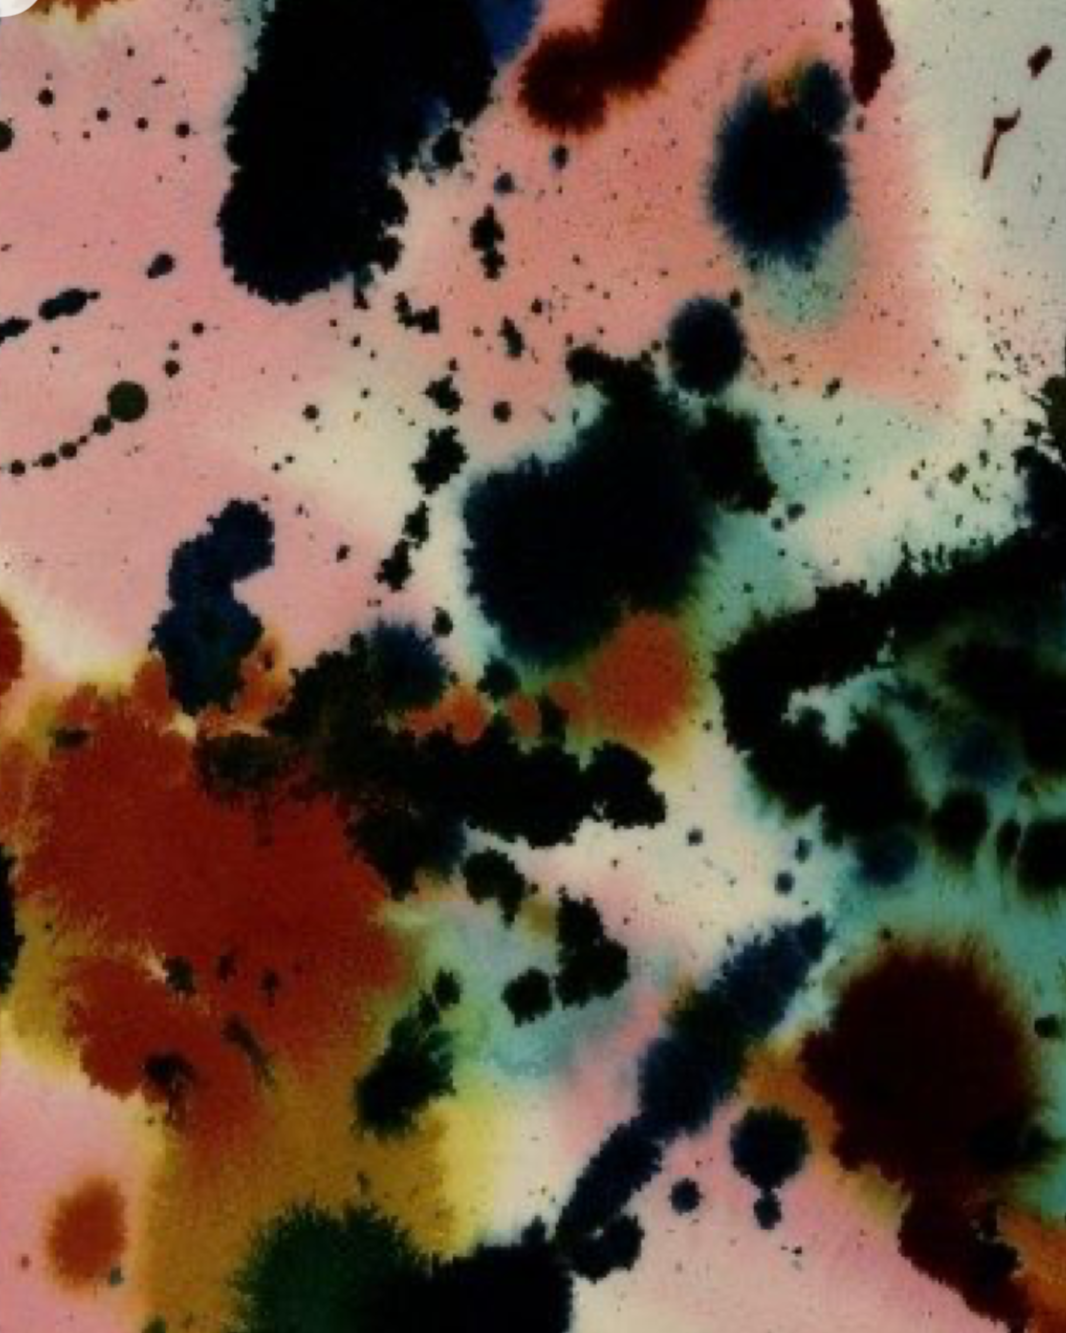
(source Pinterest)
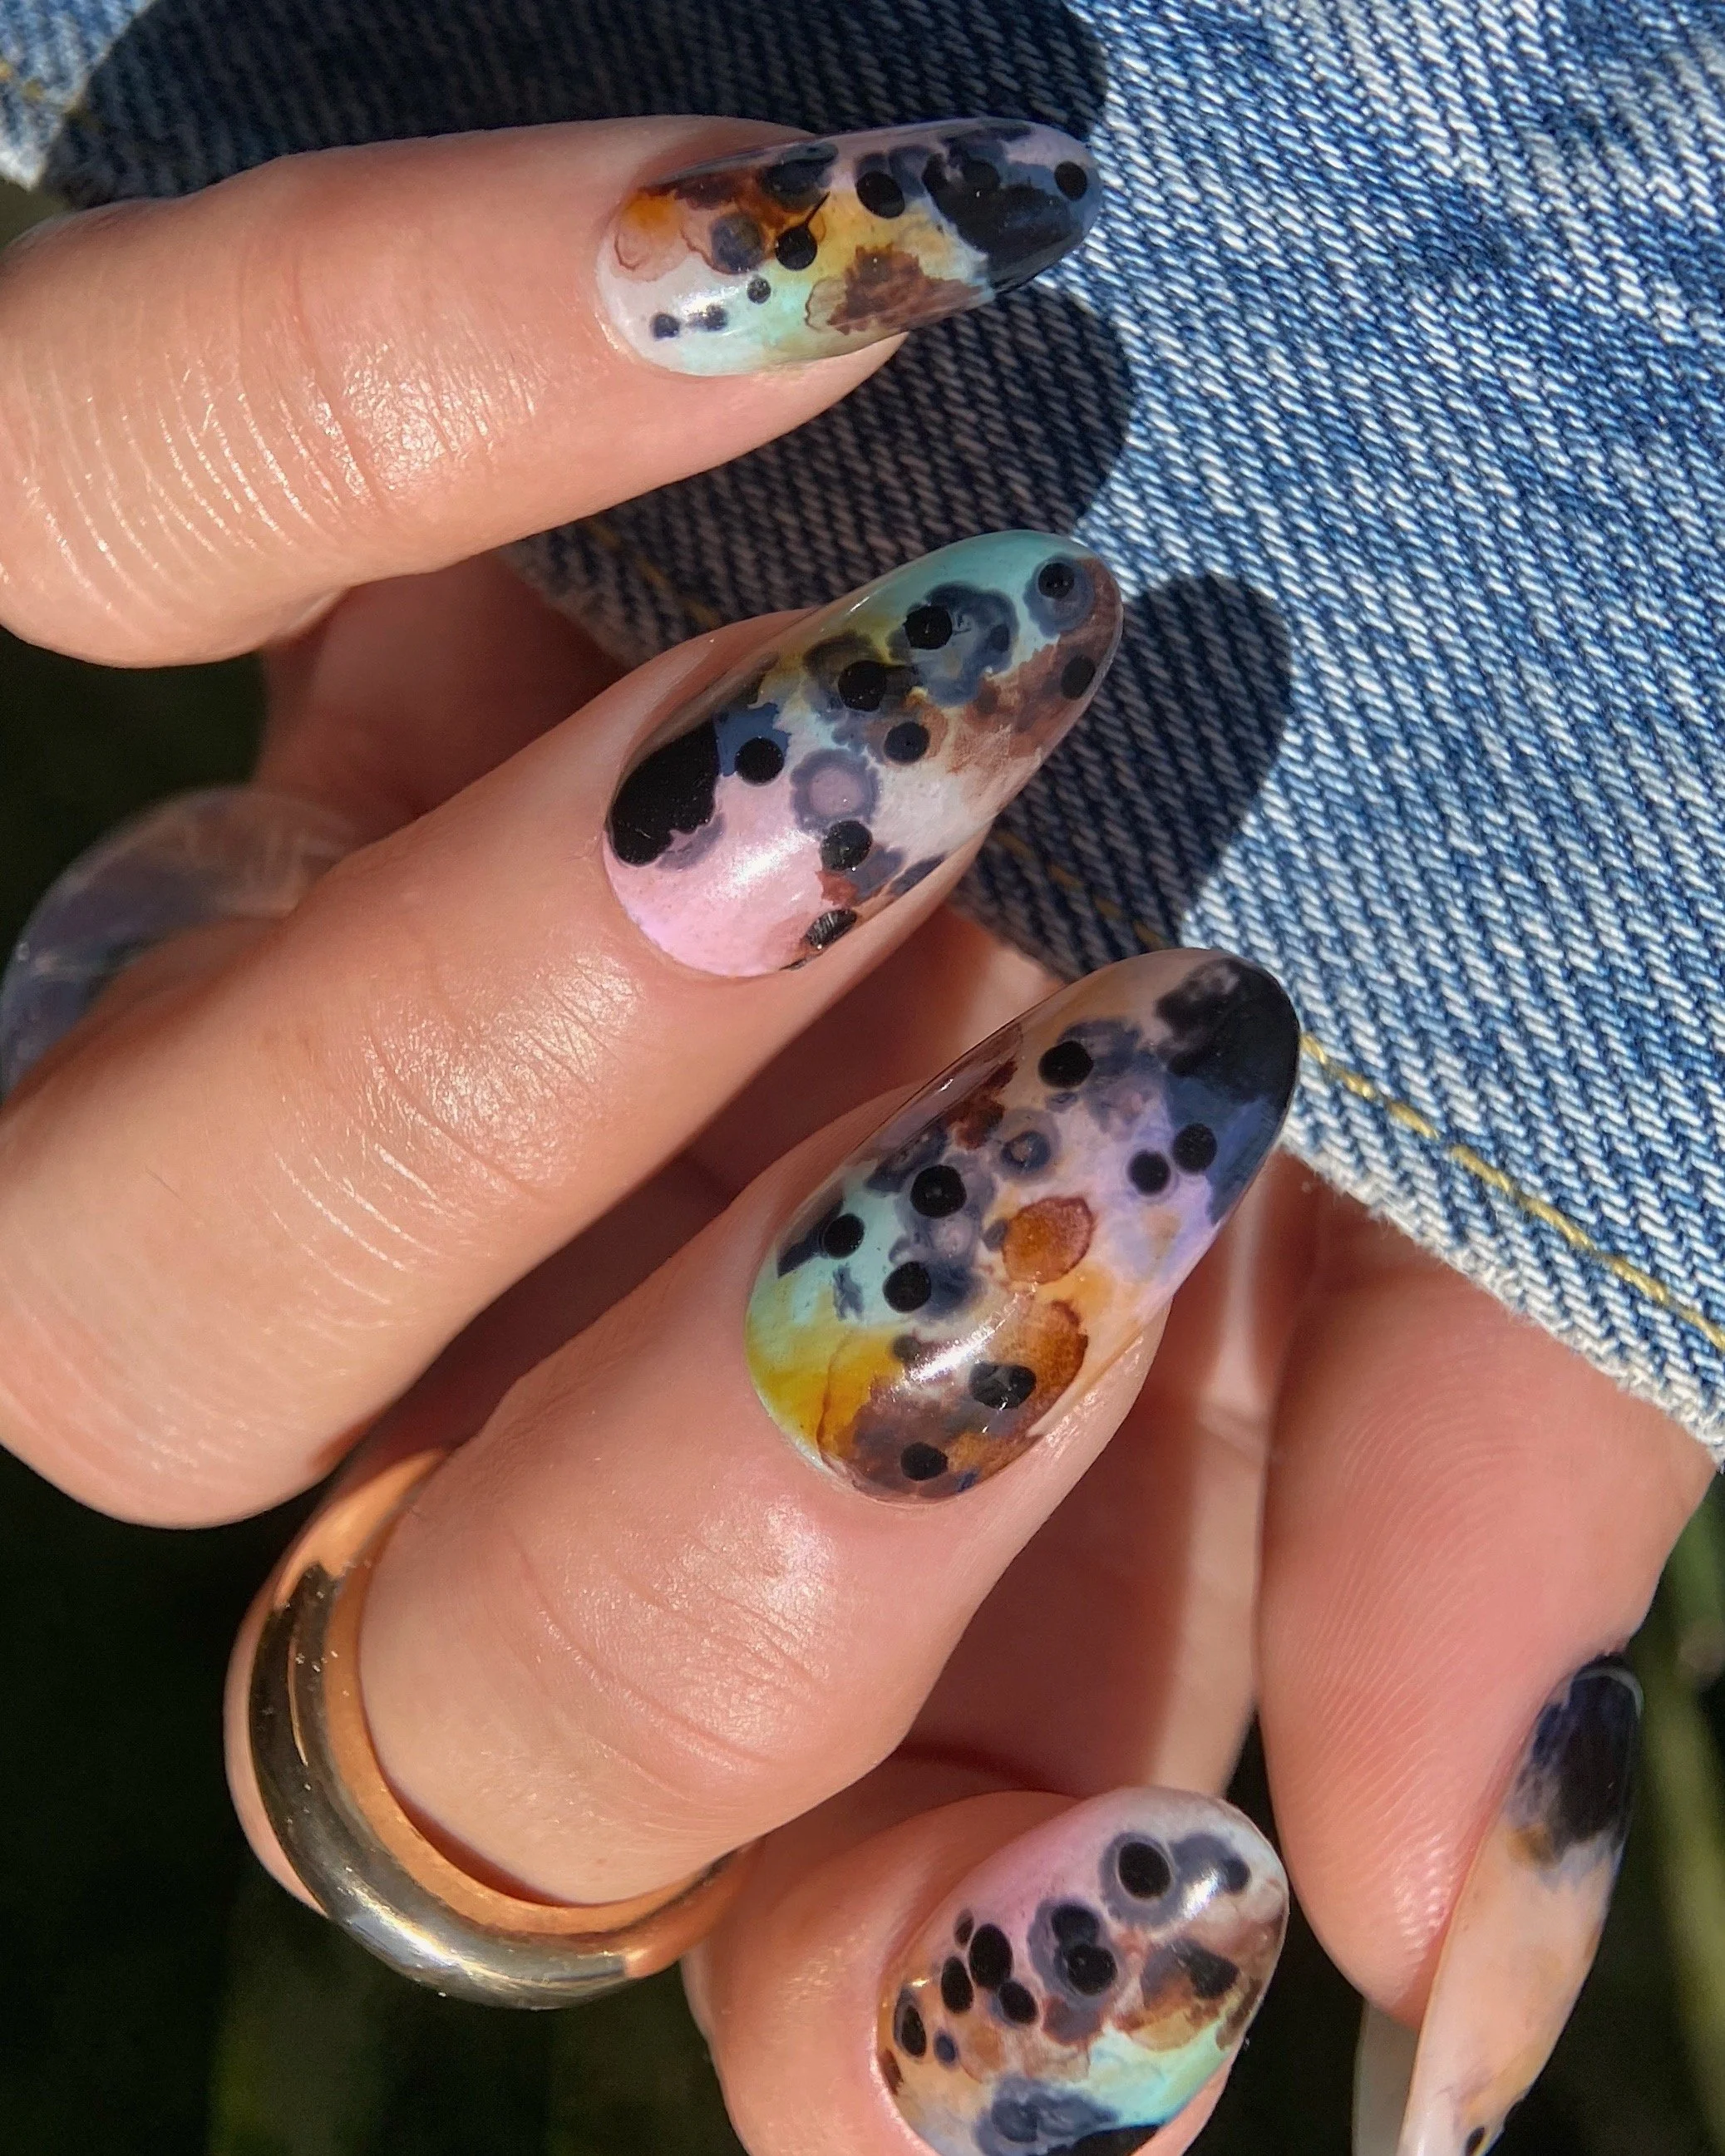
Inky Abstract Final Look
A Happy Accident
One of the things I love about teaching Japanese-style nail art is the art of strategic layering to create depth and dimension.
I've had a case of doe-foot lip gloss applicators sitting in my supply drawer for ages and had a little lightbulb moment: what if I used a doe-foot applicator to apply Bleeding Ink? What kind of effect would that achieve?
The answer turned out to be one of my favorite parts of this design.
Products Used
If you'd like to recreate this look, you can save on your Kokoist order and support the blog by using code RACHEL10 when you shop at KokoistUSA.com.
Building the Background
In this look, layering is the name of the game, so keep your product layers smart, intentional, and thin.
I used Bottle'N Go BC-08 Cream Mist as the base color for this design. If you're doing a gel overlay, you could use Nail Thoughts NTB-23 Chai Latte Base as your first layer instead.
Using a metal palette, place a dab of Bottle'N Go BC-45 Breakfast at Blue, BC-48 Bubblegum Pink, Nail Thoughts NT-12 Tortoise Shell, and a small scoop of E-322 Salmon Coral.
Using a prepped round brush, gently pat and diffuse one shade at a time, curing between colors and leaving some negative space throughout the nail. Repeat a second layer if you'd like more intensity.
Once the diffused colors are cured, apply a thin layer of Bottle'N Go BC-04 Milky White. Allow it to self-level before curing.
Go back in with your round brush and reinforce select areas of color to strengthen your gradients and add dimension. Cure between colors.
Creating the Ink Effect
Apply Velvet Matte Non-Wipe Top and fully cure.
In a small dappen dish, add Isopropyl Alcohol (I always use 99%) and a dash of acetone.
Apply Bleeding Ink BI-13 Brown diagonally across the nail and allow it to dry slightly. Using a doe-foot applicator and/or a brush lightly dipped in the alcohol mixture, encourage movement in the ink. Allow it to dry.
Apply Bleeding Ink BI-10 Navy Blue to the top and bottom corners of the nail and diffuse using the same technique.
Once dry, lightly smush Nail Thoughts NT-12 Tortoise Shell around portions of the brown ink and cure.
Apply a thin layer of Art Clear and cure. Do not remove the inhibition layer.
Using the bottle brush, apply a small splotch of Bleeding Ink BI-11 Black to the lower corner.
Apply BI-13 Brown again and use a doe-foot applicator to create a few small and medium-sized splotches over the existing design.
Add a few smaller touches of black using the same method.
Allow the Bleeding Ink to dry completely.
Finishing Touches
Using a dotting tool and Bottle'N Go BC-01 Solid Black, add graphic black dots throughout the design and cure.
Seal everything with Ultra Glossy Non-Wipe Top.
Enjoy your own Inky Abstract cuties.
This post may contain gifted product, sponsored content, affiliate links, and/or affiliate discount codes. I may earn a commission from qualifying purchases made through these links or codes at no additional cost to you. All opinions are my own unless otherwise stated.
Content, photos, and videos may not be copied, downloaded, edited, reproduced, republished, or used for commercial, advertising, or promotional purposes without prior written permission.
For additional information, please review my full disclosure statement at rachelmessick.com/disclosure.