Frames Flakes | Nail Art Tutorial
I love encapsulated nail art, but when you're working on a client who already wears a structured gel manicure, you have to be a little more strategic with your layers.
This is one of those designs that requires you to turn off the perfectionist brain, trust the process, and remember that not every layer needs to be perfect on its own.
We're building the finished look one step at a time.
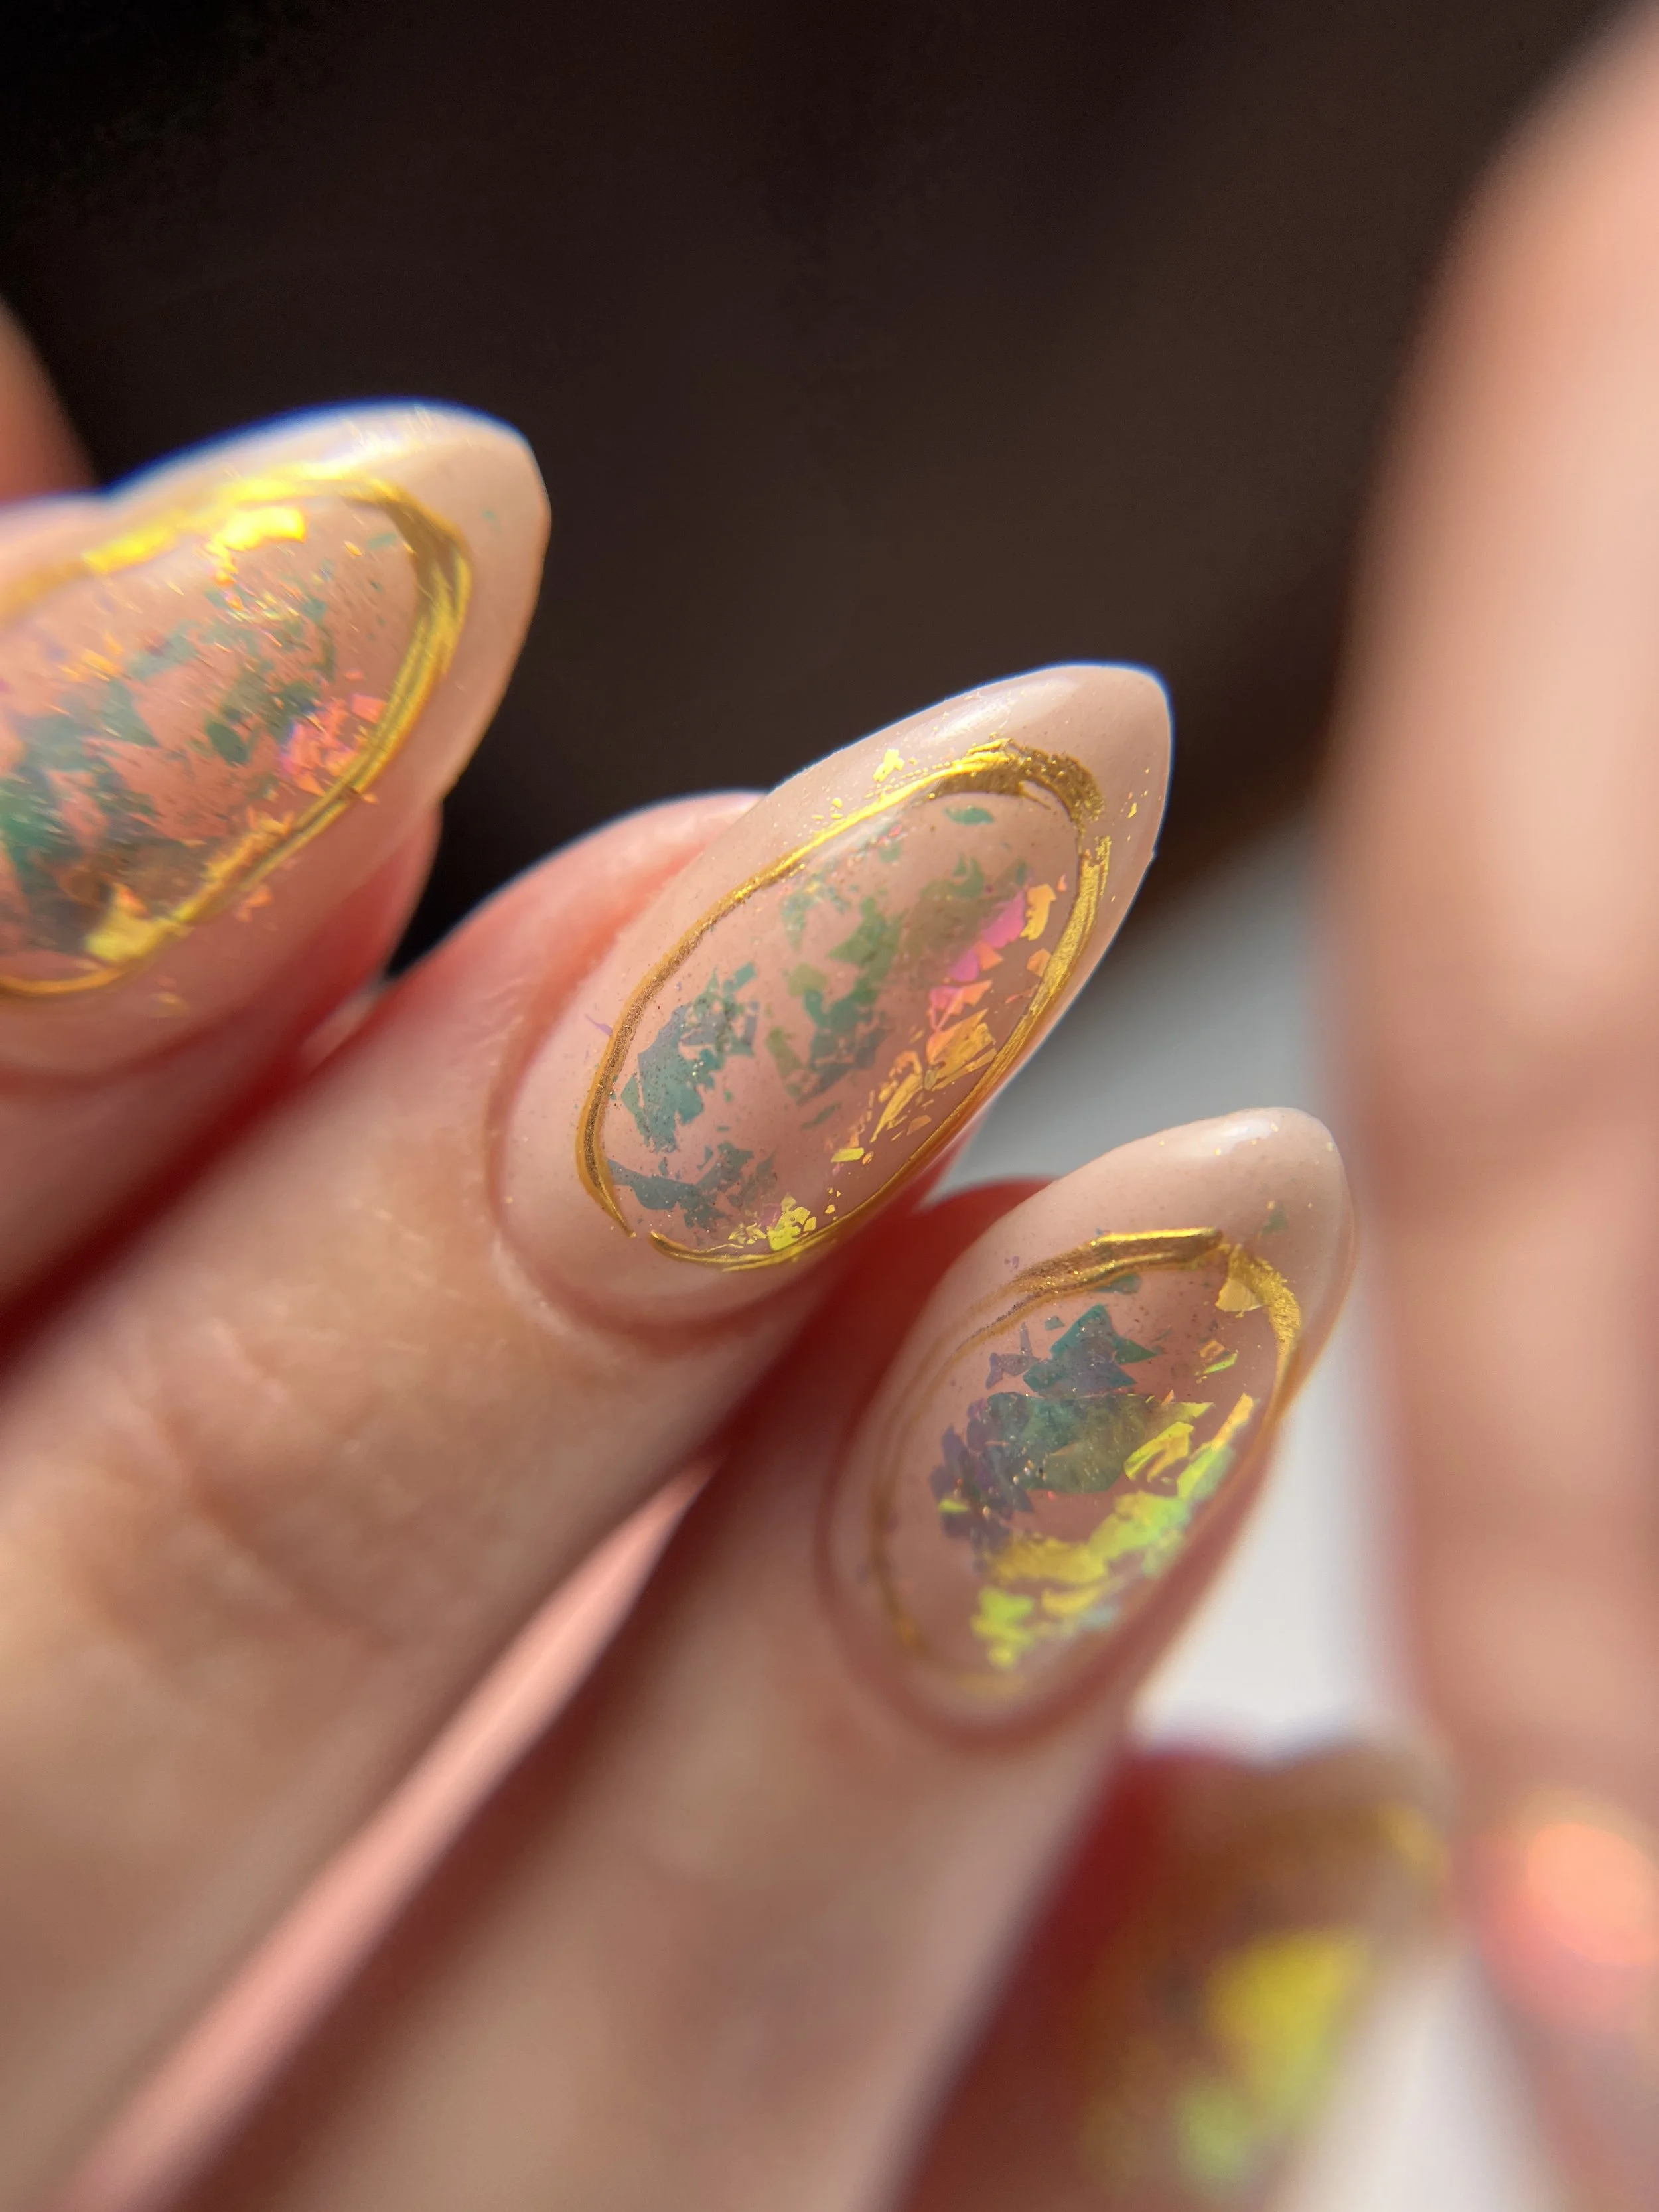
For this set, I used Vacation Nail Shop Electric Marmalade Flakes and framed them with a brassy chrome oval for a look that feels equal parts jewelry and nail art.
Products Used
Presto No Wipe Top Gel
Start with a Strategic Foundation
Nobody likes a chonky chiclet nail, so we have to be strategic. Opt for just enough tinted builder base to get an even color. The goal is to create a smooth surface for your color while keeping the layer thin enough that you still have room for the encapsulation and chrome details to come.
We're not adding structure here.
Think of this layer as creating a clean canvas rather than building the nail.
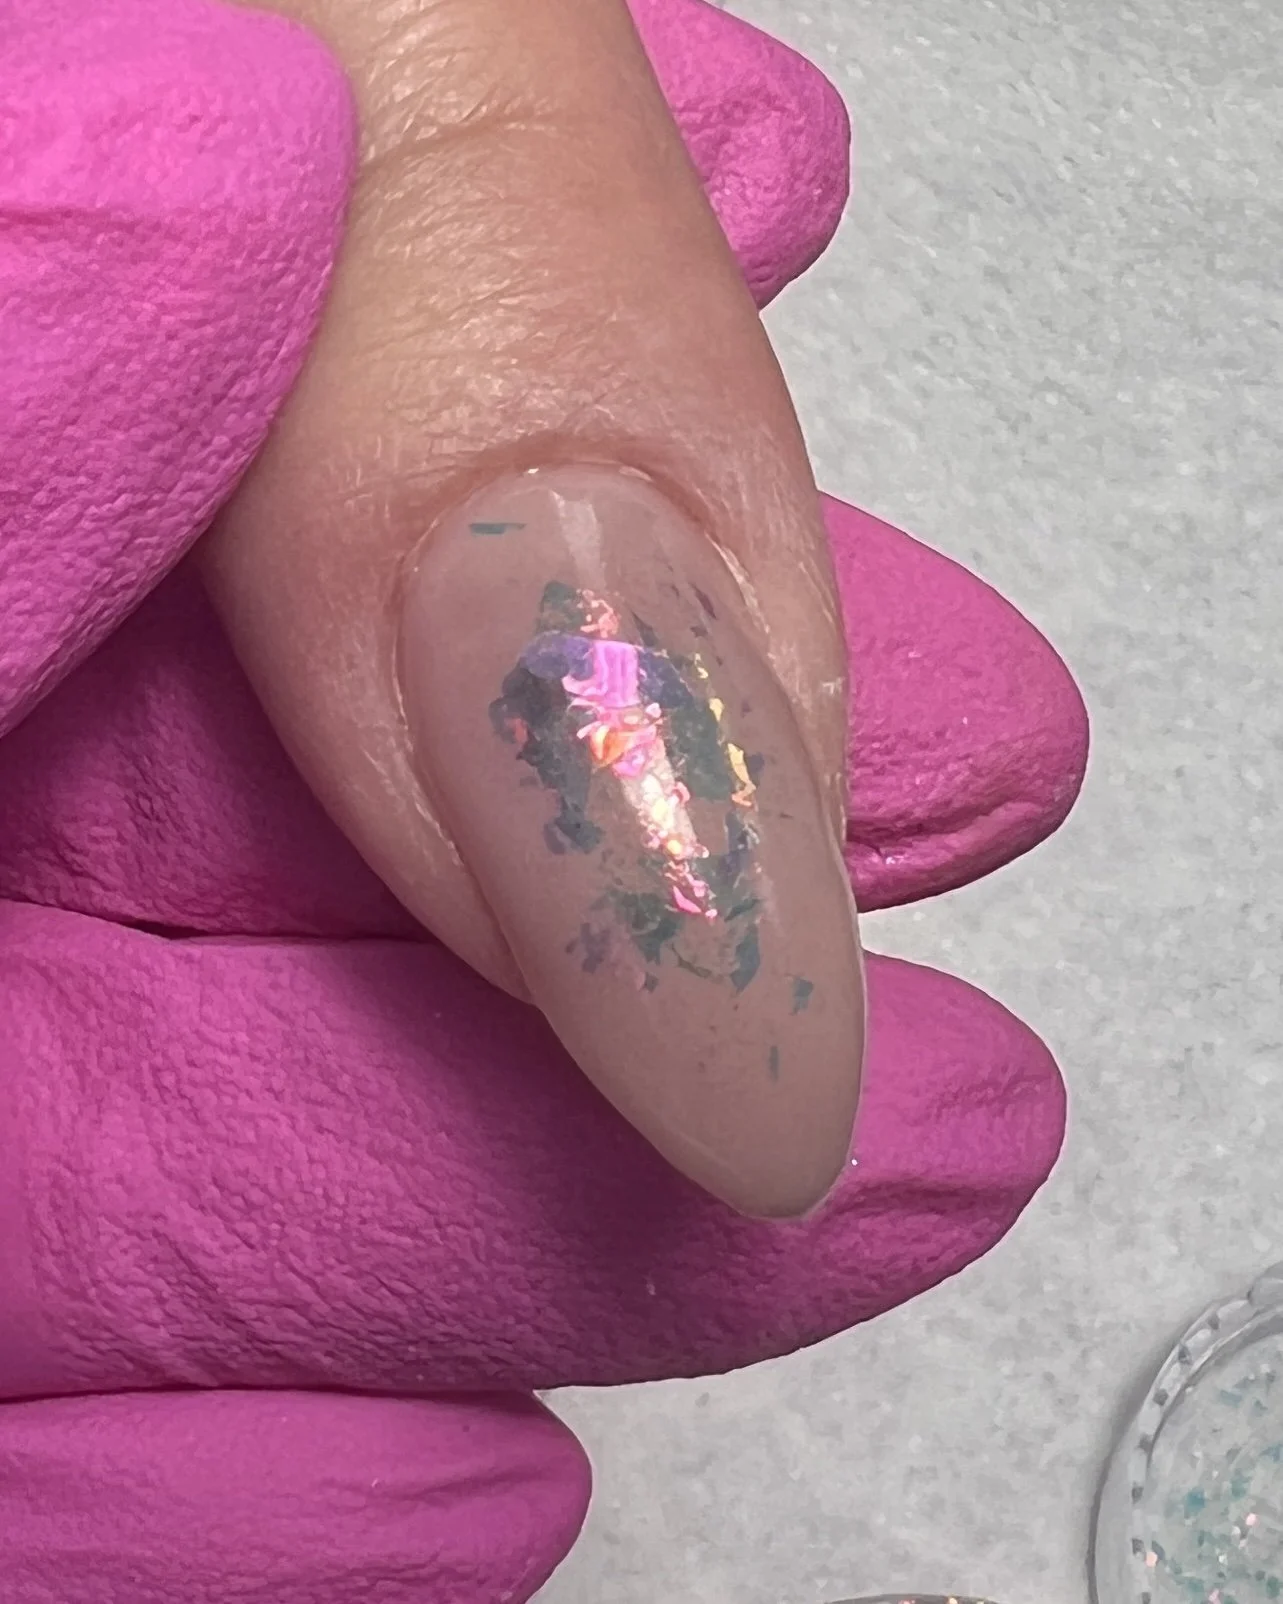
Add the Flakes
Once your tinted base is cured, tap Electric Marmalade Flakes into the sticky layer.
Try to get the flakes to lay as flat as possible. This will make the encapsulation process easier and help keep the finished nail sleek.
A quick note: If you typically finish file your overlays, this is a good point to complete your initial overlay before moving on. If you don't finish file, you can continue building directly over the flakes.
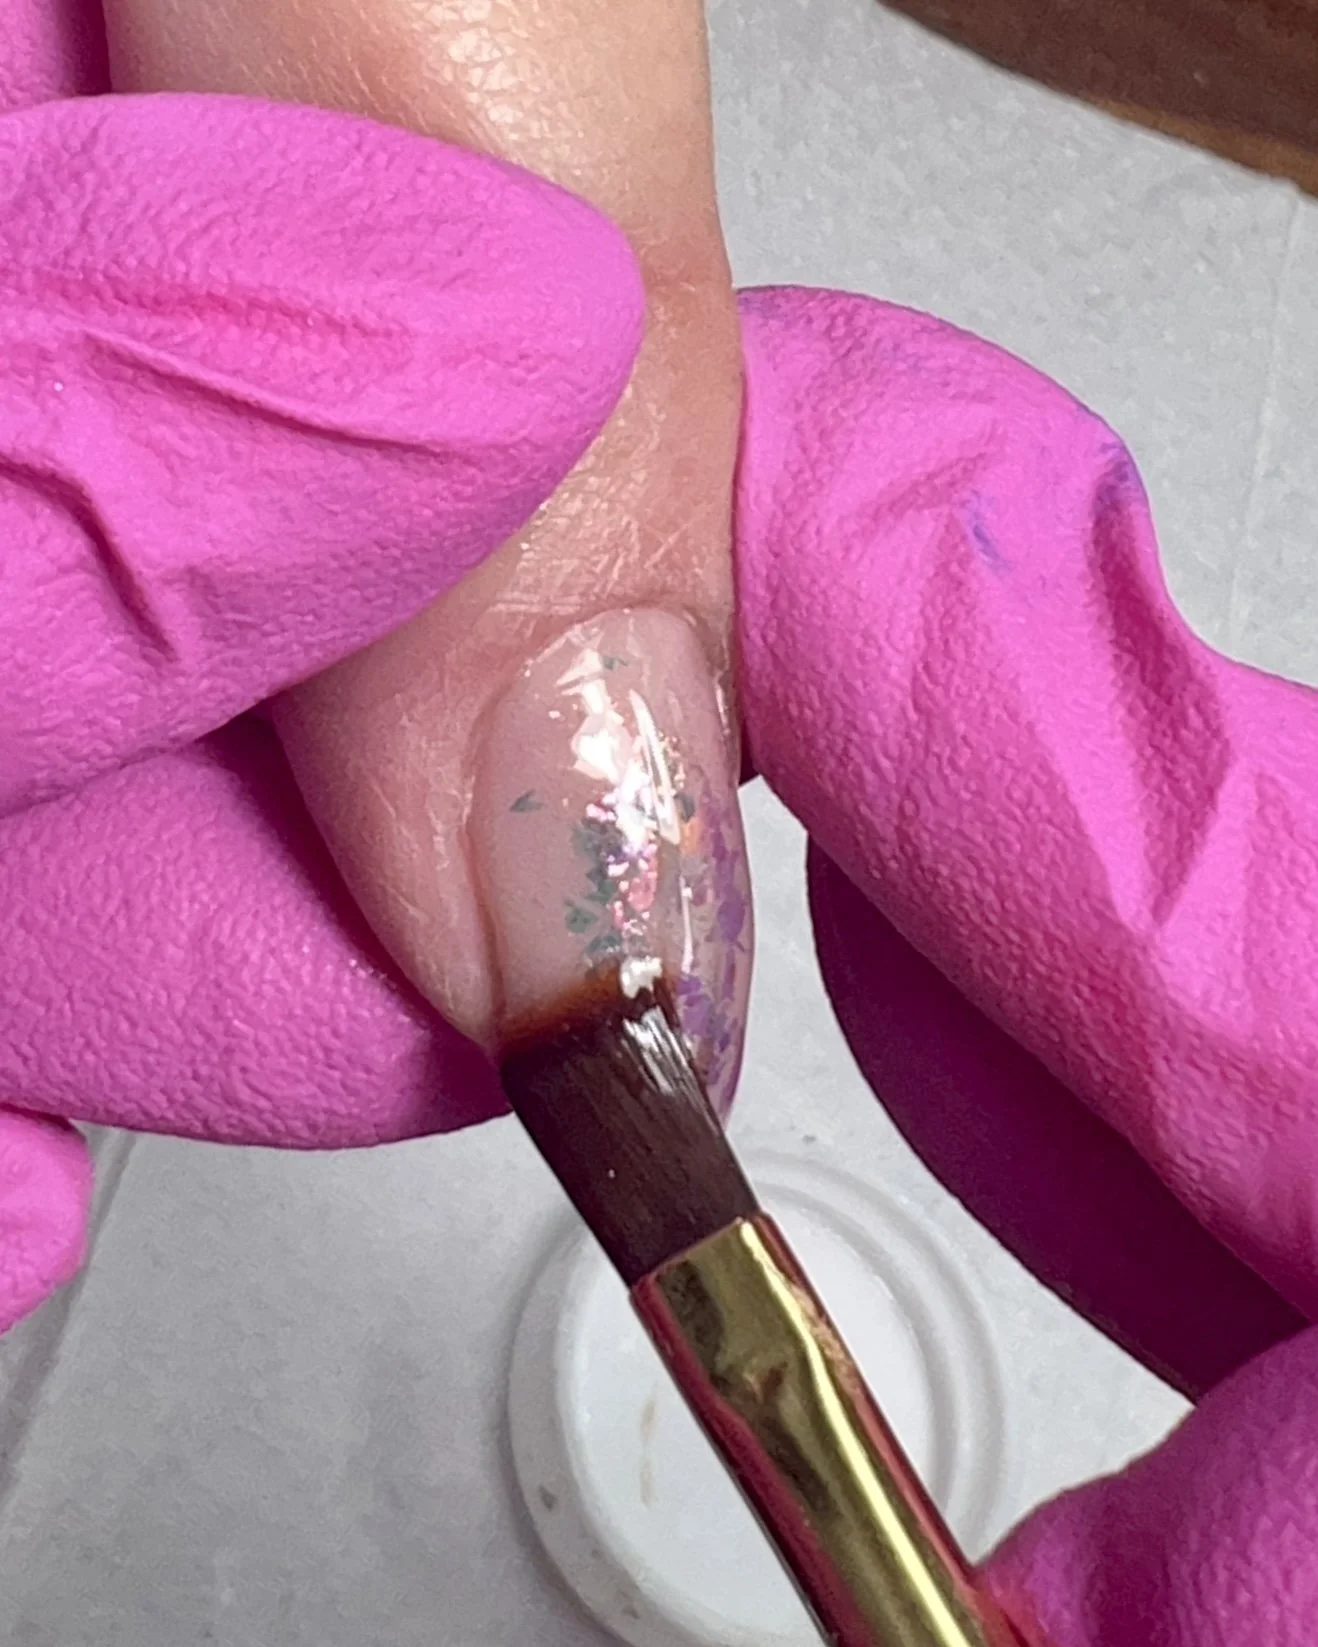
Encapsulate the Design
Using Nail Thoughts Clear Builder, encapsulate the flakes and begin rebuilding the overlay.
Keep the layer thin. We still need room for the chrome frame and final top coat.

Scrub Till It Squeaks
Once cured, thoroughly remove the inhibition layer using a lint-free wipe and 91% (or higher) isopropyl alcohol. I use 99%.
Chrome has a tendency to find every bit of leftover stickiness and make itself at home. You want each nail so thoroughly wiped with alcohol that it squeaks like shoes on a basketball court.
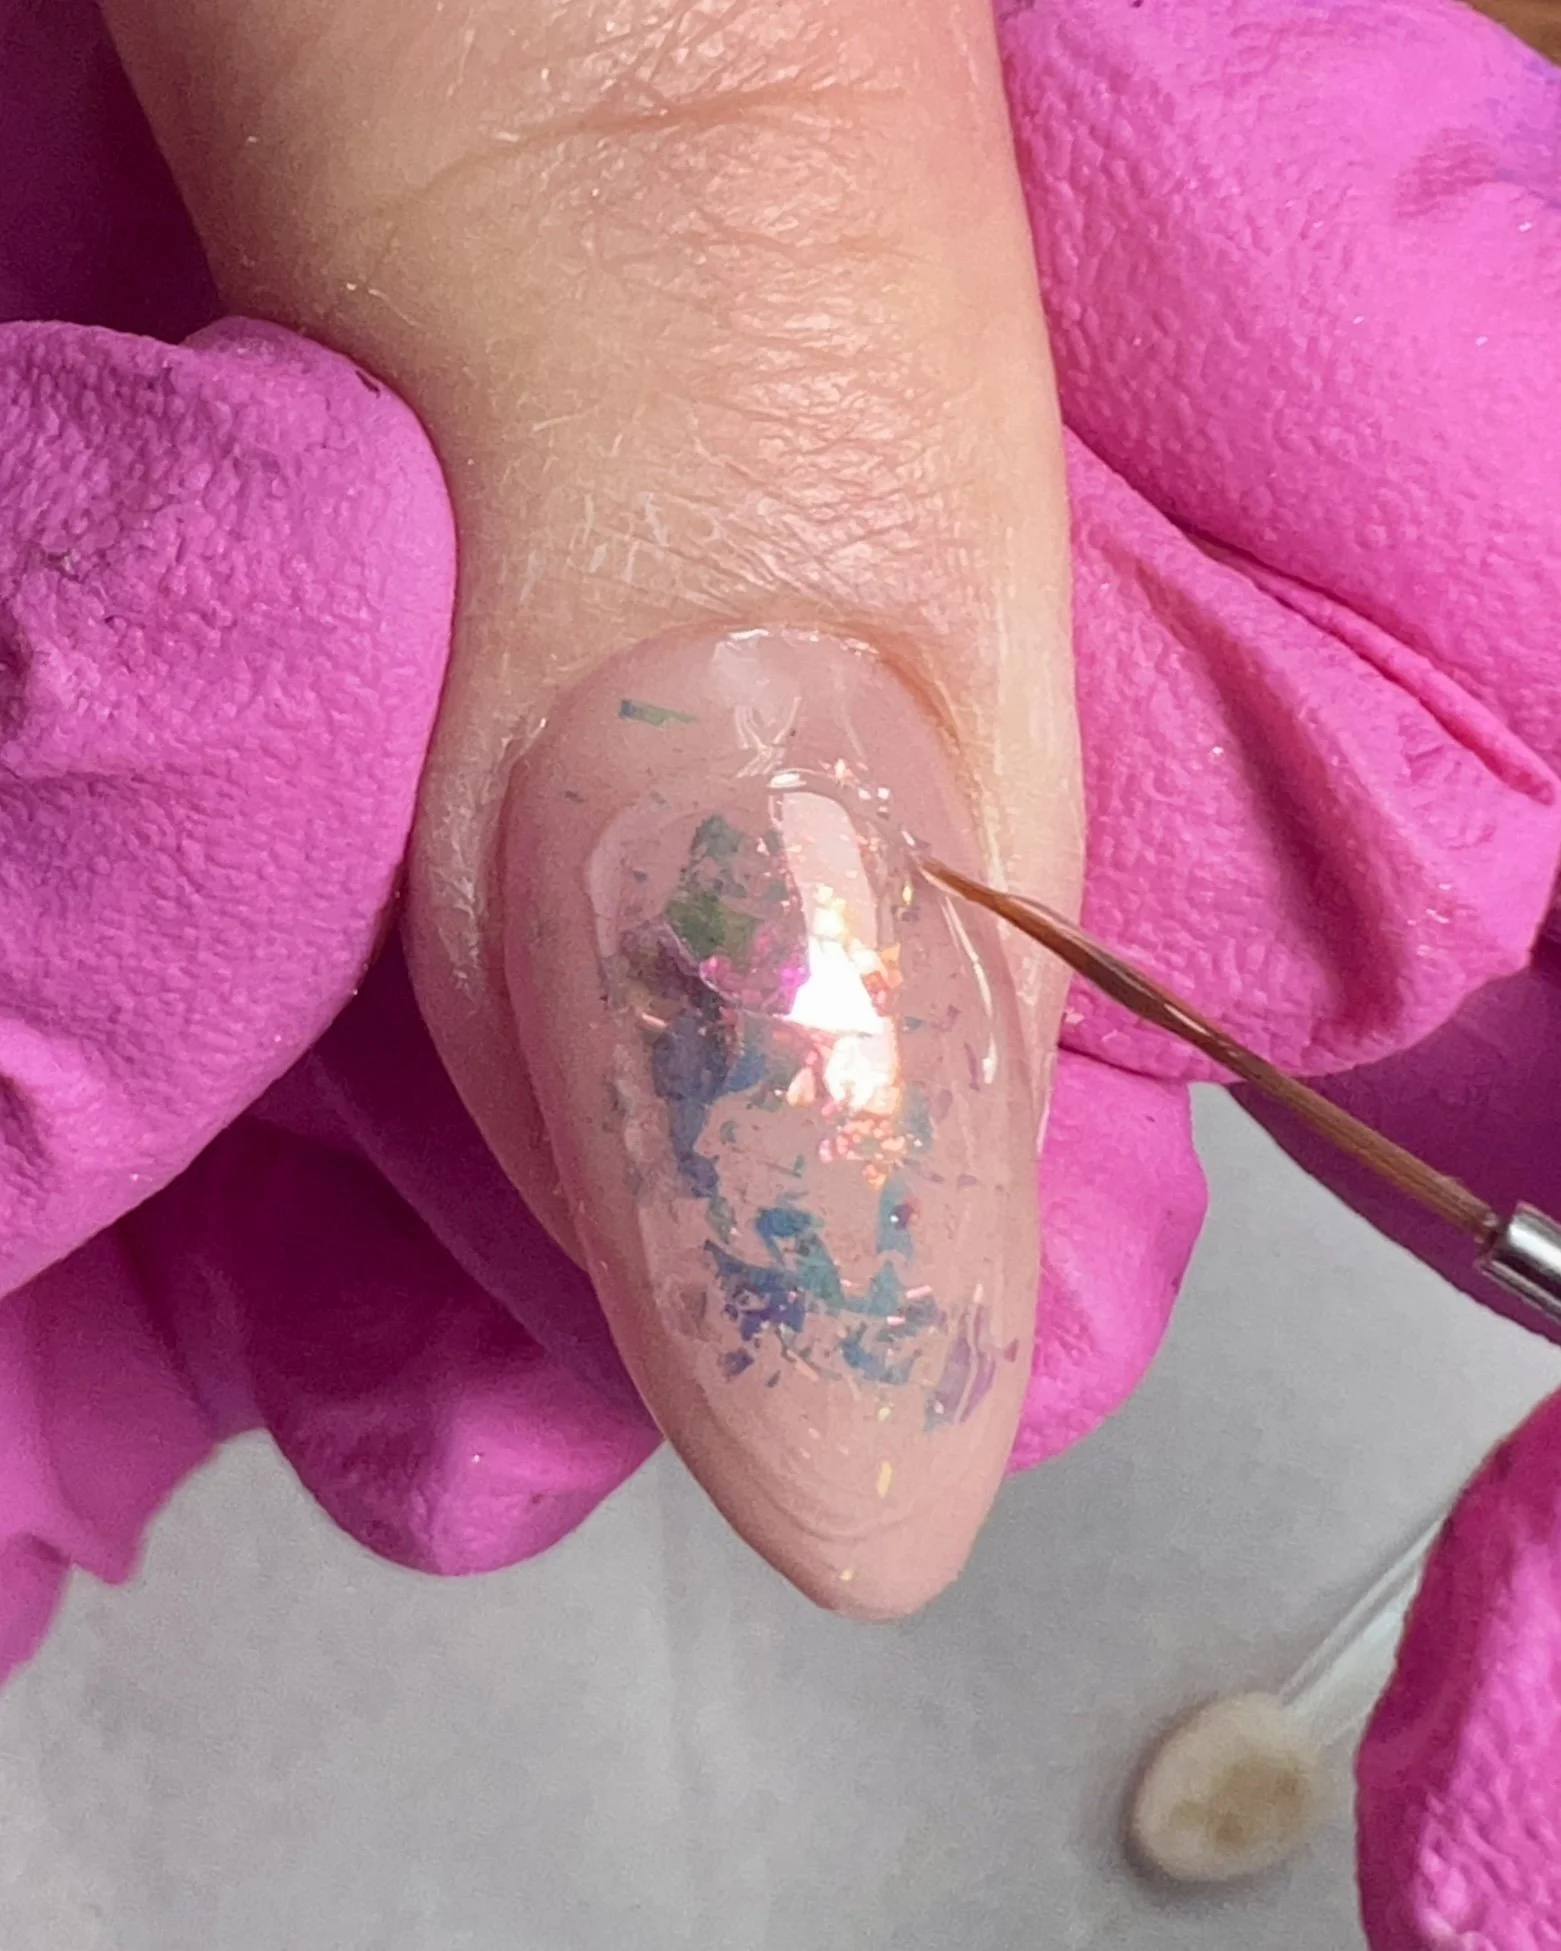
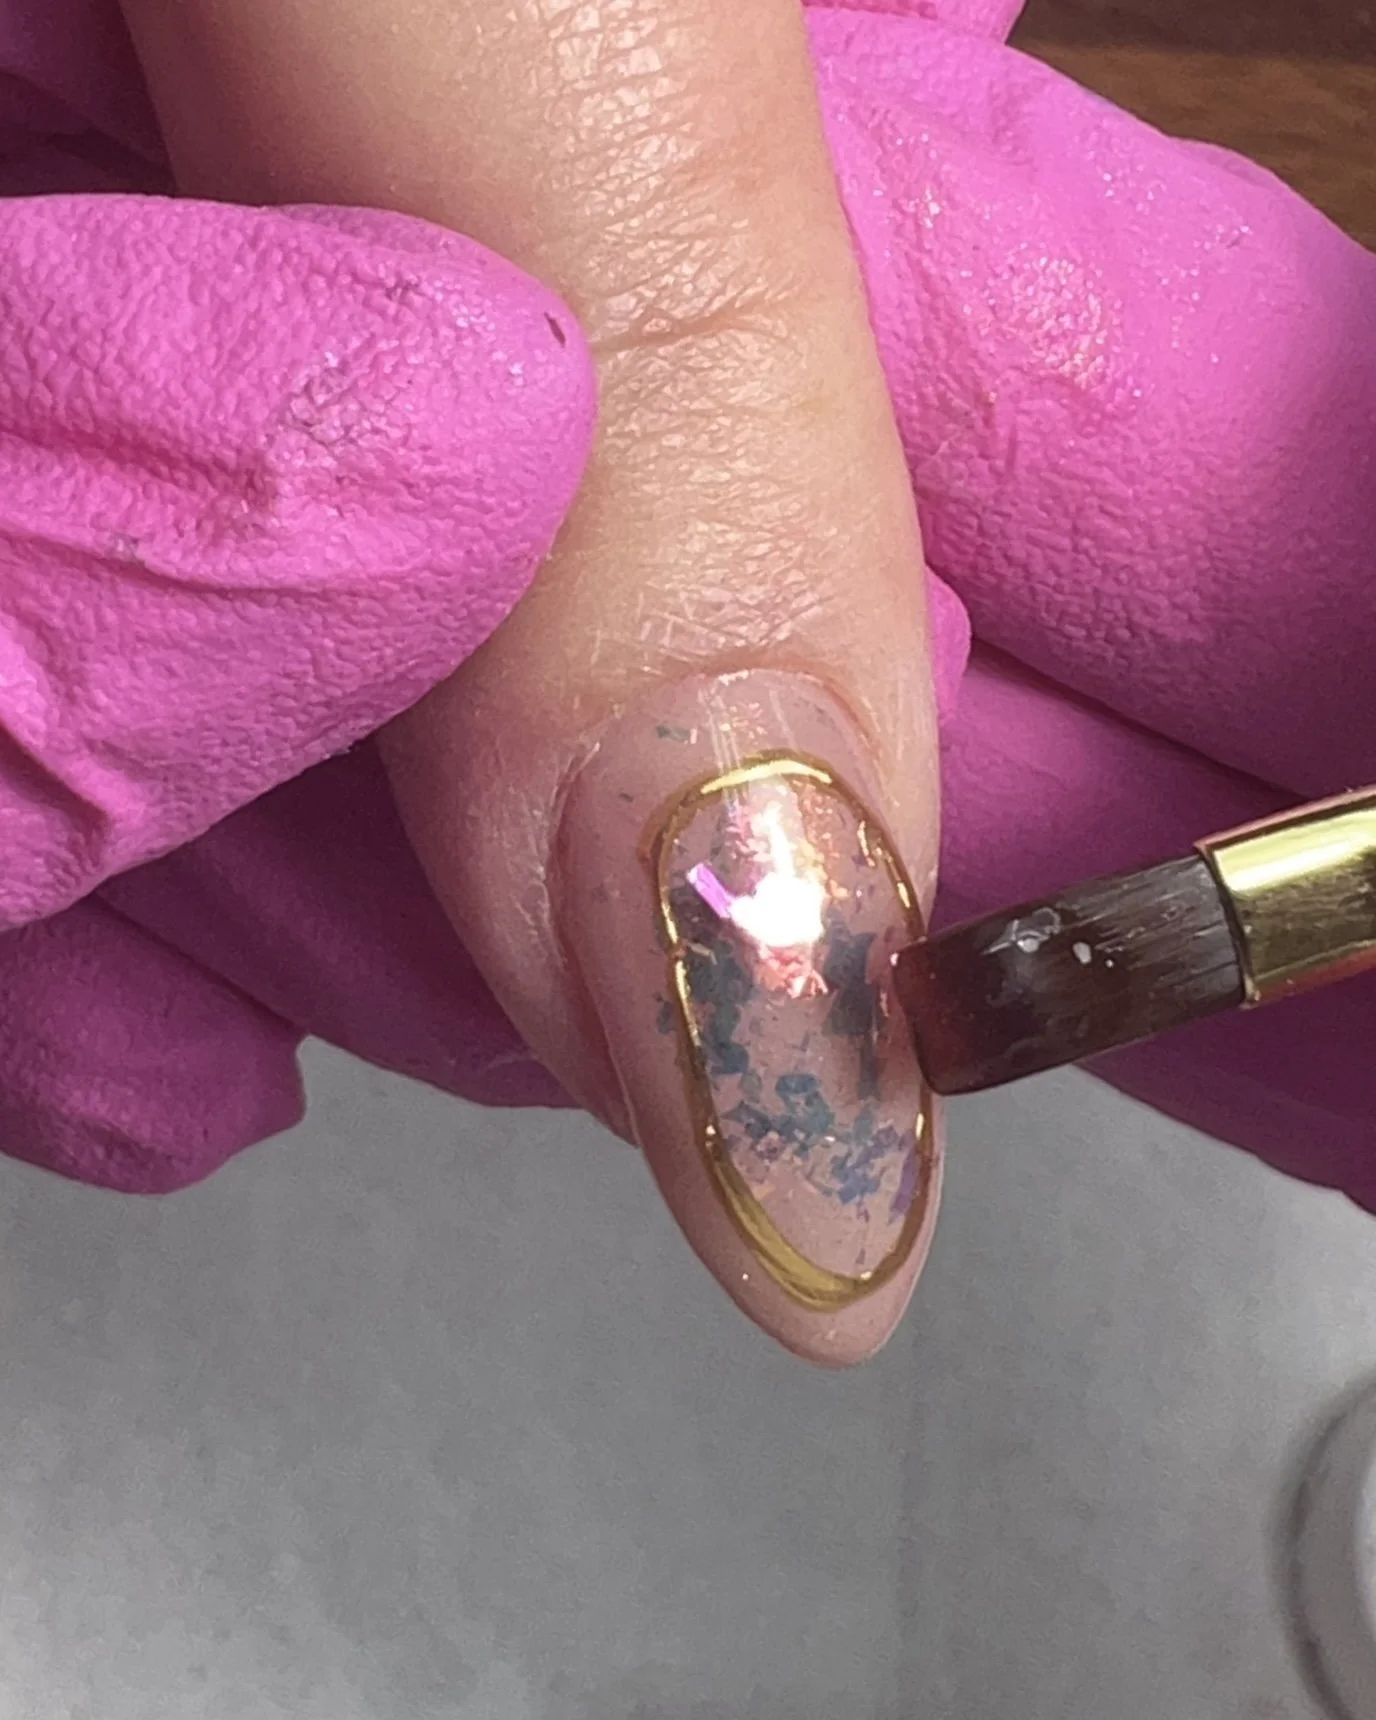
A liner brush applies Kokoist Non-Wipe Accessory Bond in an oval shape around encapsulated opal flakes on a nude almond nail before chrome application.
Frame It Up
Using a liner brush and Kokoist Non-Wipe Accessory Bond, sketch an oval frame around the encapsulated flakes.
Perfection isn't required here. The chrome effect will do a lot of the heavy lifting.
Cure for 20 seconds.
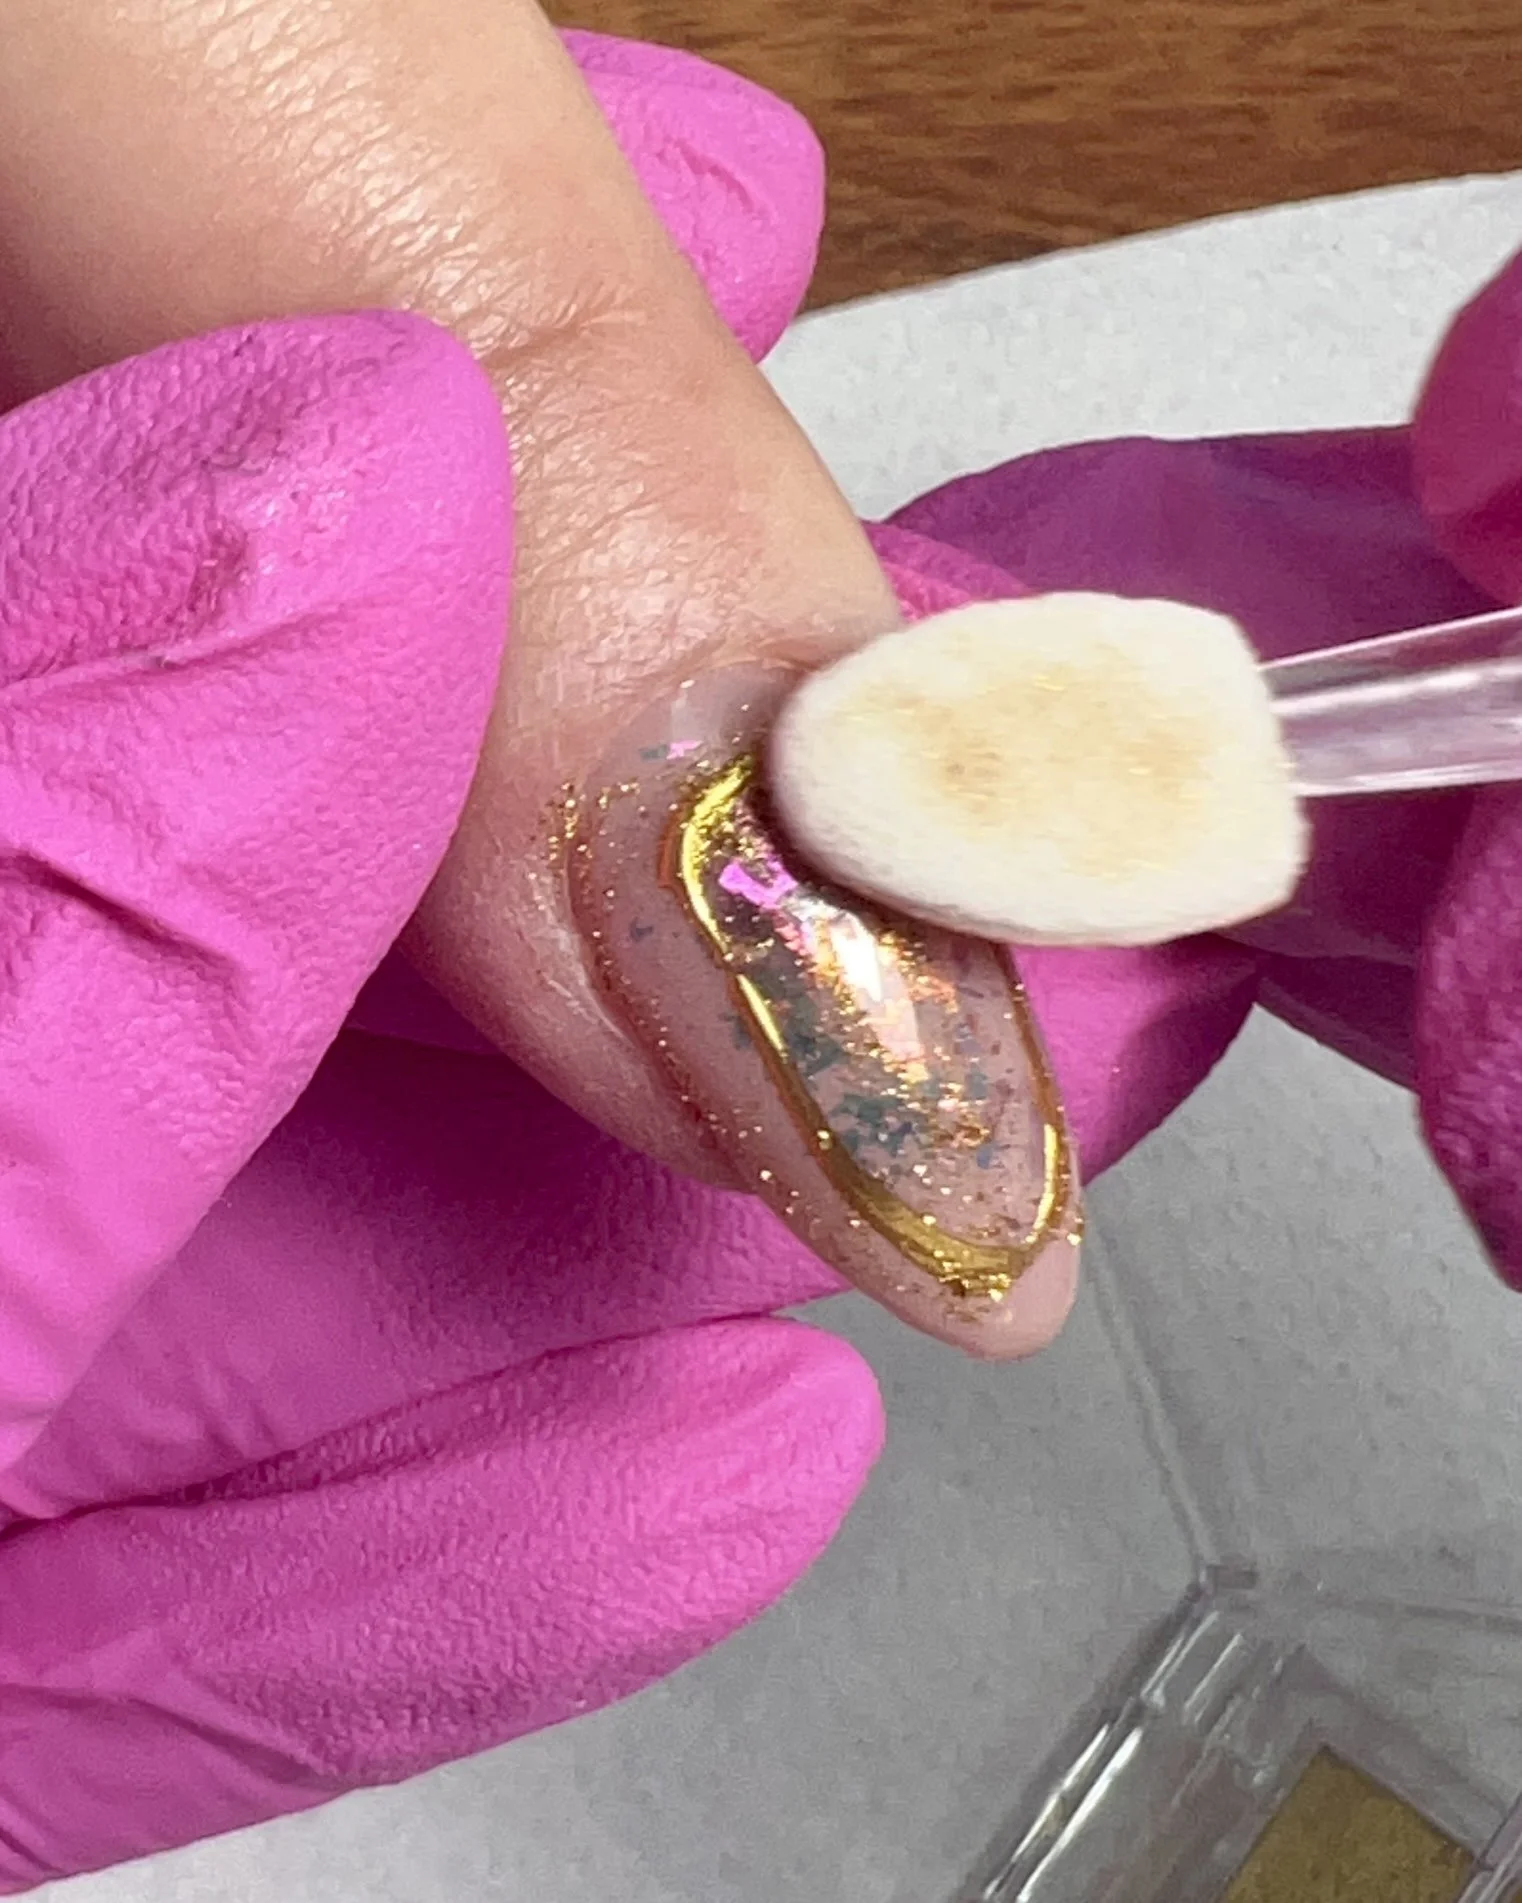
Get Brassy
Apply Brassy Gold Pressed Chrome over the cured Accessory Bond using a sponge applicator. Gently wipe away any excess chrome with a clean lint-free wipe or sponge.
If chrome ends up somewhere it shouldn't, clean it up with a small amount of acetone on a microswab.
Seal Everything In
Apply one final layer of clear builder gel to seal the chrome and complete the overlay.
Finish with your top gel and cure.
I love Presto No Wipe Top for chrome designs because it's a hard top gel that helps keep everything looking crisp and shiny.
And that's it. A layered, encapsulated design that looks far more complicated than it actually is.
If you're shopping for flakes and chrome, use code RACHEL10 at Vacation Nail Shop. If you're stocking up on gel, builder, or Accessory Bond, you can use that same code (RACHEL10) at Kokoist USA too.
This post may contain gifted product, sponsored content, affiliate links, and/or affiliate discount codes. I may earn a commission from qualifying purchases made through these links or codes at no additional cost to you. All opinions are my own unless otherwise stated.
Content, photos, and videos may not be copied, downloaded, edited, reproduced, republished, or used for commercial, advertising, or promotional purposes without prior written permission.
For additional information, please review my full disclosure statement at rachelmessick.com/disclosure.