Puff Paint Flowers | Nail Art Tutorial
It's not that I have a problem with clean girl nude nails (which I lovingly refer to as boring beige nails). I've built a good portion of my career on clean and neutral manicures, both in my salon and throughout my celebrity and commercial work. As a nail artist, few things are more satisfying than an expertly structured nude gel overlay. However, I do take umbrage with the idea that we have to grow out of fun and creative nails.
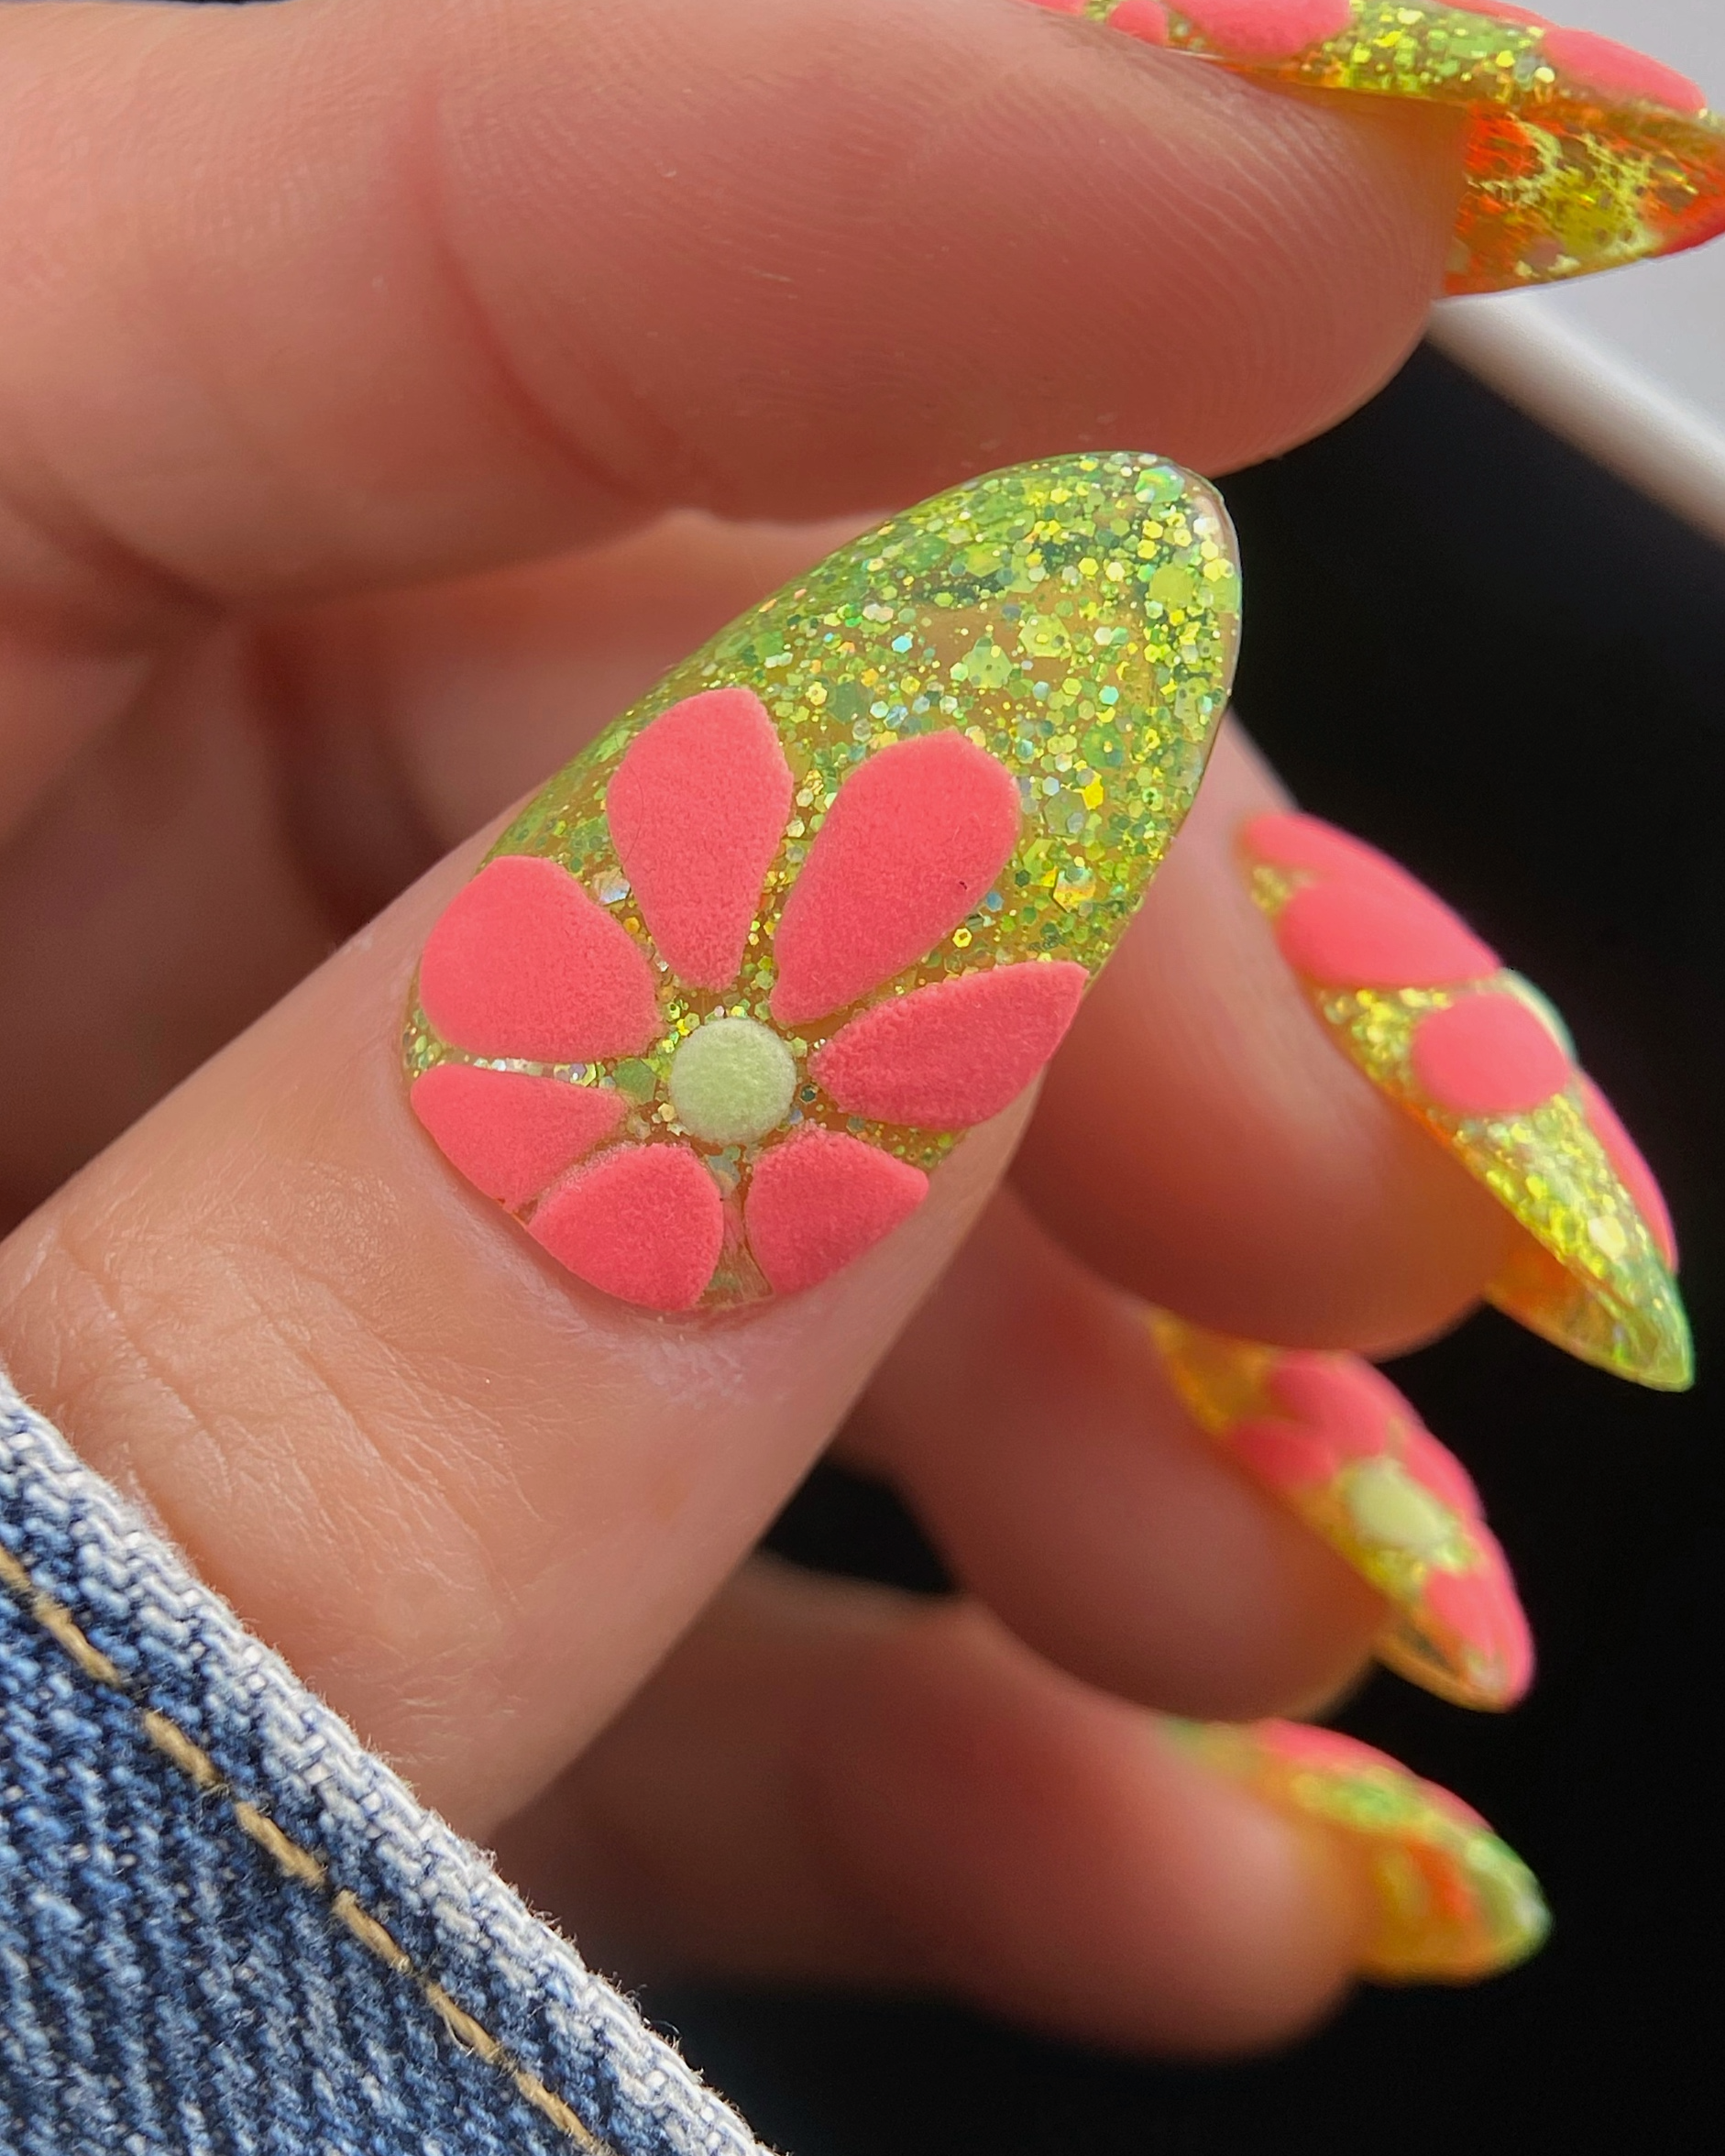
These sparkly, bold Puff Paint Flower nails were giving me major Lizzie McGuire vibes. Somewhere along the way, we started using Y2K as shorthand for anything colorful, playful, and a little nostalgic. But honestly? These nails could just as easily be described as groovy '70s. Bright florals, glitter, and clashing colors have been making people smile for decades.
Speaking of Lizzie McGuire, my sophomore year at university, I dated a very nice boy for a few months named Cameron and made him take me to see The Lizzie McGuire Movie and then to Starbucks afterward for a cappuccino. The cappuccinos were terrible, and I'm not entirely sure why we ordered them other than to completely overcorrect and be "adults" again after spending our Friday night at a kids movie.
What I'm trying to say is: don't be afraid to have fun with your nails. If you need to do your taxes, pay a credit card bill, or schedule a dentist appointment afterward to remind yourself you're a grown-up, do what you must. Don't let anybody steal your joy or your whimsy.
I love the juxtaposition of the glossy bright glitter background and the raised matte look of the flowers. Also, green and pink are like the Tom Hanks and Rita Wilson of power-couple color combos.
I created this look with colors from the Nail Thoughts Celebration Collection. If you'd like to see swatches and learn more about the collection, be sure to check out my review and swatches post. And if you happen to be adding a few new gels to your cart, you can use code RACHEL10 at Kokoist to save a little money.
Products Used
Nail Thoughts NT-97 Time To Party
Nail Thoughts NT-103 Candy Coated
Nail Thoughts NT-104 Dancing Shoes
Nail Thoughts Detailer Brush
Kokoist Ultra Glossy Non-Wipe Top Coat
Young Nails Clear Acrylic Powder
Puff Paint Flower Nails
After prepping the nail and applying your base gel, apply a layer of NT-104 Dancing Shoes.
When working with glitter gels like this, I like to start with a thin slip layer and leave it wet. I then gently float a second layer of glitter gel over top, making sure I don't have any scratchy glitter pieces sticking up from the surface. I recommend working one nail at a time. Cure.
Seal the glitter with a coat of Ultra Glossy Non-Wipe Top Coat and cure. If you're using a traditional top gel, be sure to remove the inhibition layer before moving on to the next step.
The Puff Paint Effect
The puff paint effect is created by sprinkling acrylic powder over uncured gel before curing. I like to sprinkle the acrylic powder onto the uncured gel and let it sit for about 10–15 seconds before curing. I find this helps create a more even textured finish.
The acrylic powder itself isn't part of the curing process. It's simply creating the textured finish. The gel underneath still needs to cure completely.
Keep Fun, Keep It Safe
As with any gel service, proper application and curing are important.
Use a high-quality gel product and avoid applying layers so thick that they cannot properly cure.
Use cosmetic-grade acrylic powder from a reputable manufacturer.
Remove excess acrylic powder throughout the service, always brushing product away from the skin and toward the free edge. Take extra care around the cuticle area and sidewalls to ensure no product remains on the skin.
Follow the manufacturer's curing recommendations and use a lamp that is compatible with your gel system.
If you're ever unsure whether a product combination is compatible, contact the manufacturer directly for guidance.
Building the Bloom
Create the center of your flower using a dotting tool and NT-103 Candy Coated. Leave the gel wet, sprinkle on clear acrylic powder, and cure.
Using a dry manicure brush or fluffy dust brush, remove any excess acrylic powder before moving on to the next portion of the design.
Using your Detailer Brush and NT-97 Time To Party, paint the flower petals. Sprinkle clear acrylic powder over the wet gel and cure.
I usually start with one petal at a time, then work on two petals at once when they're far enough apart that they won't bleed into one another. Continue removing excess acrylic powder with a dry manicure brush or fluffy dust brush between each section of the design.
Once your design is fully cured, use a dry manicure brush to thoroughly remove any remaining acrylic powder from the nail and surrounding skin. Finish by cleansing the design with a lint-free wipe and 99% alcohol to remove any remaining inhibition layer.

This post may contain gifted product, sponsored content, affiliate links, and/or affiliate discount codes. I may earn a commission from qualifying purchases made through these links or codes at no additional cost to you. All opinions are my own unless otherwise stated.
Content, photos, and videos may not be copied, downloaded, edited, reproduced, republished, or used for commercial, advertising, or promotional purposes without prior written permission.
For additional information, please review my full disclosure statement at rachelmessick.com/disclosure.