Opaline Chrome | Nail Art Tutorial
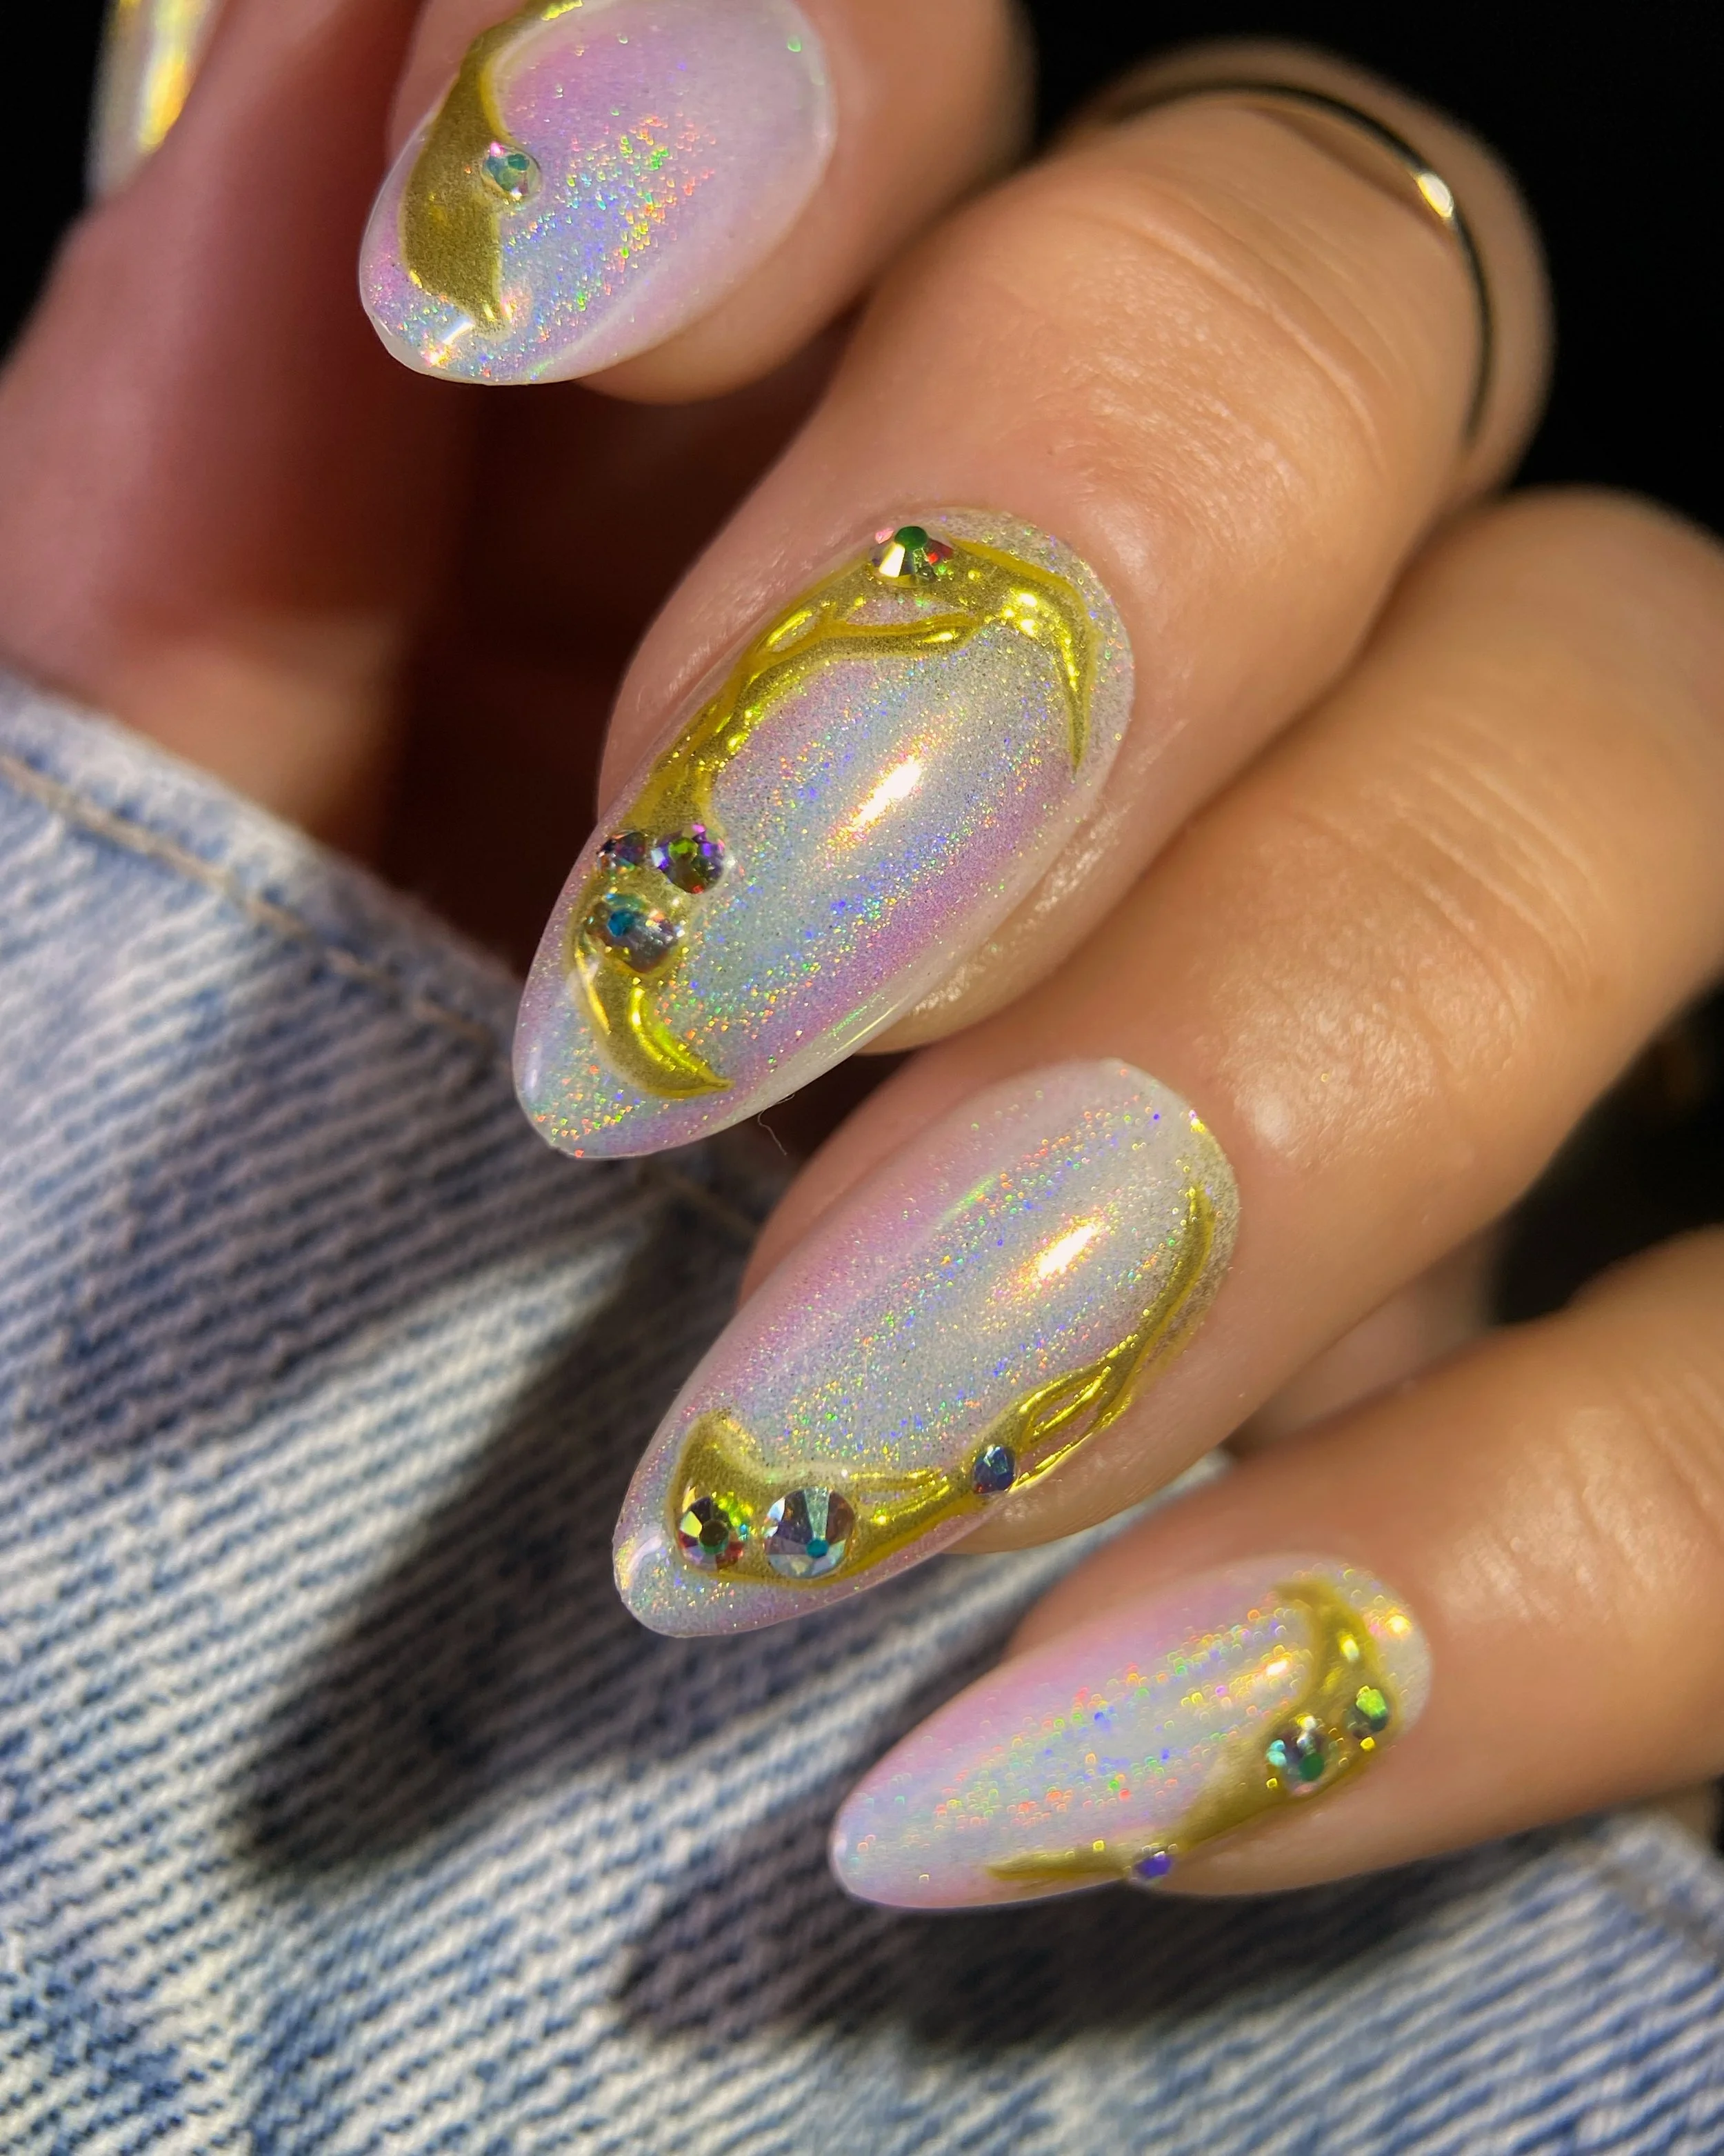
A few months ago I created this Opaline Chrome look for the Vacation Nail Shop website and completely forgot to film a tutorial. So what did I do? I filmed one from memory without double-checking the original image.
The result? An Opaline Chrome look in the same vein using the same products as the original, but with a bit more of a Sailor Moon vibe. Honestly, I'm not mad about it.
The process for creating both is exactly the same, so just follow your heart and create whichever version speaks to you.
Let's talk about the Vacation Nail Shop chromes I used in this look. The star of the show is, without a doubt, Opaline Chrome. She's a mermaid, princess, fairy, holographic dream come true. But the co-star is definitely Citrine Chrome.
At heart I'm an artist, and sometimes that means my inspiration takes me off the beaten path. I like bringing in colors and textures that feel unique and fill a gap within the industry.
I was originally going to name her Spring Gold because there was something so fresh and springy about her. But once I started creating art samples, I realized she wasn't a chrome that needed to be confined to one season. Thus, Citrine Chrome came to be.
For this look we're going to be layering chrome-on-chrome, so there are a few steps that are non-negotiable. If the chrome reaches the free edge of the nail, it has to be sealed properly or it will chip.
I always file away any excess powder, tap primer onto the free edge and seal everything in with a clear builder. In this video I used Nail Thoughts Clear Builder Base, but I also love Akzentz Crystal Clear for this.
This step isn't just important for sealing and securing the chrome. It also protects the finish overall since we're isolating chrome on top of it.
Never apply a matte top directly over chrome unless you're intentionally going for a muted, frosted finish. It'll completely kill the chrome effect.
Whenever I'm planning an isolated chrome design, I always do a quick spot test first. Matte tops don't all behave the same, and a lot can happen in the lamp.
If the chrome sticks after you've removed the inhibition layer (if applicable), your matte top either isn't compatible with isolated chrome or it needs additional cure time.
Here's What I Used
Akzentz Affixit
Red Iguana 2-in-1 Gem Sealing Gel
Presto No-Wipe Top Gel
Use code RACHEL10 when you shop KOKOIST USA or Vacation Nail Shop to save on your next purchase. Every order helps support future blogs and tutorials.
Here's How I Did It
Start with a white or milky white base, ensuring it's fully cured.
Apply a thin, even layer of Nail Thoughts Chrome It! Clear and cure for 30–60 seconds.
Using a sponge applicator, buff Vacation Nail Shop Opaline Chrome over the entire nail until the surface is shiny and fully covered.
With a 180-grit or higher file (I'm using a 240 grit in the video), file away any excess powder from the free edge and sweep away the nail dust.
Gently tap Akzentz Affixit onto the free edge to reinforce the bond between the gel layers.
Apply a thin, even layer of Nail Thoughts Clear Builder Base to seal in the first layer of chrome and protect the finish. Cure.
Apply a thin, even layer of ReiReish Nail Art ISO Chrome Matte Top and cure for 60 seconds.
Create an organic frame design using KOKOIST Non-Wipe Accessory Bond in White and place your rhinestones where you'd like them, adding additional Accessory Bond if necessary to fully secure the stones.
Cure for 20 seconds, then use a sponge applicator to buff Vacation Nail Shop Citrine Chrome into the Accessory Bond. Sweep away any excess powder once you're happy with the chrome, then cure for an additional 30 seconds to complete the cure.
Seal around the edges of your rhinestones with a sealing gel (I used Red Iguana, but you can also use clear builder applied with a brush). You want to fully seal the edges without covering the facets on the top of the stones. Cure.
Bring the shine back to the design and finish with top gel (either Presto No-Wipe Top or KOKOIST Ultra Glossy Non-Wipe Top), making sure not to cover the facets of the rhinestones. Cure.
This post may include gifted products, sponsored content, affiliate links, and/or affiliate discount codes. I may earn a commission from qualifying purchases made through these links or codes at no additional cost to you. All opinions are my own unless otherwise stated.
Original content, photos, and videos may not be reproduced, edited, republished, or used for commercial, advertising, or promotional purposes without prior written permission.
For additional information, please review my full disclosure statement at RachelMessick.com/disclosure.
