Tacky Tiger | Nail Art Tutorial
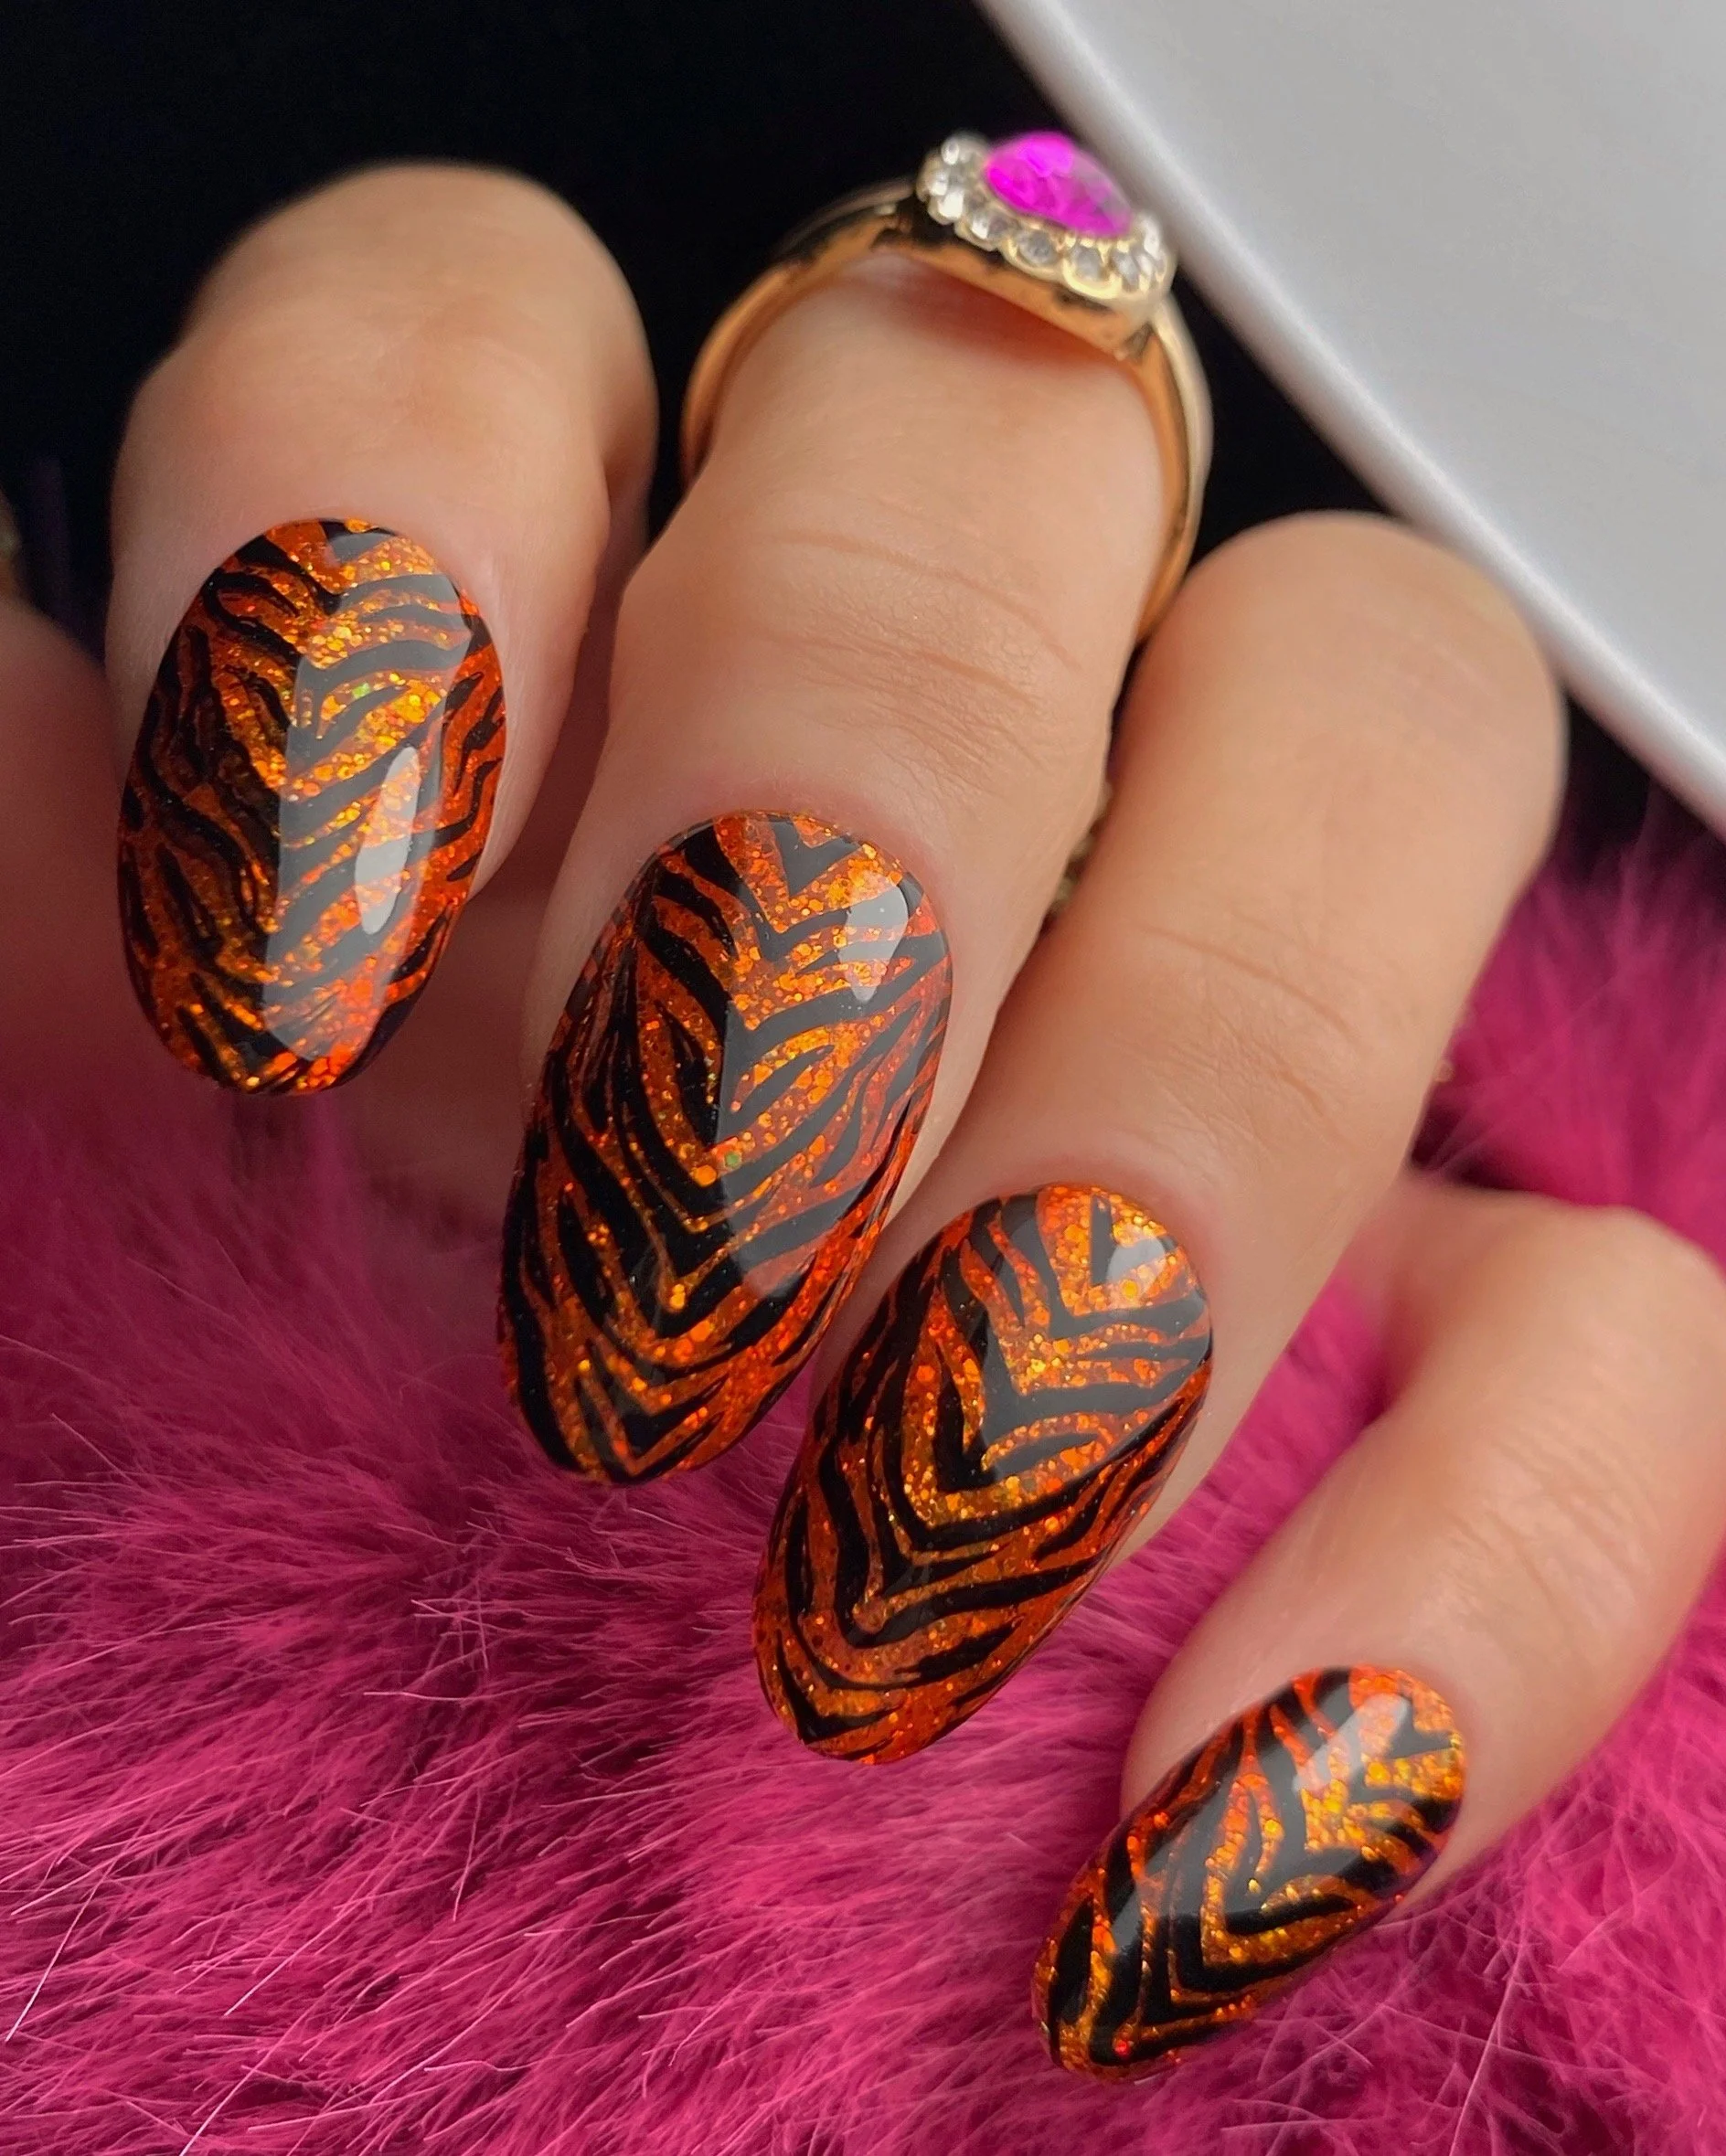
For me, tacky is not an insult. It's a maximalist, more-is-more, put-a-bird-on-it type of adjective.
As a big Megan Moroney fan, I was fully obsessed with her latest album, Cloud 9. I was super inspired by the Tiger Cloud cover art, and since she's not one to shy away from sparkle, I had to add a little extra glitz.
To quote Ms. Moroney, "I'm not me without the bells and the whistles."
Let's earn our stripes.

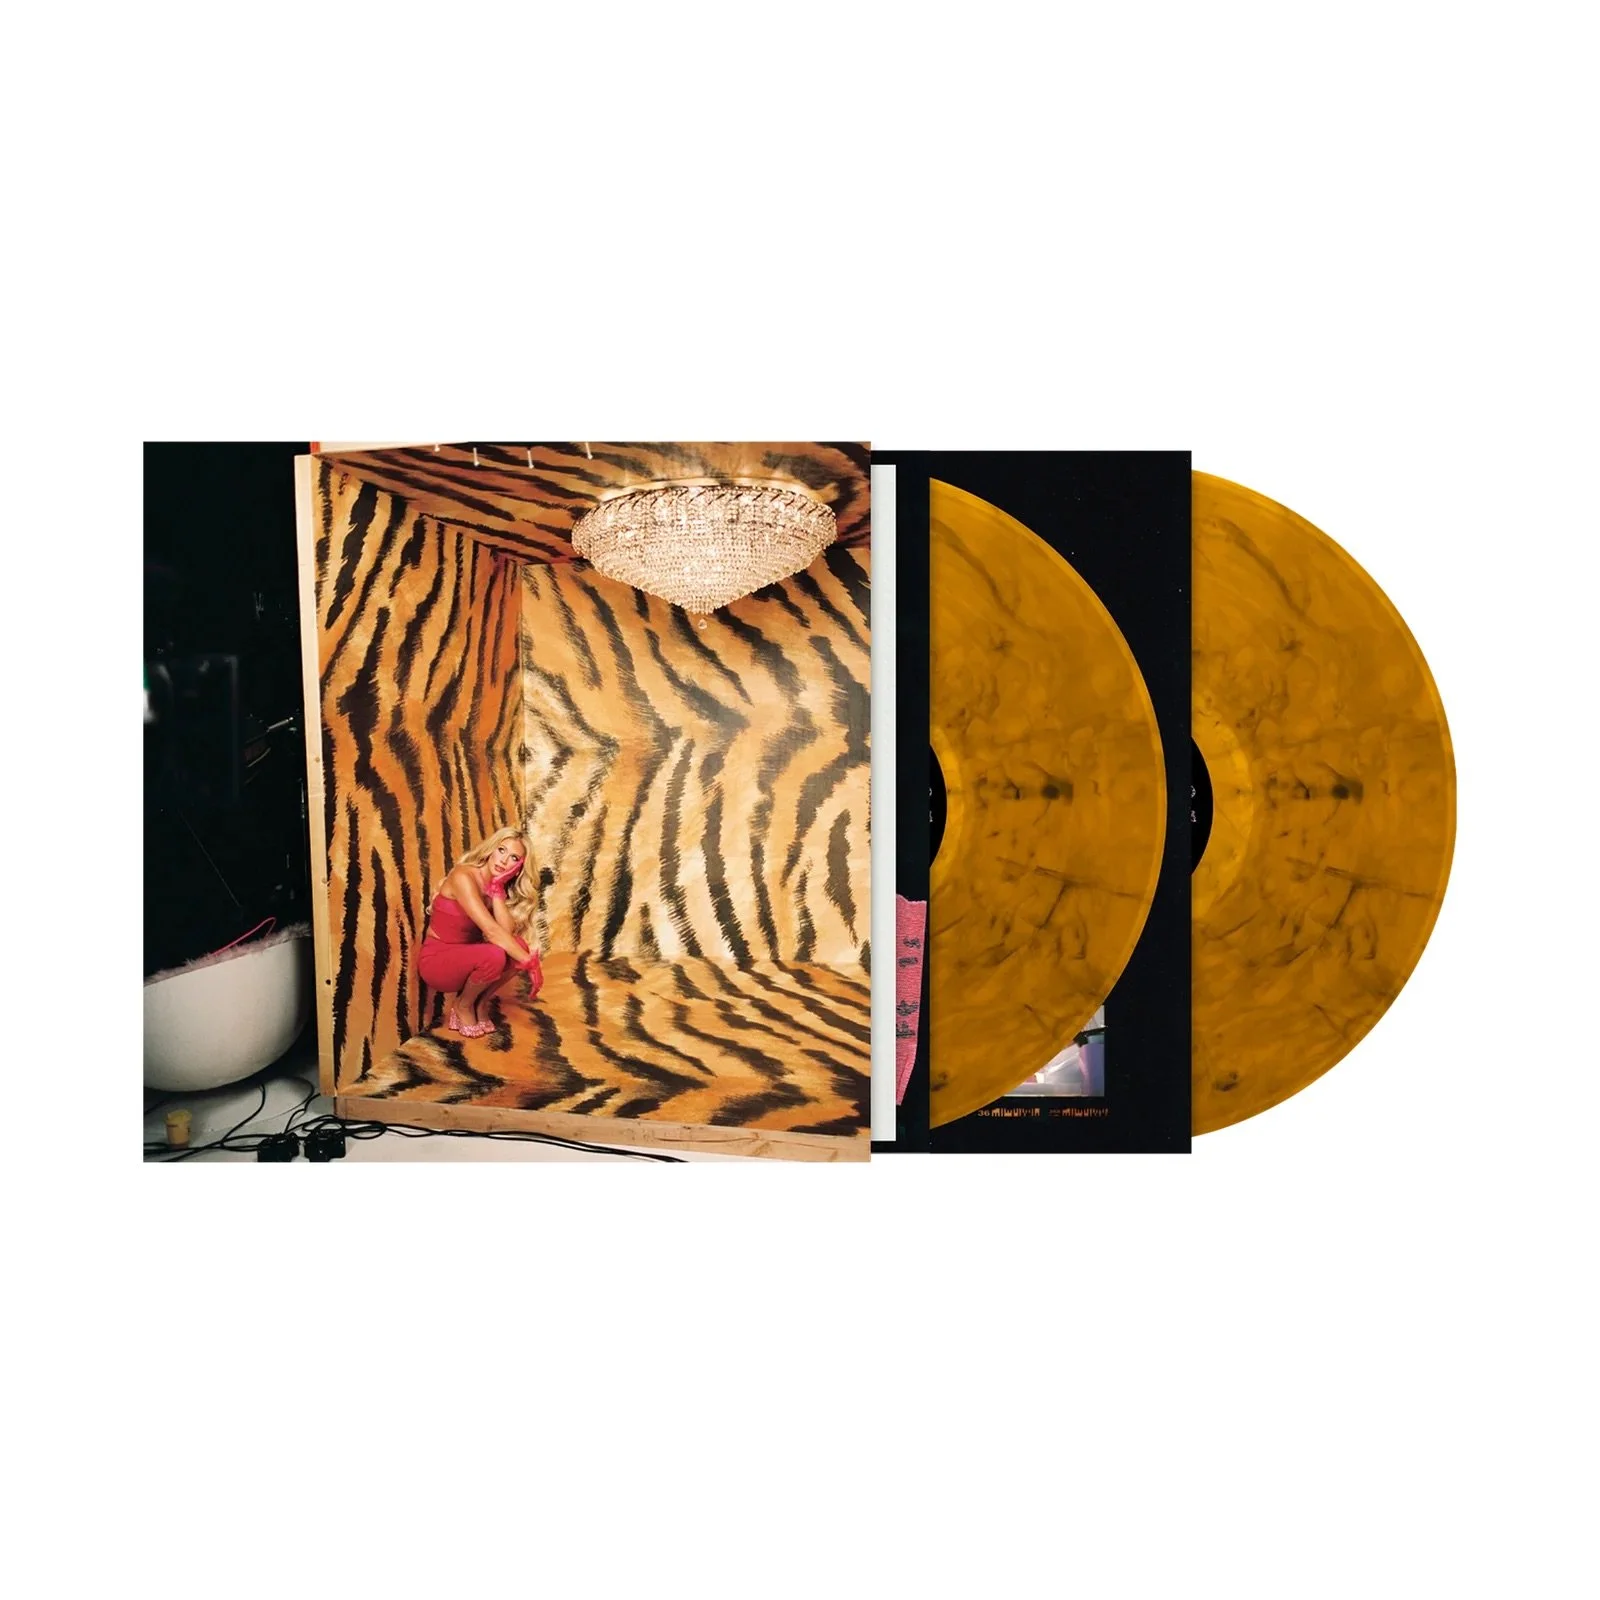
For this look, we're going to create a gradient that mimics the orange variations in a tiger's fur, and then we'll stamp a tiger pattern on top.
Stamping is one of those techniques I'm still getting used to, but learning to love once I find my flow. I've been buying all sorts of plates, stampers, stamping gel, and stamping polishes for years now, but it wasn't until this past year that I really spent time getting comfortable with it. I took a great stamping class from my friend Sashanie Gray, and it really helped me figure it out.
I find that stamping has a way of looking easy while simultaneously feeling absolutely impossible (and if you're a gel girly like me, it can feel a touch claustrophobic as well) until you get your flow and method figured out.
Products Used
Tiny Gel TYY-052
Shopping for KOKOIST or Nail Thoughts? Save 10% at KOKOIST USA with code RACHEL10. Your purchase helps support future tutorials like this one.
Here's How to Create the Look
Start with a super glittery base. I went with I'Zemi Stella B SG070 because it's a good mix of aurora-style glitters. I didn't want the tiger print to pull too silver or too gold.
When I work with glitter, I like to apply a slip layer and softly float a denser layer on top before curing. This isn't a substitute for an apex, just a way to get a better sparkle. Cure.
Apply a layer of Nail Thoughts NT-12 Tortoise Shell over the entire nail and cure.
For this gradient, imagine your nail being divided into thirds vertically. Tap a little of the Tiny Gel onto a palette so you aren't picking up too much product. Apply the orange to the outside of the outer thirds, leaving the center third untouched. Do not cure yet.
Using the bottle brush from NT-12 Tortoise Shell, apply the color through the center, gently coaxing the gradient effect by feathering it into the edge of the deeper orange. Because these colors are so harmonious, it's actually pretty hard to mess up. Just be sure to wipe the brush before putting it back in the bottle. Cure.
Repeat the gradient, again applying the orange to the outer thirds and blending with Tortoise Shell through the center. Cure.
Apply a layer of Presto Pre-Art Gel to smooth out the surface and cure.
Using a black stamping polish and your tiger print stamping plate, stamp the pattern over the nail. Stamping polish dries exceptionally quickly, but make sure it's completely dry before applying your non-wipe top gel. Cure.
